
How To Applique On A Quilt
Hand Stitched Applique Quilts By Carolyn Friedlander Creativebug
www.creativebug.com

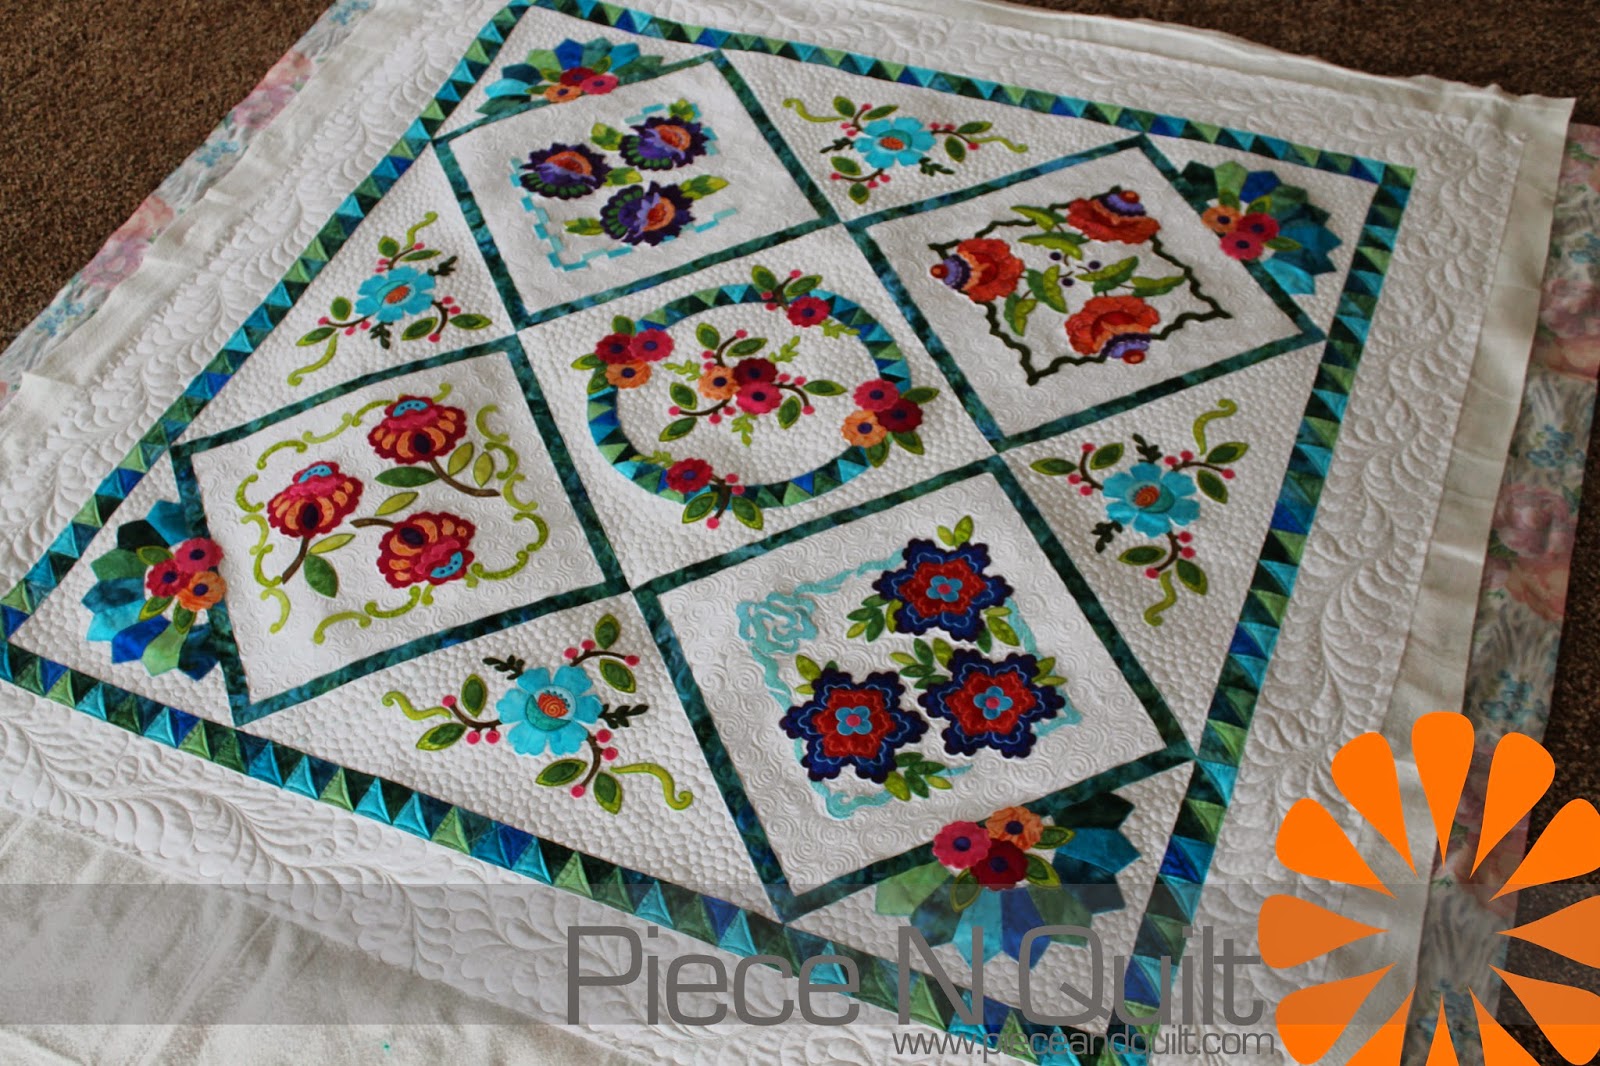
Piece N Quilt Embroidery Applique Quilt
www.pieceandquilt.com
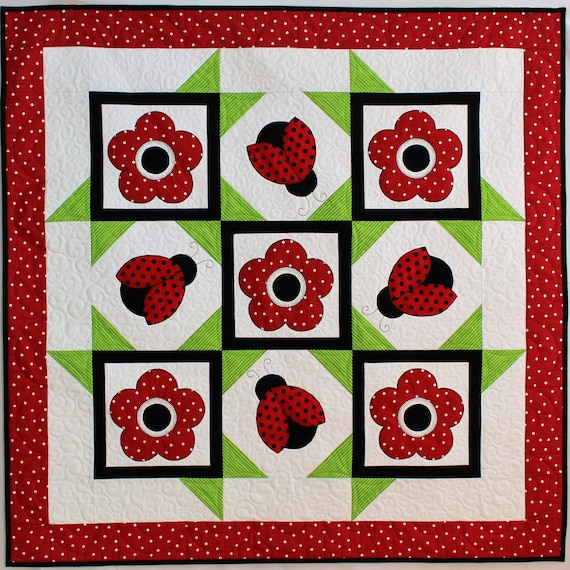
Ladybug Dance Quilt Pattern Applique Quilt Baby Quilt Wall Etsy
www.etsy.com

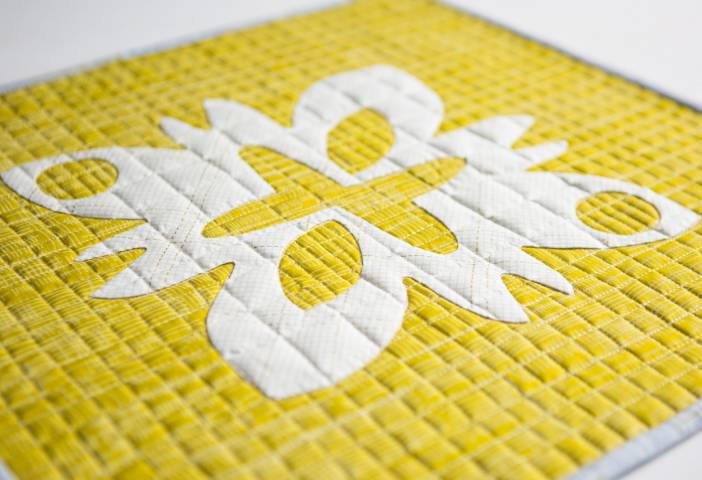
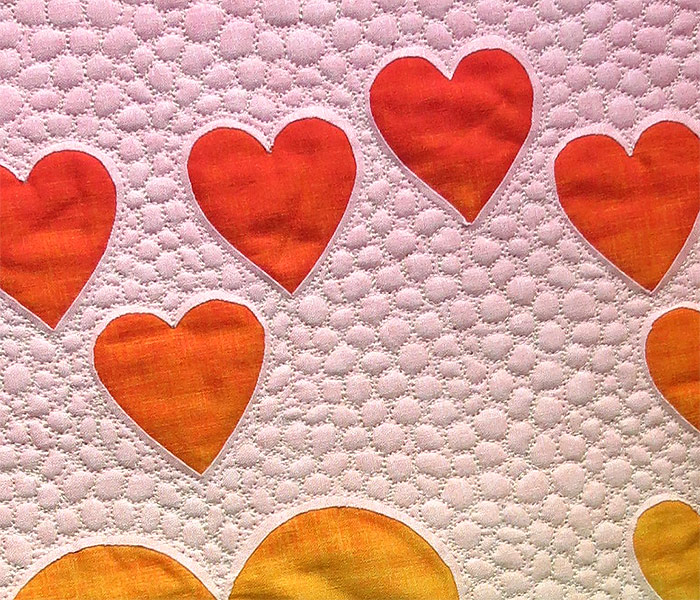
Spring Hearts Chatterbox Quilts
www.chatterboxquilts.com
3
encrypted-tbn0.gstatic.com

Summer S Bounty By Jan Mawk Exemplary Hand Quilting Award Photo By Quilt Inspiration Quilt Arizona 2019 Quilts Applique Quilt Patterns Crazy Quilts
www.pinterest.com
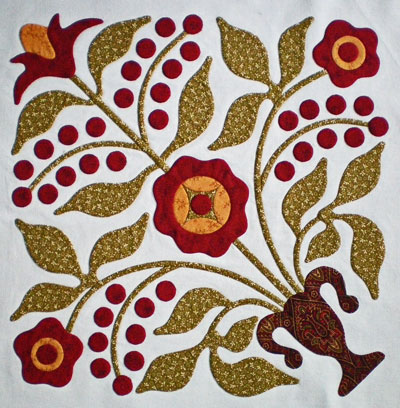
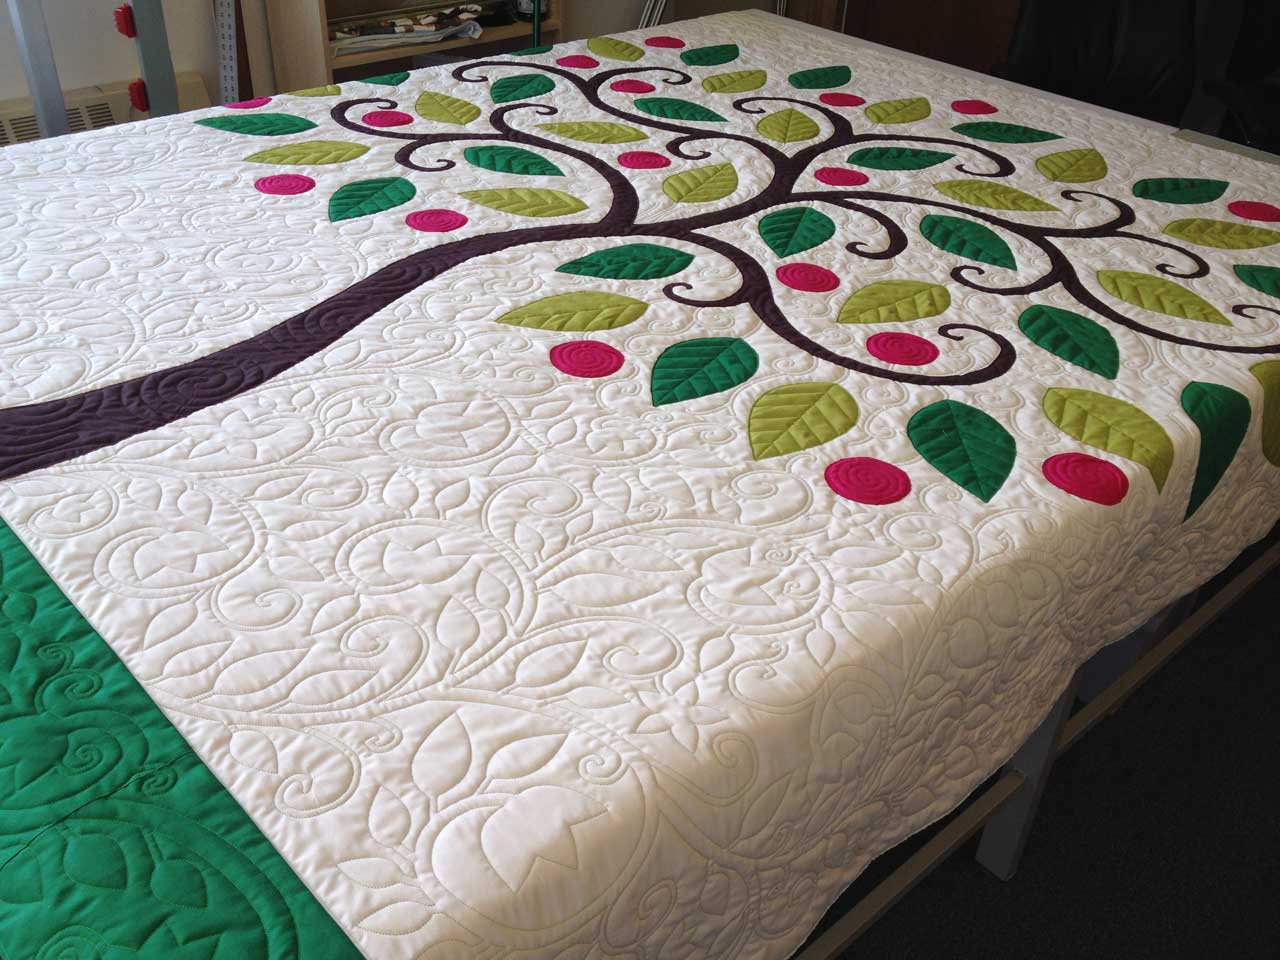
Starting the center and moving my way all around the quilt.
How to applique on a quilt. Sew and turn applique. Laura shows several different techniques including one that is great for kids to try out. Raw edge applique is another type of quilt applique that can be done with either machine or hand stitching.
And what you do is you can quilt with this you wouldnt see it on the quilt so it really would make that part disappear so if you run over the applique on accident hit a little bobble it wont be as noticeable now the rest of your quilting wont show either so thats good or bad depending on how youre working on it. The turned edge can then be stitched down to secure. While you can secure the applique pieces to the background fabric as soon as you finish the quilt top usually i dont do this.
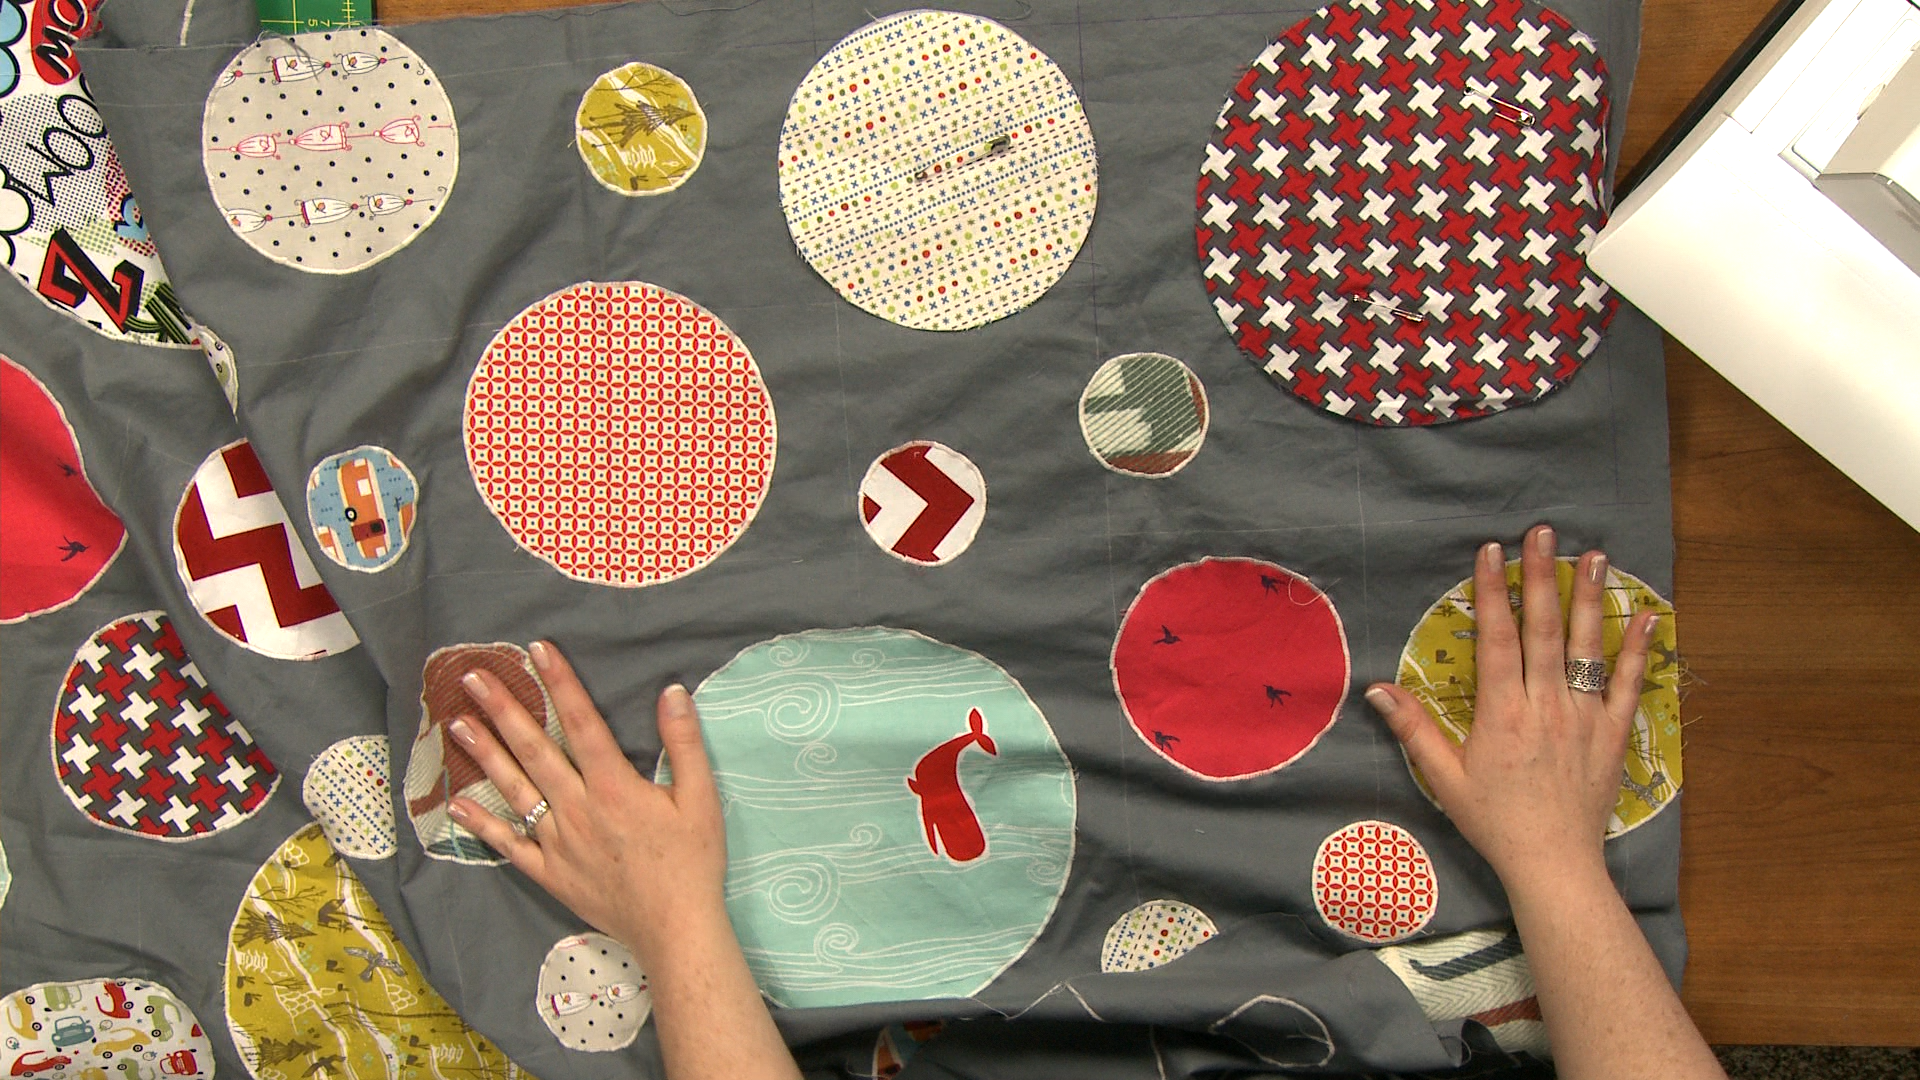
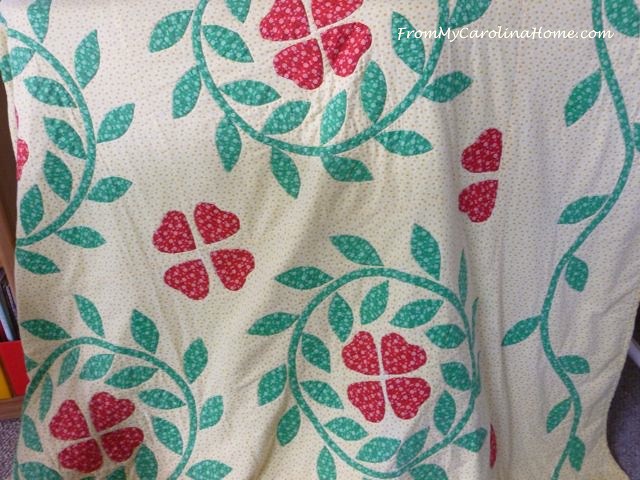
I always use squiggly lines. Decorative stitching for hand appliqued quilt works. Once all of the circles are stitched in place the quilt top is completed.
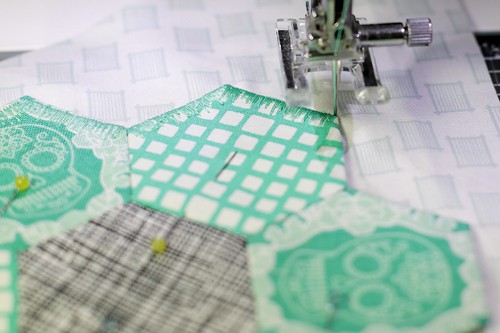
I layer the top of the quilt with batting and backing and i secure the applique pieces by stitching through all the layers either with the walking foot or with free motion quilting. Stacy shows how she tried out several different zig zag stitch sizes before choosing one to use on the quilt top. To get the materials needed to do this pro.
Straight line circles whatever. Hand applique stitch that you can use in your quilt works. I always start the drawing of my design in the center of the quilt because that is where you will start quilting.
What i do is take a pencil and draw squiggly lines all over the quilt. Laura demonstrates how to do reverse applique by turning under the edge along a cut out shape to reveal a different color fabric underneath. When learning how to sew applique shapes onto a quilt top it is a good idea to try out different stitches and stitch widths on a scrap of fabric.
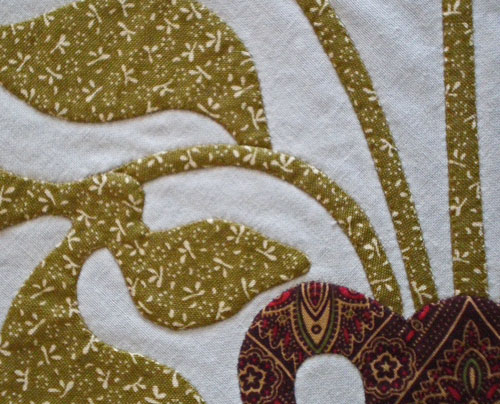
Quilters use the end of a sharps needle to turn under the seam allowance of each patch as they sew the patch in place with a blind stitch. Shapes including a seam allowance are cut from fabric and pinned to the background. Three back stitches 1 gap 1 back stitch 1 gap 3 back stitches and so on so forth 3.
3
encrypted-tbn0.gstatic.com

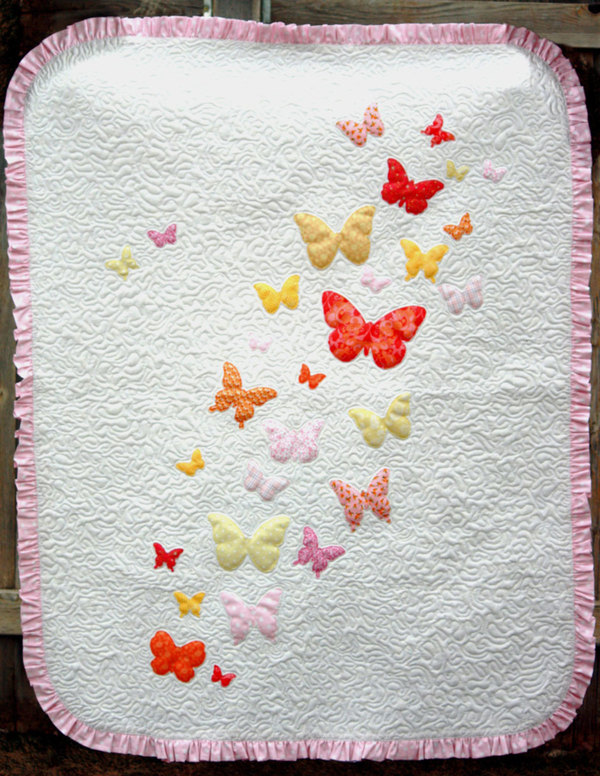
Blooming Butterflies Quilt Pattern Butterfly Quilt Pattern Quilts Applique Quilts
www.pinterest.com

Applique Quilt Patterns Find Applique Patterns For Any Project
www.missouriquiltco.com

Free Applique Quilt Pattern With Instructions For A Pansy
www.sewing-solutions.com
26 Free Applique Quilt Patterns Favequilts Com
www.favequilts.com
Free Applique Quilt Patterns Quilting Daily
www.quiltingdaily.com

Custom Quilting An Applique Quilt Doesn T Have To Be Complicated Quilted Joy
quiltedjoy.com
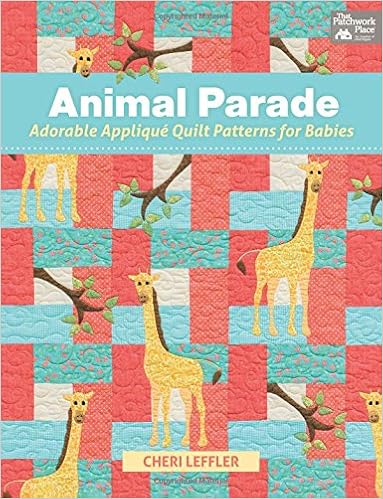
Animal Parade Adorable Applique Quilt Patterns For Babies Leffler Cheri 9781604682823 Amazon Com Books
www.amazon.com
I Love This Quilt Free Applique Quilt Pattern Quilting Daily
www.quiltingdaily.com

2faq Quilt Patterns Pacific Rim Quilt Company
www.pacificrimquilt.com

Applique Quilt Patterns
www.anniescatalog.com
Applique Quilt With Flowers Butterflies Doves Ave Maria Home
avemariahome.org

Eleanor Beard 1920s Applique Quilt Purple Lavender Trumpet Flowers Maire Mcleod Ruby Lane
www.rubylane.com

Craftsy Quilt Patterns Quilt As You Go Applique Monster Pattern Swoodson Says
swoodsonsays.com
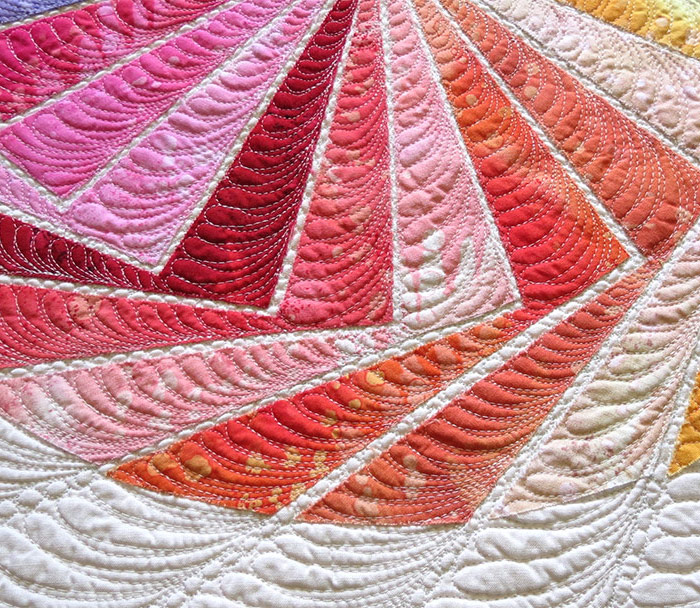
How To Quilt Applique Quilts Geta S Quilting Studio
www.getasquiltingstudio.com
How To Quilt Applique Quilts Geta S Quilting Studio
www.getasquiltingstudio.com
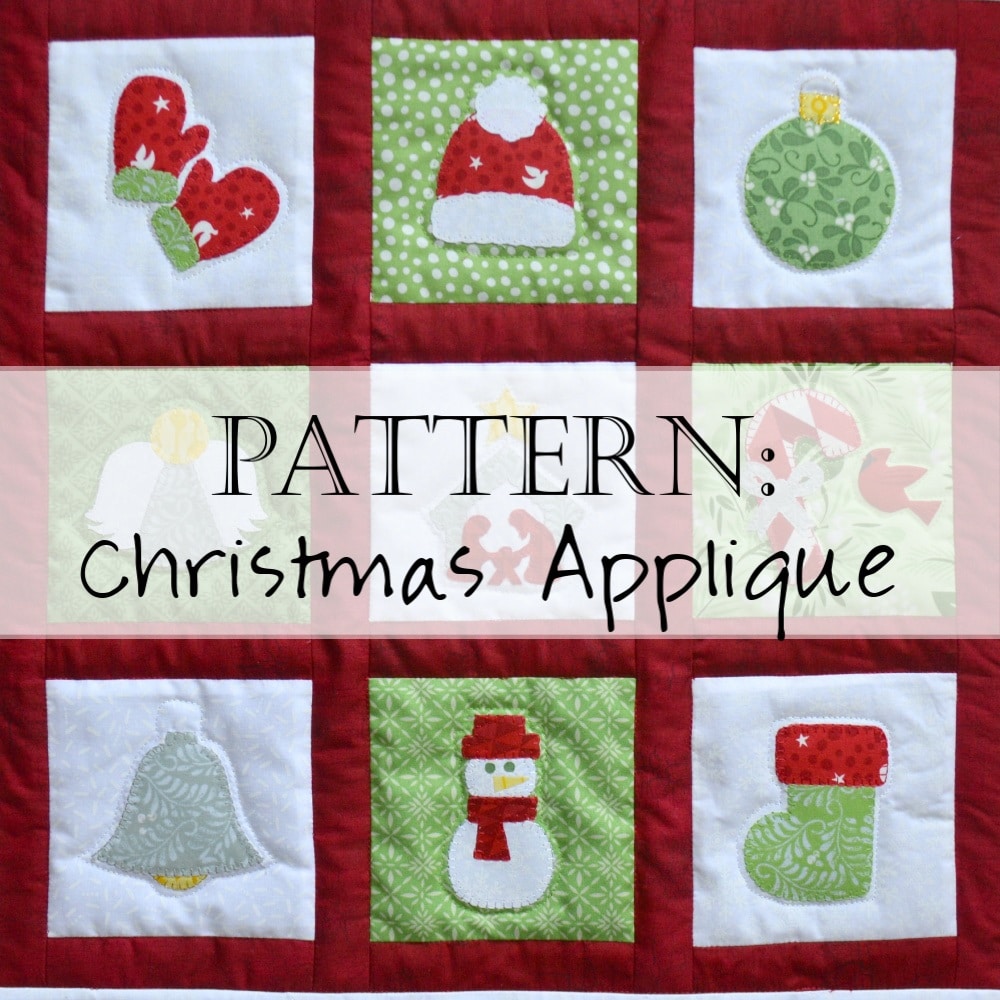
Pattern Christmas Applique Quilt Patterns Faith And Fabric
faithandfabricdesign.com
How To Sew Applique On A Quilt National Sewing Circle
www.nationalsewingcircle.com
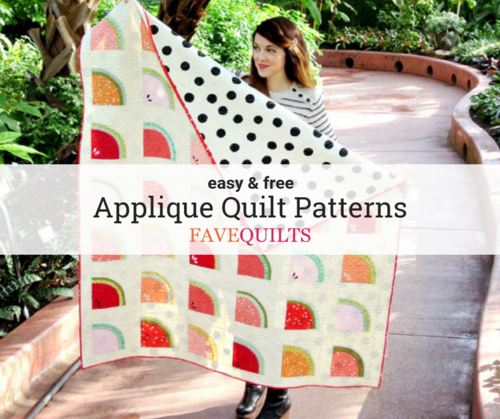
26 Free Applique Quilt Patterns Favequilts Com
www.favequilts.com

Piece N Quilt Embroidery Applique Quilt
www.pieceandquilt.com

Umbfot4sa2ztsm

Everything You Need To Know About How To Applique Shiny Happy World
www.shinyhappyworld.com
How To Applique Invisible Machine Applique Instructions And Techniques
www.generations-quilt-patterns.com

Machine Applique 101 Beginner S Quilting Series Pile O Fabric
pileofabric.com
How To Applique On A Quilt
sewingmachinebuffs.com
Applique Quilt Patterns Etsy
www.etsy.com

Quilting Applique Blocks Design Decisions Lori Kennedy Quilts
lorikennedyquilts.com

Simple Bird Applique Making A Quilt One Stitch At A Time
simplebirdapplique.com

Craftsy Quilt Patterns Quilt As You Go Applique Monster Pattern Swoodson Says
swoodsonsays.com
:max_bytes(150000):strip_icc()/catchingtheview-closeup-56a7b9525f9b58b7d0ed3dbc.jpg)
What Is Applique And How Is It Used In Quilts
www.thesprucecrafts.com
3
encrypted-tbn0.gstatic.com

Learn Raw Edge Applique Quilting By Sue Nickels Creativebug
www.creativebug.com
How To Machine Applique Your Quilt Bonjour Quilts
www.bonjourquilts.com

Umbfot4sa2ztsm
Applique Quilt Pattern Archives The Jolly Jabber Quilting Blog
blog.fatquartershop.com
How To Applique Invisible Machine Applique Instructions And Techniques
www.generations-quilt-patterns.com

Diy Cactus Applique Quilt Tutorial Annewritten
annewritten.com

Quilts That Inspire Applique Quilt Patterns Applique Quilts Quilts
www.pinterest.com

20 Applique Quilts Fast And Easy Quilt Patterns Favequilts Com
www.favequilts.com
Baltimore Album Colorful Handsewn Applique Quilt Antiques Lot 43184 Heritage Auctions
historical.ha.com

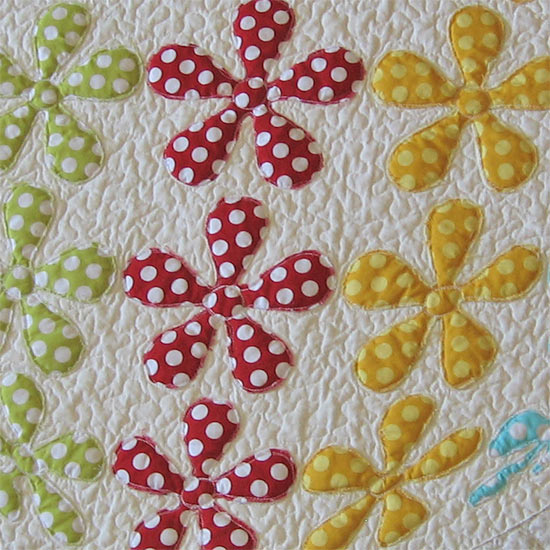
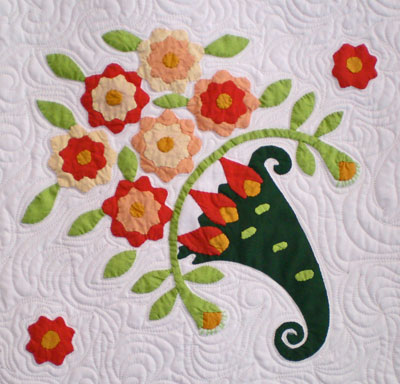
Flower Hand Applique Quilts Allpeoplequilt Com
www.allpeoplequilt.com
Applique Quilt Repair From My Carolina Home
frommycarolinahome.com

Custom Quilting An Applique Quilt Doesn T Have To Be Complicated Quilted Joy
quiltedjoy.com
Piece N Quilt Embroidery Applique Quilt
www.pieceandquilt.com

Sea Turtle Friends Applique Quilt Sewing Pattern Pdf Jennifer Jangles
jenniferjangles.com

Zen Garden Applique Quilt Pattern
www.urbanelementz.com
Old Fashioned Applique Quilt Designs Dover Pictorial Archive Johnston Susan 0000486248453 Amazon Com Books
www.amazon.com

How To Machine Applique Your Quilt Bonjour Quilts
www.bonjourquilts.com

Simple Bird Applique Making A Quilt One Stitch At A Time
simplebirdapplique.com

100 Applique Quilts Ideas In 2020 Applique Quilts Quilts Applique
www.pinterest.com

Oliver S Favourite Things Applique Quilt
www.sewjahit.com
/Applique-in-quilts-2821555_Final-6ed1d0ce4cd24a89a83ac563277032da.png)
What Is Applique And How Is It Used In Quilts
www.thesprucecrafts.com

Applique Allpeoplequilt Com
www.allpeoplequilt.com

How To Applique Quilts Howcast
www.howcast.com

Mini Applique Quilt Club Piecing The Past Quilts
store.piecingthepastquilts.com

Irish Chain Precut Holly Berries Applique Kit Poinsettia Pine Shabby Fabrics
www.shabbyfabrics.com

Learn To Applique Book Diary Of A Quilter A Quilt Blog
www.diaryofaquilter.com
How To Quilt Applique Quilts Geta S Quilting Studio
www.getasquiltingstudio.com
Fast And Simple Fusible Applique Quilt Simple Quilts For The Modern Home Quilt Addicts Anonymous
www.quiltaddictsanonymous.com

Autumn Bouquet Patchwork And Applique Quilts From Reproduction Prints Keightley Sharon 9781683560180 Amazon Com Books
www.amazon.com
Tree Applique Quilt Nina Paley
blog.ninapaley.com

How To Make A Modern Applique Pillow With Knits Suzy Quilts
suzyquilts.com
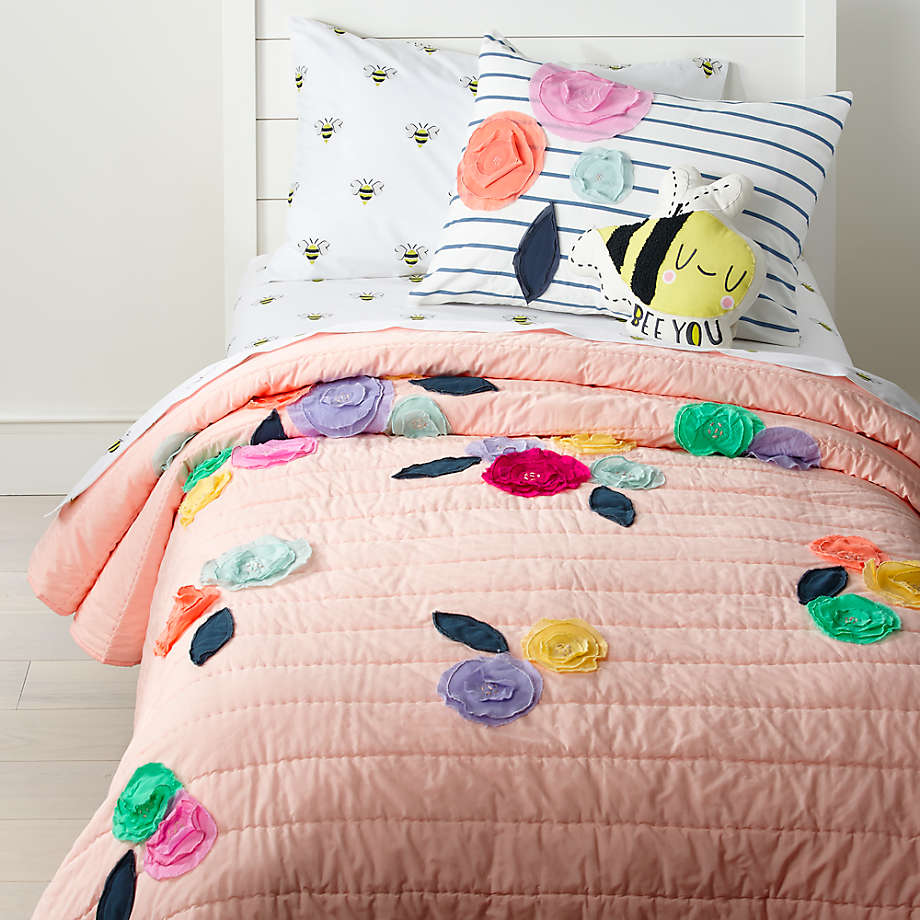
Bee S Knees Floral Applique Twin Quilt Reviews Crate And Barrel
www.crateandbarrel.com

Intro To Applique For Beginners Youtube
www.youtube.com
Applique Baby Quilt Patterns Applique Kids Quilt Patterns Applique Downloads
www.e-patternscentral.com
Applique Quilts Quiltmaking Books Barnes Noble
www.barnesandnoble.com

Everything You Need To Know About How To Applique Shiny Happy World
www.shinyhappyworld.com

Patternpile Com Sewing And Quilting Patterns For Creating Modern Bags Hats And Seasonal Quilts
www.patternpile.com
3d Flower Applique Quilt Pattern 6 Designs Are Included
www.getasquiltingstudio.com
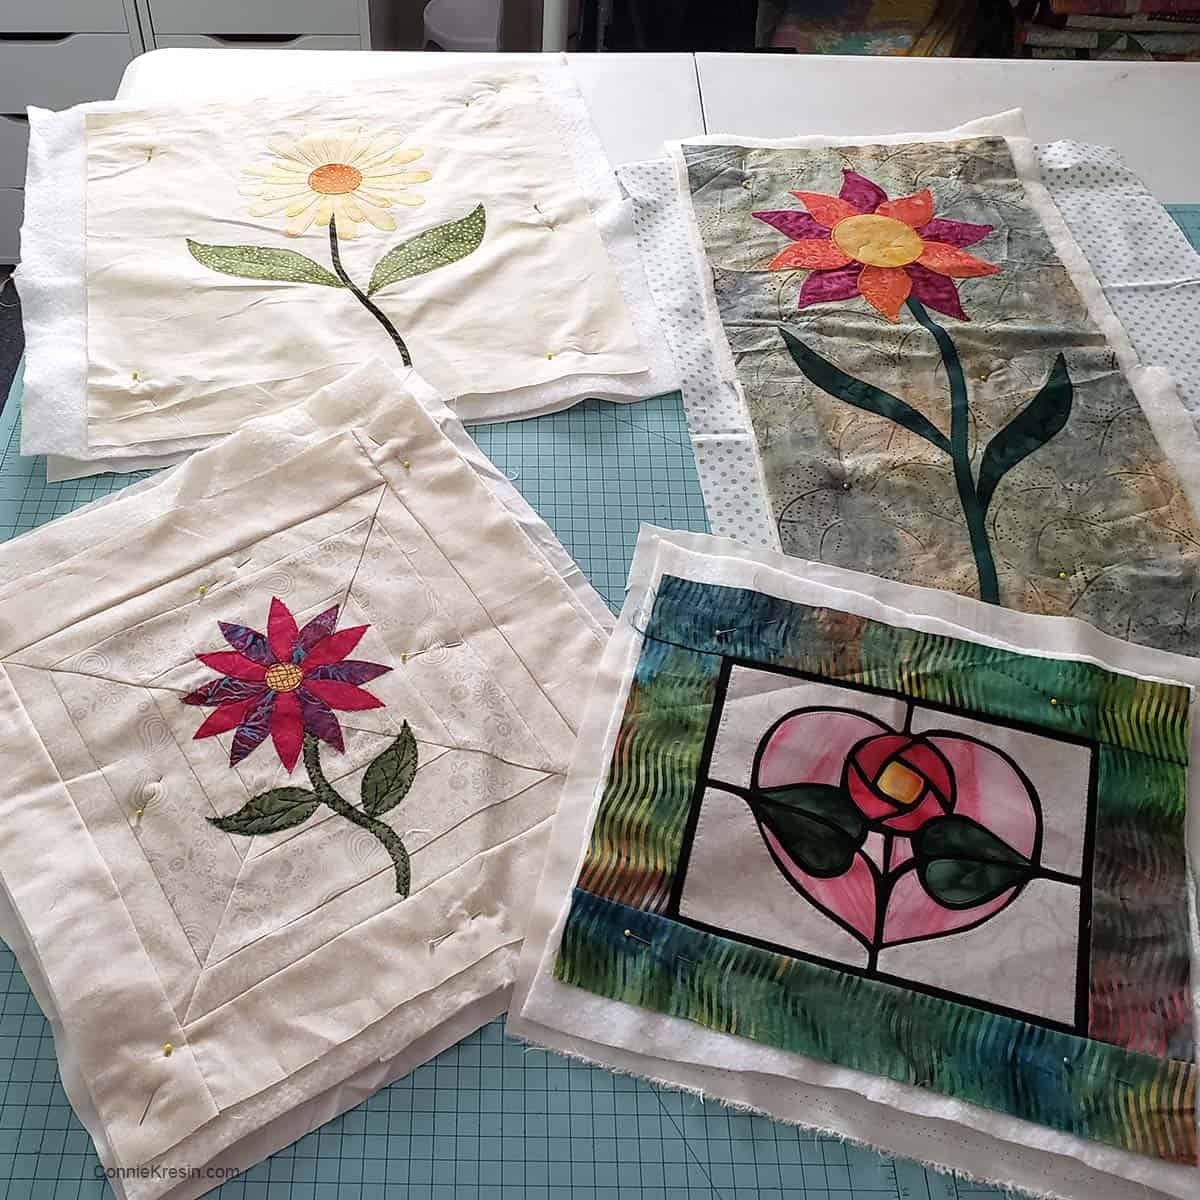
Applique Quilt Projects Freemotion By The River
conniekresin.com
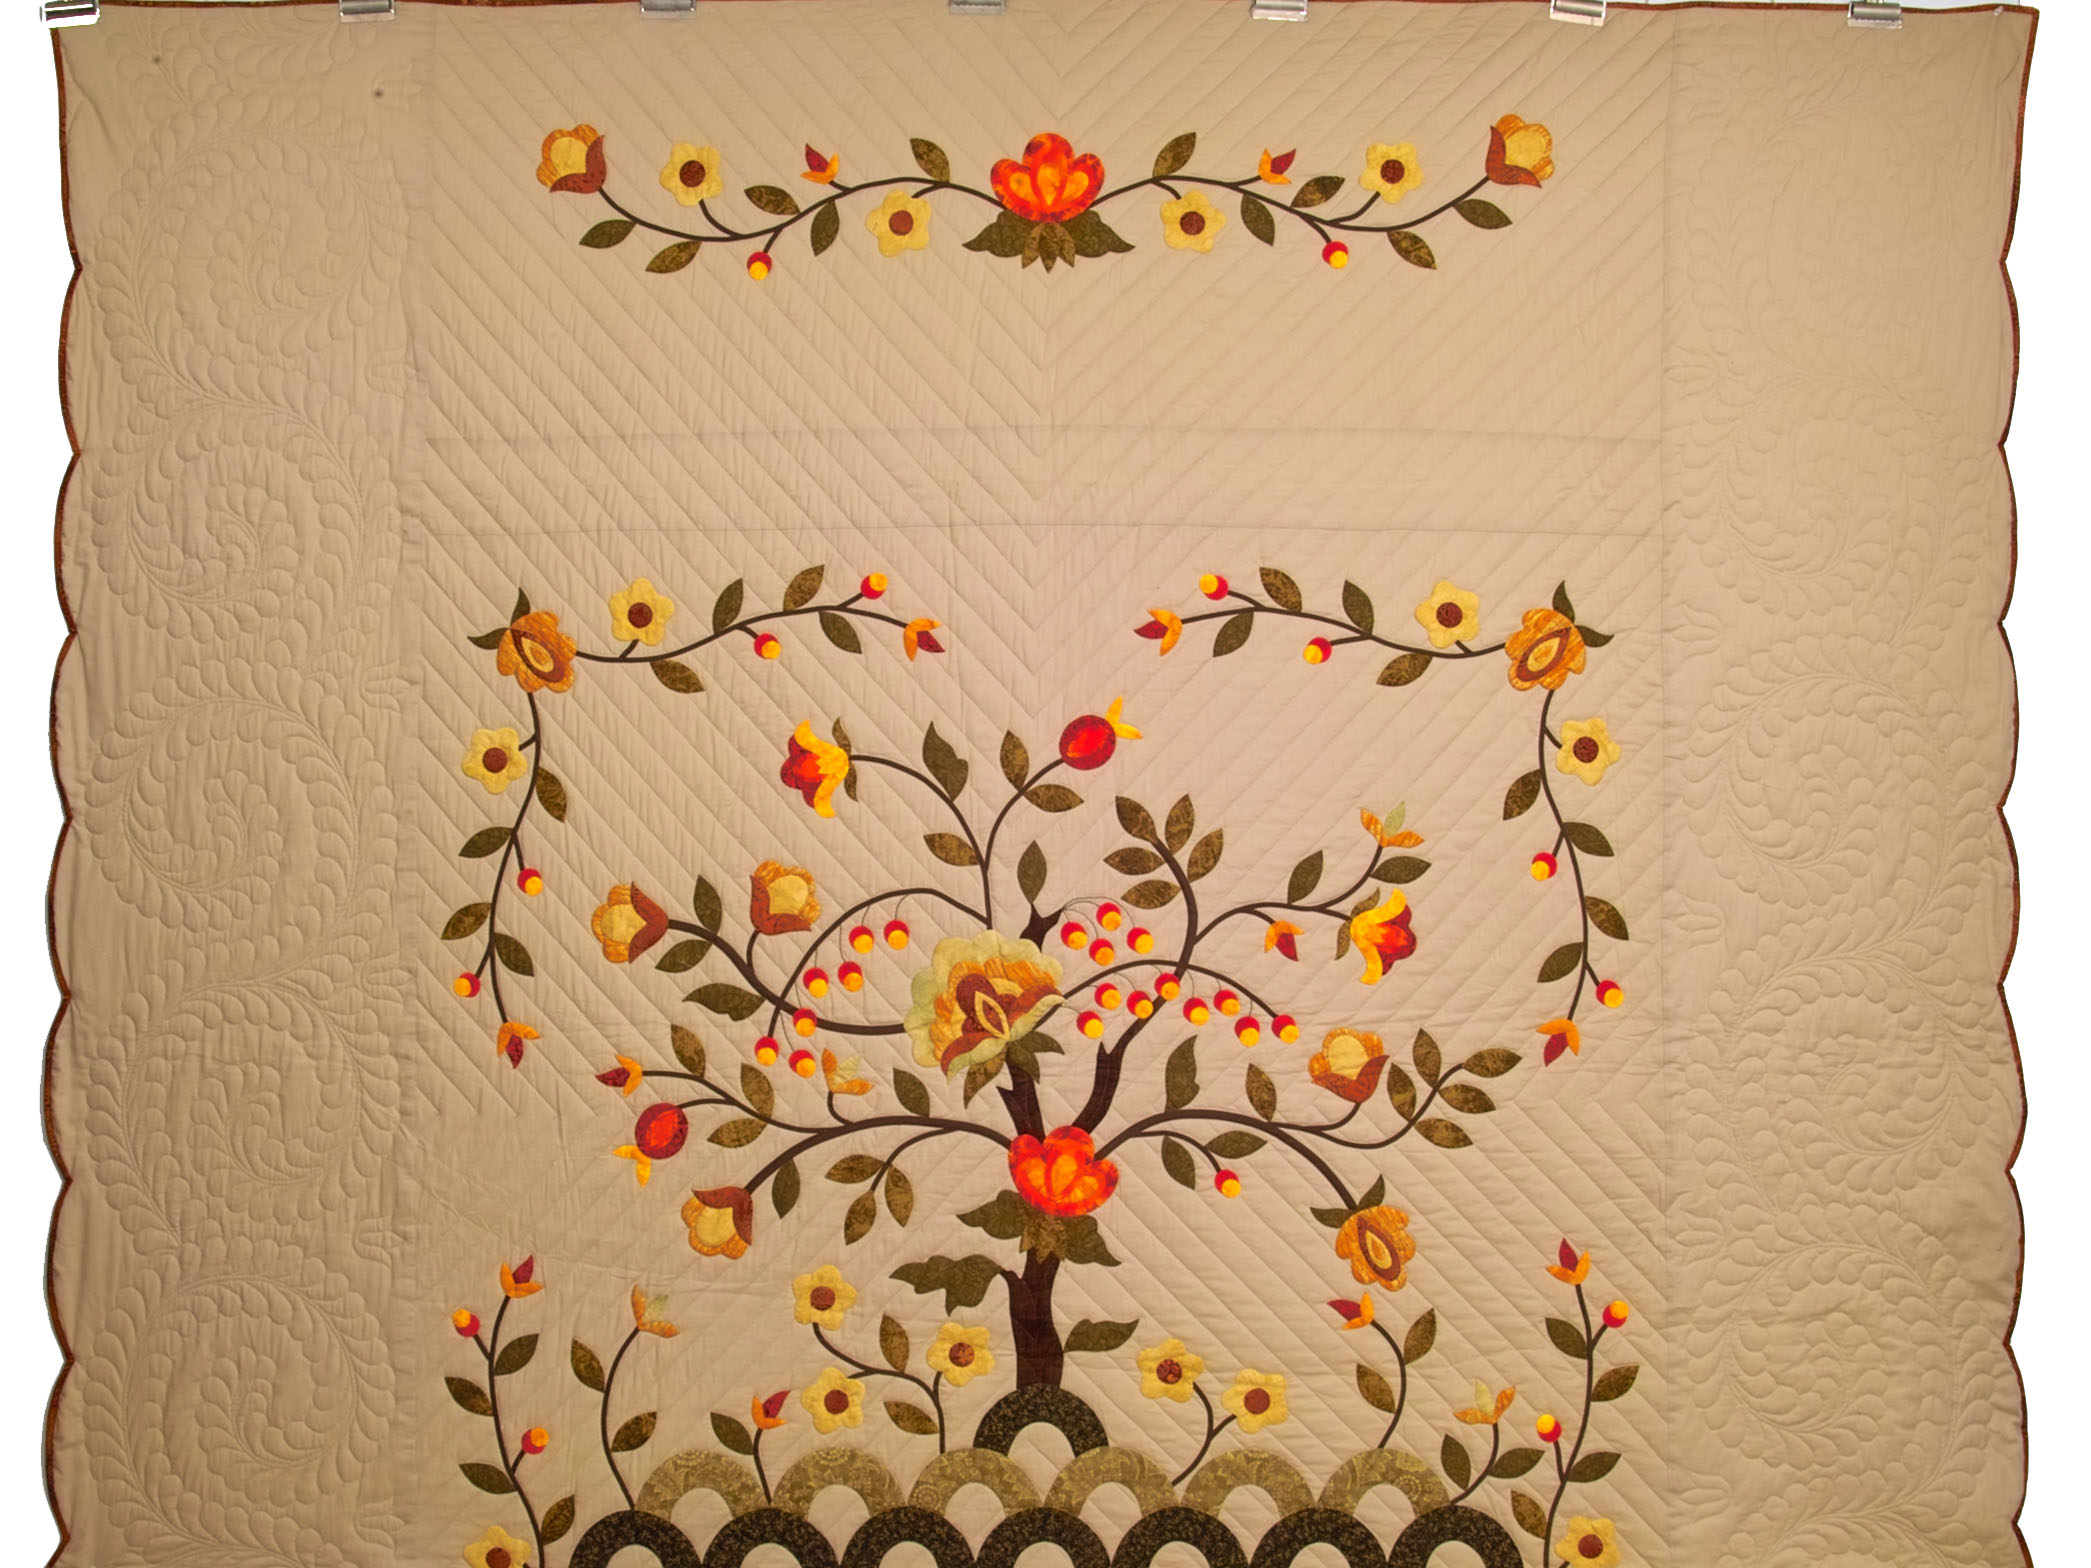
Sunset Tree Of Life Applique Quilt Hannah S Quilts
amishcountrylanes.com
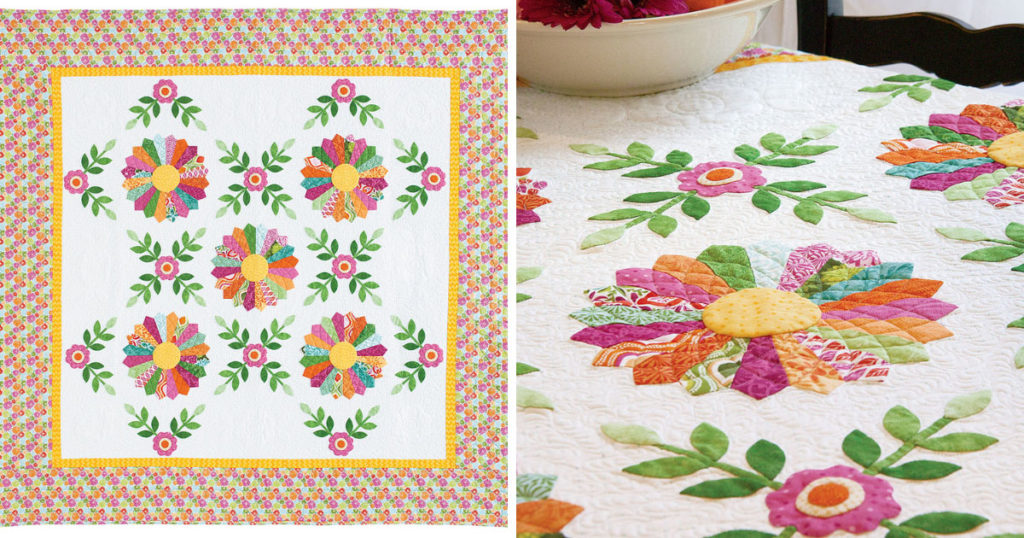
The Spring Dresdens Applique Quilt Quilting Tutorials
quiltingtutorials.com

Applique Quilt Borders Ideas Applique Border Applique Quilts Applique Quilt Border
www.pinterest.com

Live Love Meow Applique Quilt
runawayquilting.com

Must Try Trends Collage Applique Quilts Aqs Blog
www.aqsblog.com
When Do I Quilt My Applique
www.generations-quilt-patterns.com

Season S Blessings Wool Applique Quilt Pattern Snuggles Quilts
shop.snugglesquilts.com

Machine Reverse Applique Tutorial From Eye Of The Beholder Aqs Blog
www.aqsblog.com

Ragged Edge Applique Quilt Eme Machine Embroidery
www.earlymayembroidery.com
Https Encrypted Tbn0 Gstatic Com Images Q Tbn 3aand9gcs0ilp0svp8fic Kjs9f4ozcvu5vnqytbi6f3dnc3vvuyjalovv Usqp Cau
encrypted-tbn0.gstatic.com

Love Of Quilting Preview A Way With Applique Episode 3205 Youtube
www.youtube.com

How To Make An Applique Quilt 6 Steps Instructables
www.instructables.com

Applique Quilt Patterns Give Meaning To Applique Quilting
www.quilting-tidbits.com

Applique Before Or During Quilting Patchwork Posse
www.patchworkposse.com

Quilting Applique Flowers And Leaves Lori Kennedy Quilts
lorikennedyquilts.com

How To Make An Applique Quilt Hgtv
www.hgtv.com

Reckless Raw Edge Applique Quilts Quilting Daily
www.quiltingdaily.com

Applique All Day Raw Edge Applique Tutorial Suzy Quilts
suzyquilts.com

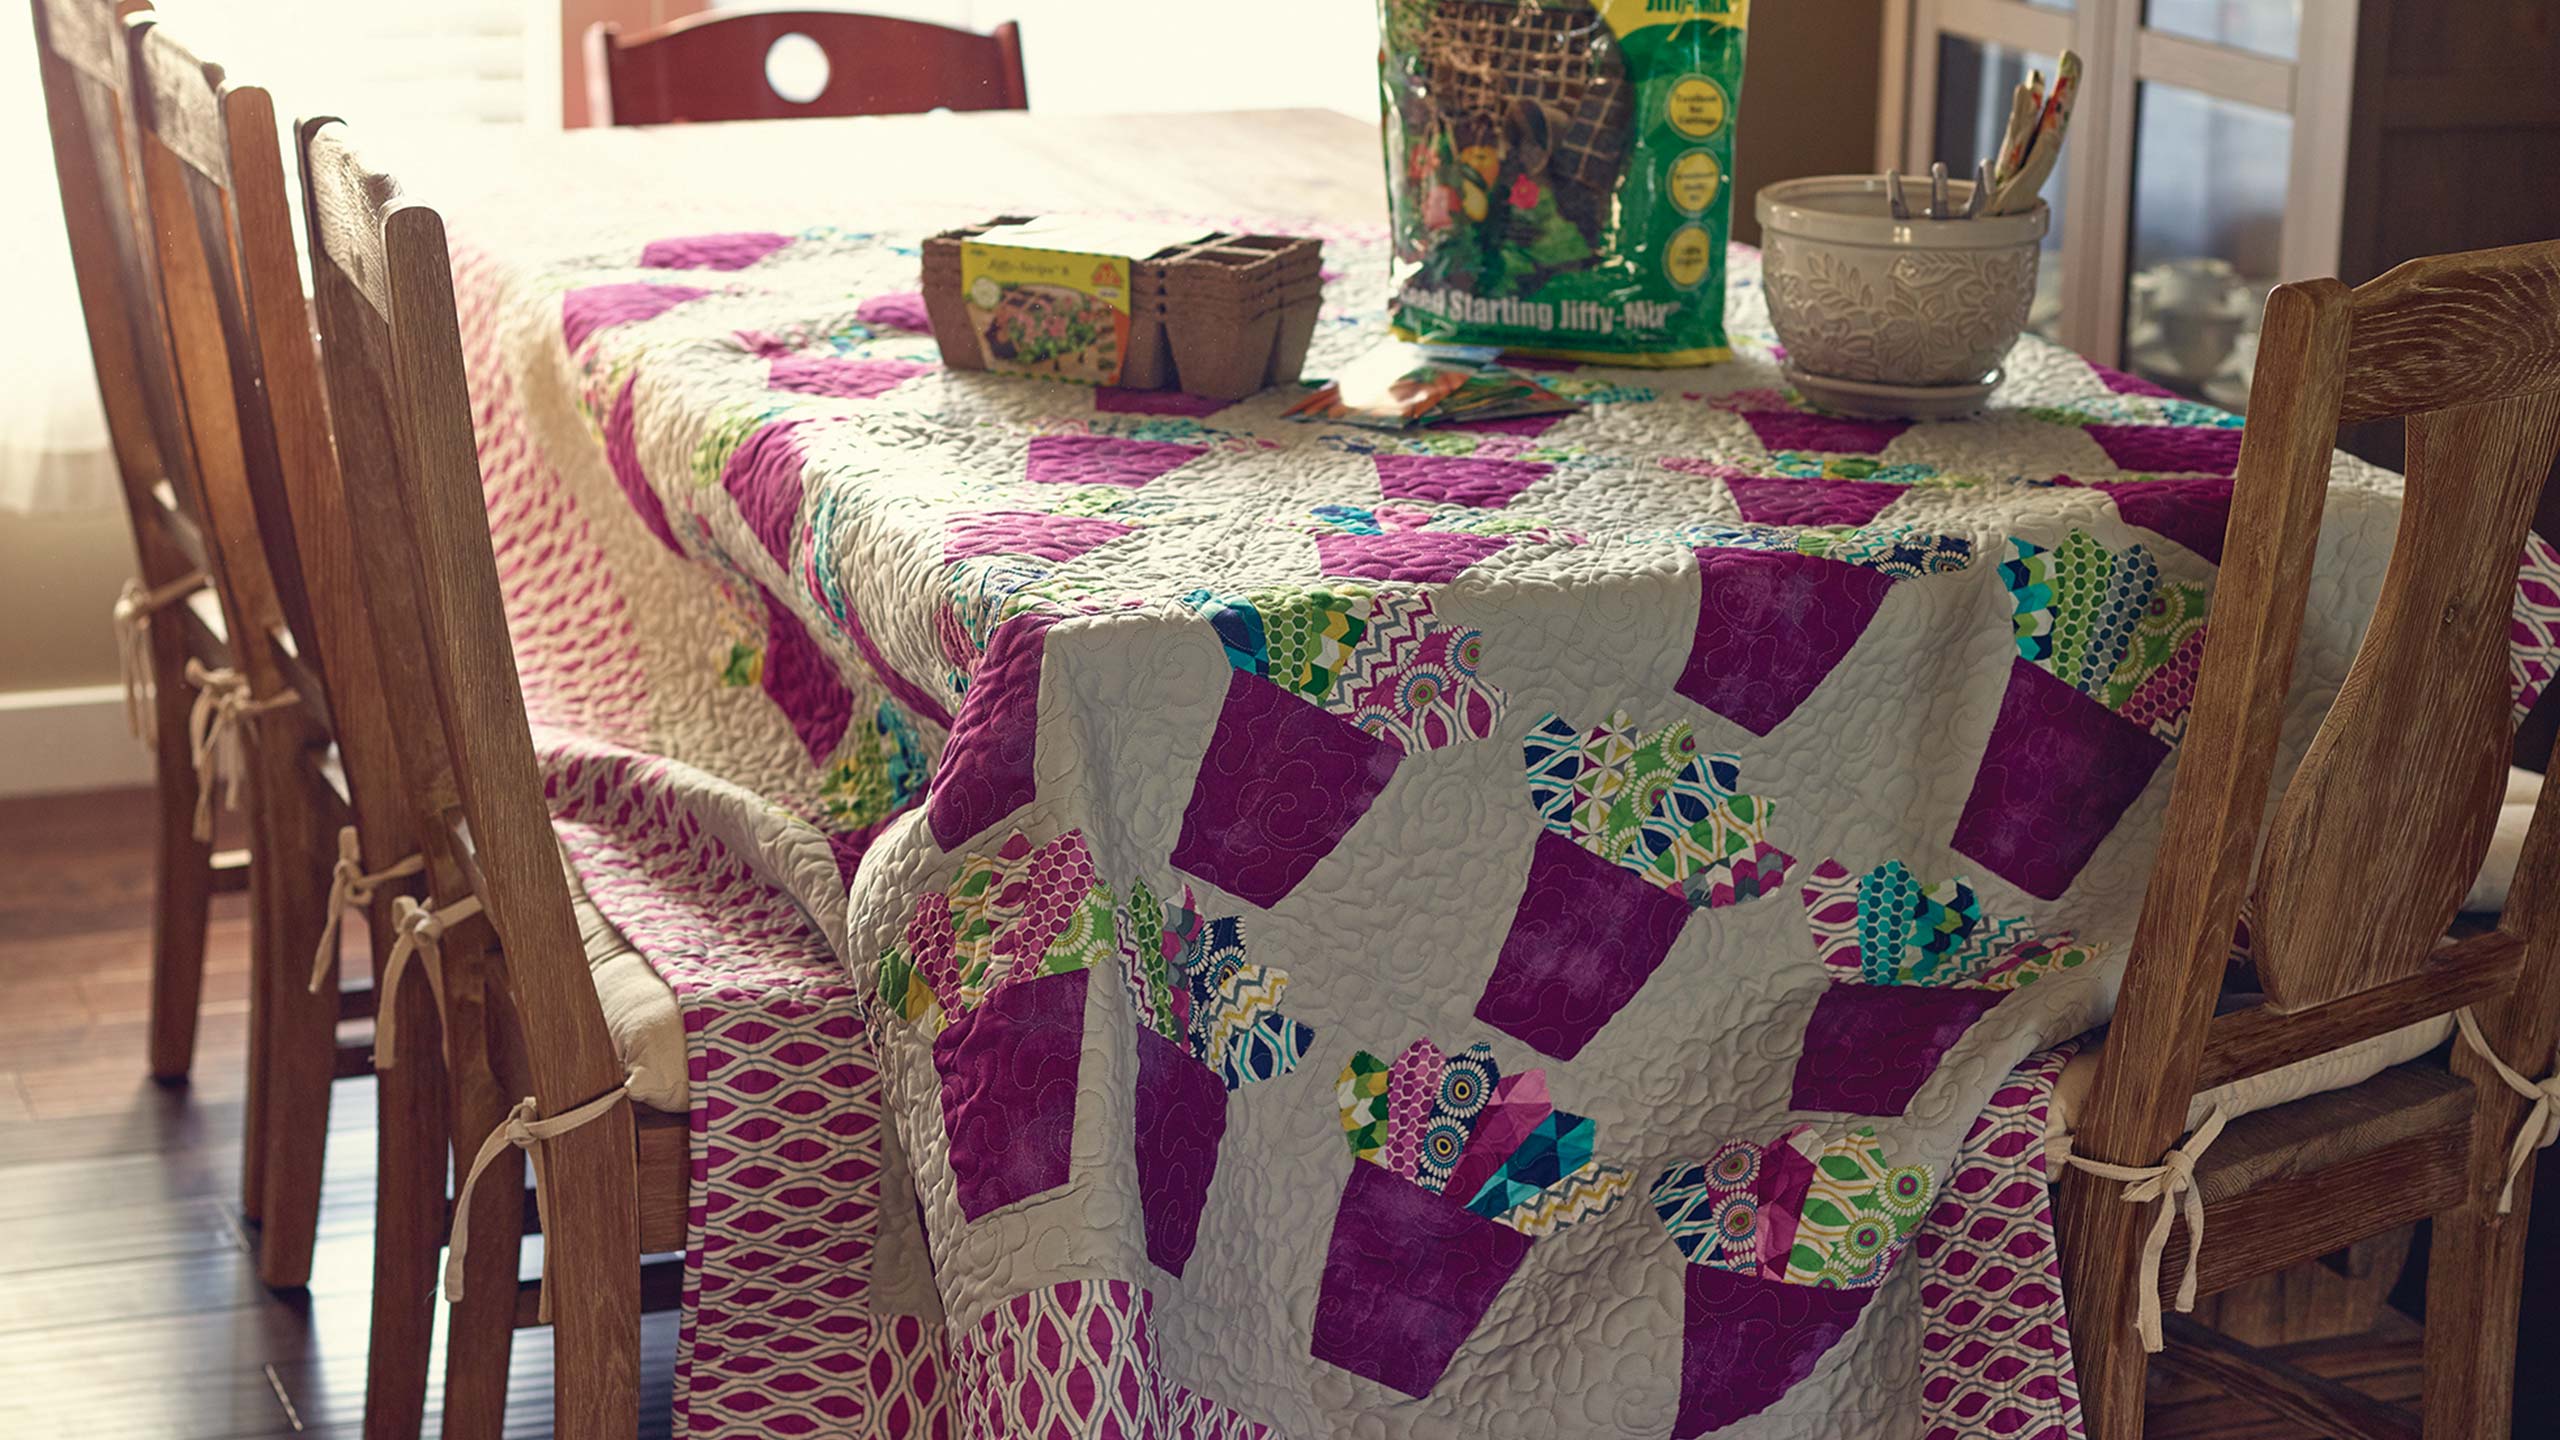
Diy Cactus Applique Quilt Tutorial Annewritten
annewritten.com

Hand Applique Tutorial For Beginners Thimblelady
www.thimblelady.com

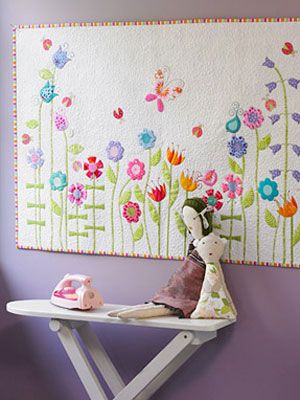
Applique Quilt Workshop American Museum Gardens
americanmuseum.org
Make An Easy Applique Rag Quilt Tutorial Shiny Happy World
www.shinyhappyworld.com
Applique Quilt Patterns Free Baby Quilt Patterns At Womansday Com
www.womansday.com

Make A Road Trip Map Applique Quilt With Jenny Quilting Tutorials
quiltingtutorials.com

Zen Garden 12 Block Applique Quilt
www.urbanelementz.com

Free Christmas Applique Templates Gathered
www.gathered.how

How To Do Almost Invisible Applique By Machine Quilting Tips Techniques 058 Youtube
www.youtube.com

Spring Sprouts Applique Quilt Pattern By Laundry Basket Quilts
www.kayewood.com