
How To Apply Decals To Models

Tamiya S Porsche 956 Kit Includes A Great Set Of Canon Decals From Cartograf The Project Is Great Practice And Makes A Great Looking Model Too
scaleautomag.com

Easy Steps For Applying Waterslide Decals To Your Scale Models
www.jonbius.com

How To Apply Water Slide Decals Youtube
www.youtube.com

Apply Realistic Decals In Solidworks Models Mlc Cad Systems
mlc-cad.com
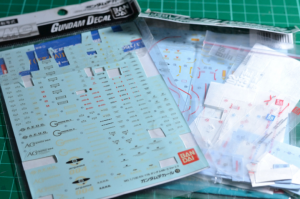
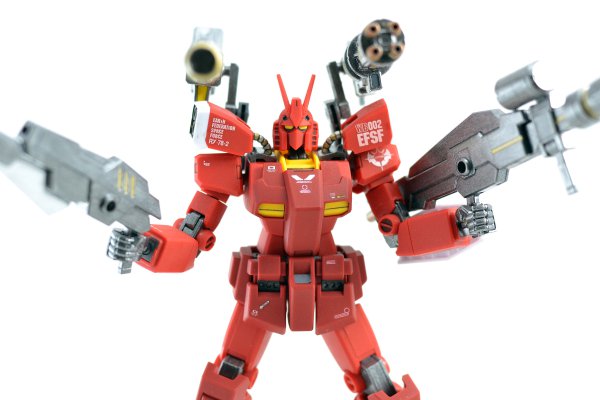
The Gunpla Tutorial How To Decal Your Gundam Plastic Model Dry Transfer And Water Slide Decals From Japan
blog.fromjapan.co.jp

How To Apply Decals On Scale Models Tutorial Youtube
www.youtube.com
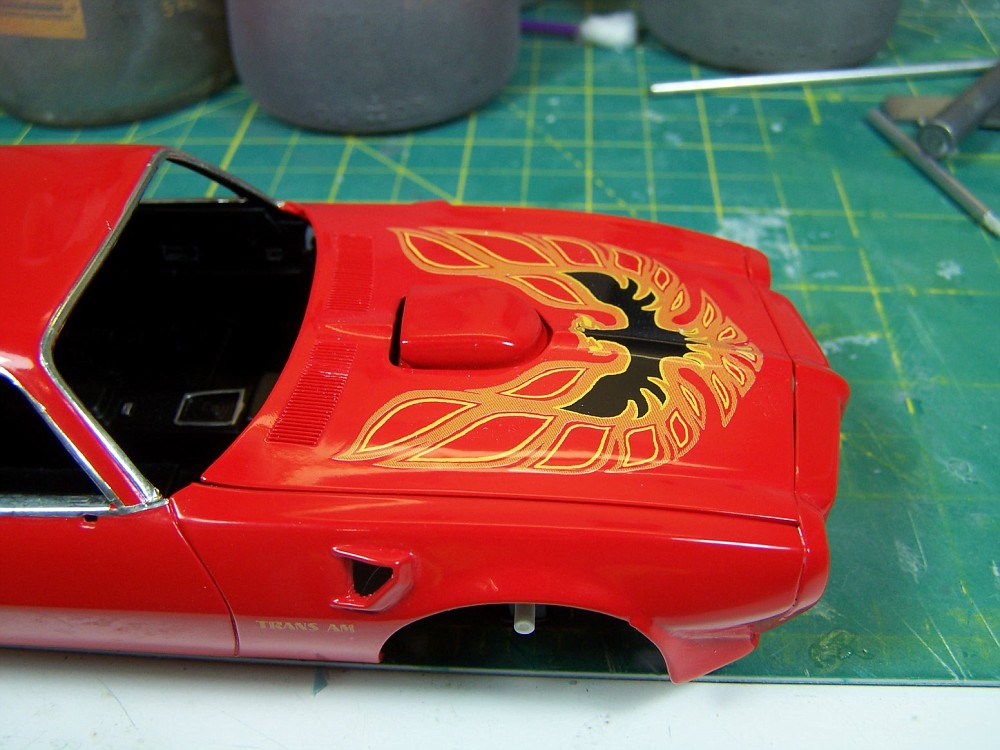
5 apply a protective.

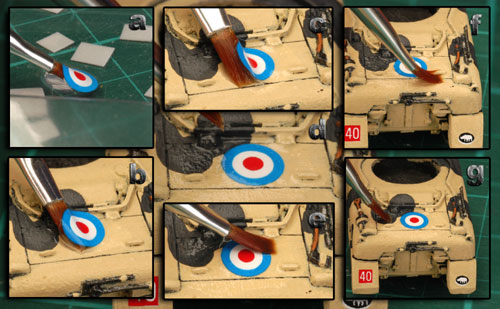
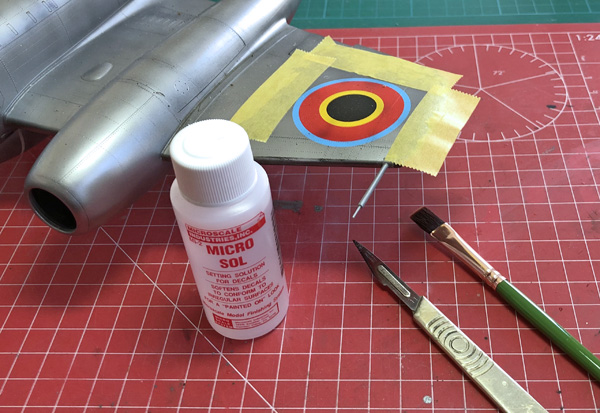
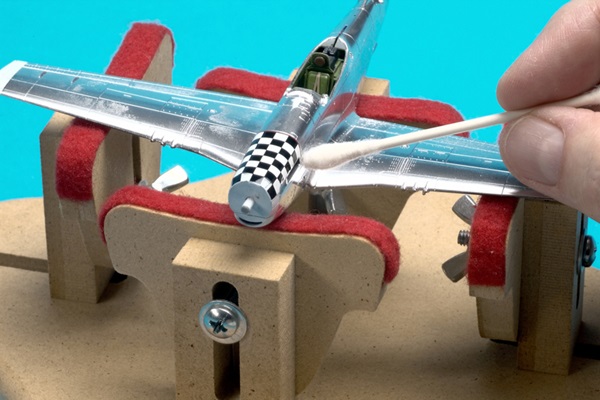
How to apply decals to models. Apply the sol to the decal area using a q tip before applying the decal. 4 apply a softening solution. Use a fresh hobby knife blade to cut as close to the artworklettering as you possibly can so there is little or none of the unwanted clear vinyl that the self adhesive decal is printed on.
It will also soften the decal so position it as quickly as you can. Dont remove the top lining or the backing on the decal yet. Use a long continuous piece of tape to cover the entire top edge.
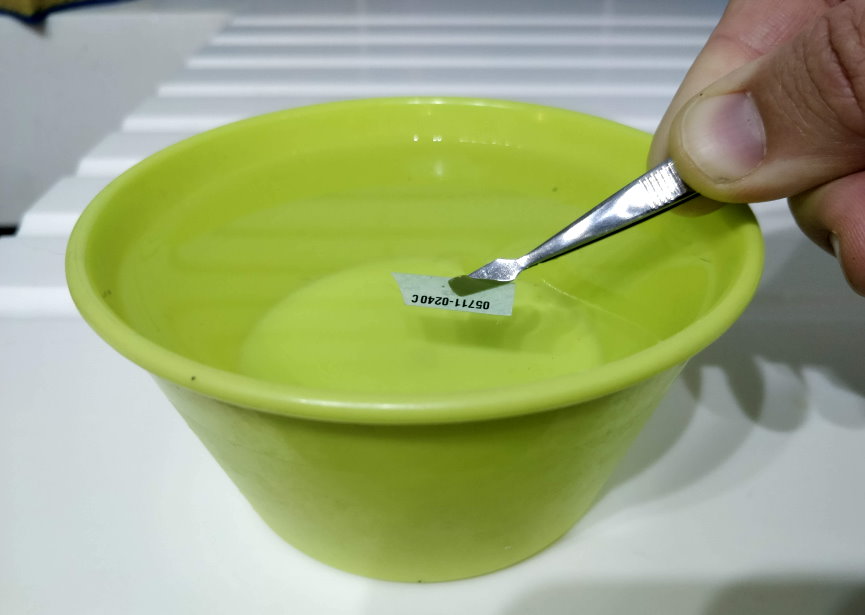
Dip the decal then set it paper side down on a paper towel and let it soak for a minute or so to loosen the decal. To apply decals to a plastic model airplane you will need. It will prepare the surface to receive the decal and aid in positioning it.
To protect your decals go to your local target and pick up some pledge with future floor polish. Give the decal a minute to dry then apply micro set. The top edge is the edge at the top of your decal.
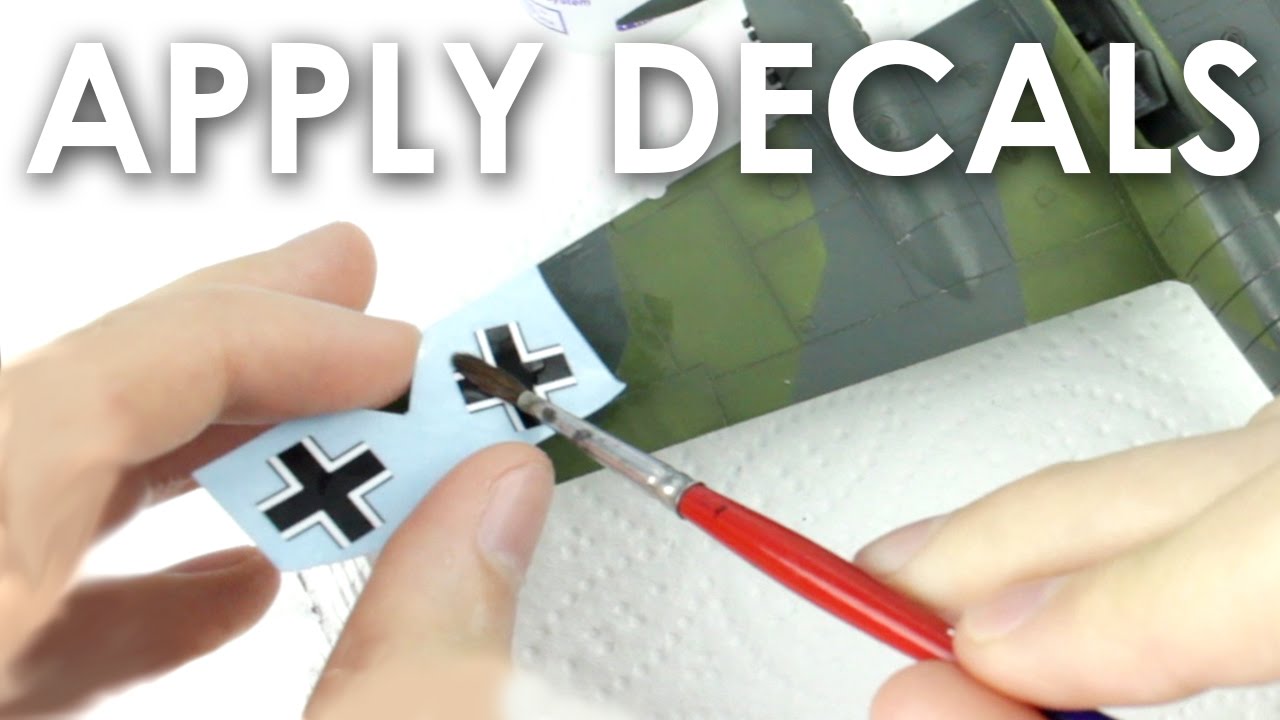
Tape the top edge of your decal to the surface with masking tape. One at a time dip a decal in water for a few seconds until you feel the decal move slightly from the backing paper. Pre cut the decals using scissors or a hobby knife.
3 slide the decal onto the model. How to apply decals to a model. How to apply self adhesive decals.
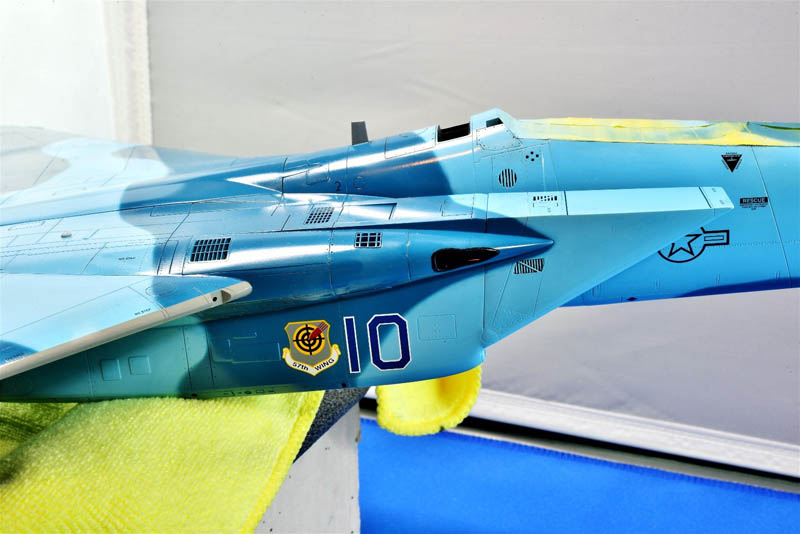
2 soak decals in water. 1 prepare the surface. After the model is complete use a damp paper towel to gently wipe down the whole model.
How to get that paint on effect on your decals quick and easy tutorial join the community and share your work. Apply decal setting solution to the model surface. Smooth the surface by applying a thin coat of gloss varnish and allowing it to dry thoroughly.
Line the decal up with the marks you made and apply the tape to the top edge of the decal. Start off by carefully selecting the decal that you are going to place onto your model.

How To Apply Decals To Scale Models Youtube
www.youtube.com

Decal Adhesive
www.tamiya.com
How To Apply Decals To A Model Modelshade
www.modelshade.com

Easy Steps For Applying Waterslide Decals To Your Scale Models
www.jonbius.com

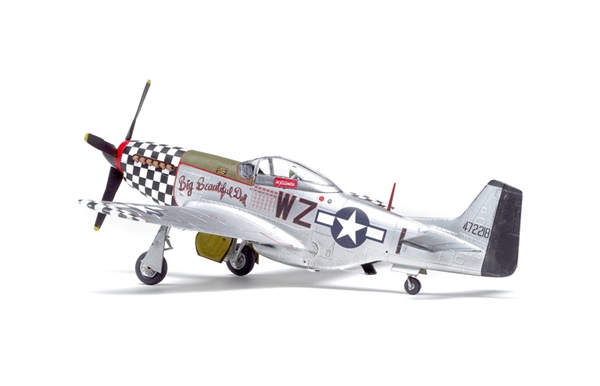
Applying Decals To A Plastic Model Airplane Building Scale Model Aircraft
www.buildingscalemodelaircraft.com

Using Decals
support.ptc.com

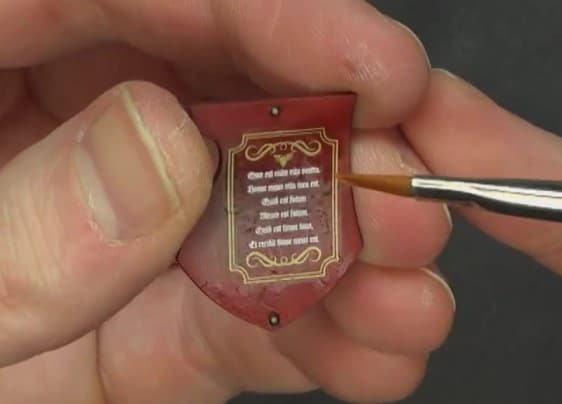
From The Warp How To Apply Waterslide Transfers Decals
fromthewarp.blogspot.com

How To Apply Decals On A Traxxas Model Traxxas
m.traxxas.com

Simp Models A10 General Design Water Decal Eva Waterslide Decals Ebay
www.ebay.com

Don T Suck At Applying Transfers Decals Anymore Spikey Bits
spikeybits.com
How To Apply Decals News Wonderland Models
www.wonderlandmodels.com
Model Airplane Building Decals And Markings
www.modelairplanebuilding.com

How To Apply Waterslide Decals Scale Model Guide
www.scalemodelguide.com
Hobby
www.flamesofwar.com
Scale Model Tips How To Apply Decals Correctly Modelspace Blog
www.model-space.com
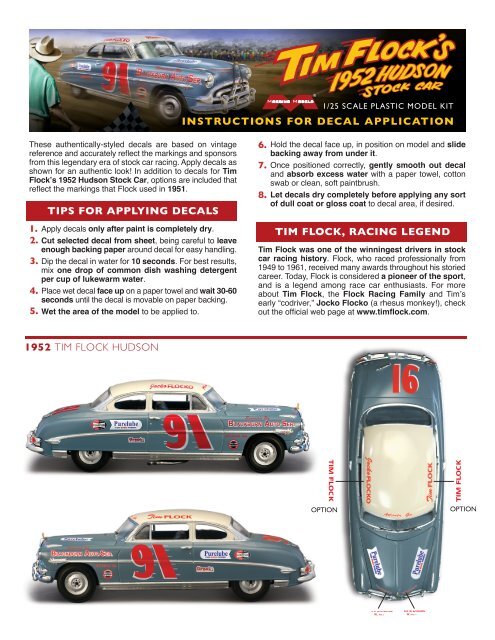
Instructions For Decal Application Moebius Models
www.yumpu.com
Don T Suck At Applying Transfers Decals Anymore Spikey Bits
spikeybits.com

Waterslide Decals Guide Faq My Custom Hot Wheels Decals
shop.mycustomhotwheels.com
Scale Model Tips How To Apply Decals Correctly Modelspace Blog
www.model-space.com

Applying Decals Build Tips And Techniques Tamiyaclub Com
www.tamiyaclub.com
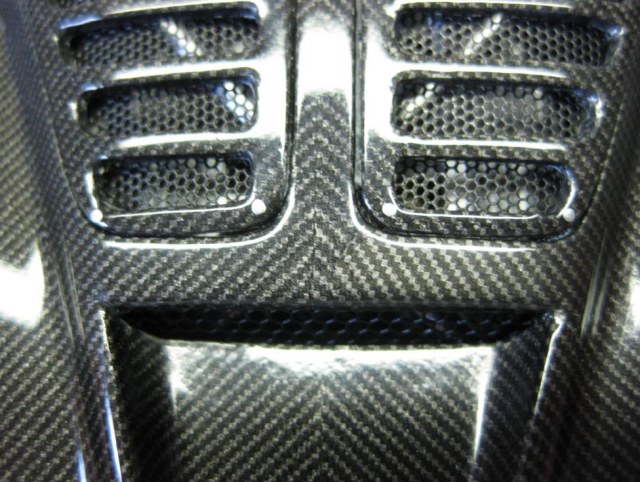
How To Apply Carbon Decals Diecastsociety Comdiecastsociety Com
diecastsociety.com
The Gunpla Tutorial How To Decal Your Gundam Plastic Model Dry Transfer And Water Slide Decals From Japan
blog.fromjapan.co.jp
Hobby Applying Decals So They Seem Painted Bell Of Lost Souls
www.belloflostsouls.net
How To Paint Your Scale Model And Apply Decals Finescale Modeler Magazine
finescale.com

How Best To Apply And Seal Decals Modelmakers
www.reddit.com
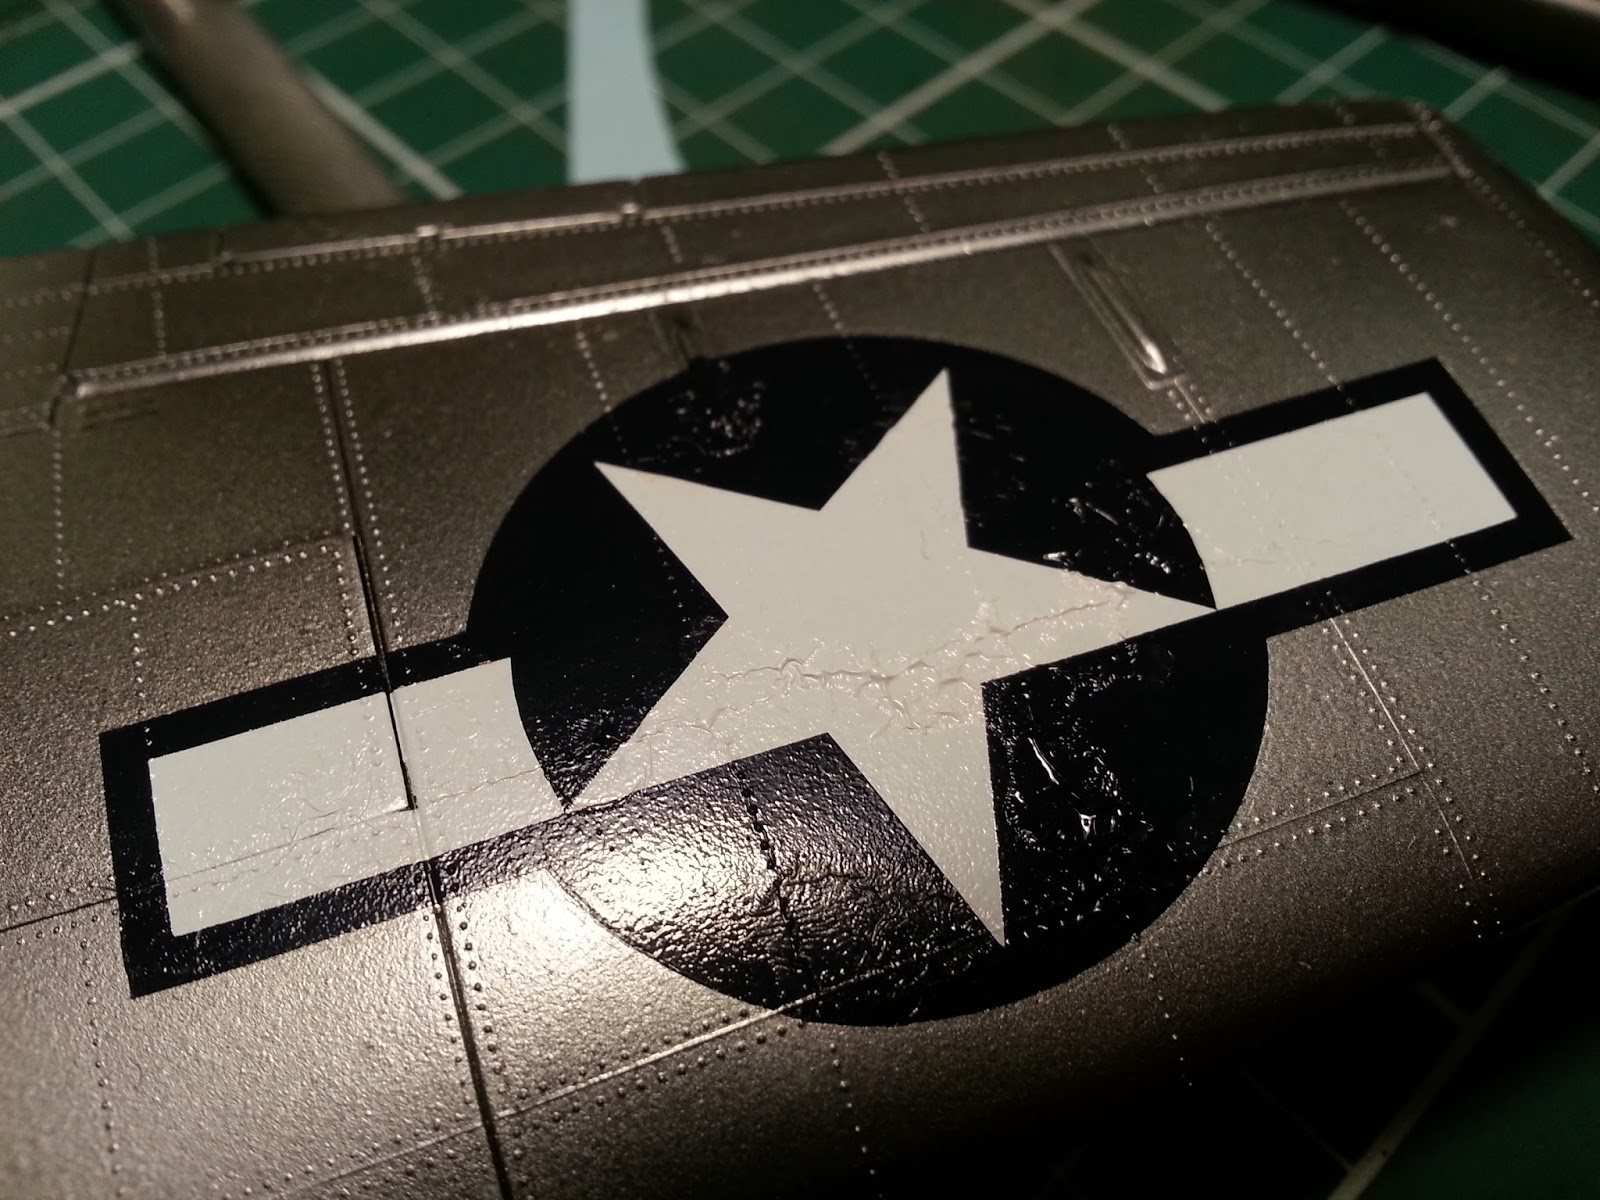
Dave S Model Workshop Decals 101 How To Avoid Silvering And How To Get Decals To Settle Into Gaps And Over Rivets
www.davesmodelworkshop.com

How To Apply Waterslide Decals Scale Model Guide
www.scalemodelguide.com

How To Apply Waterslide Decal On Your Plastic Model Kit Plastic Model Kits Plastic Models Model Kit
www.pinterest.com

How To Apply Decals To Scale Models Youtube
www.youtube.com

Micro Armour How To Apply Decals To 6mm Models Brooklyn Wargaming
brooklynwargaming.com

Amazon Com Decal Setting Solution Micro Scale Micro Sol 102 Micro Set 101 Package Decal Toys Games
www.amazon.com

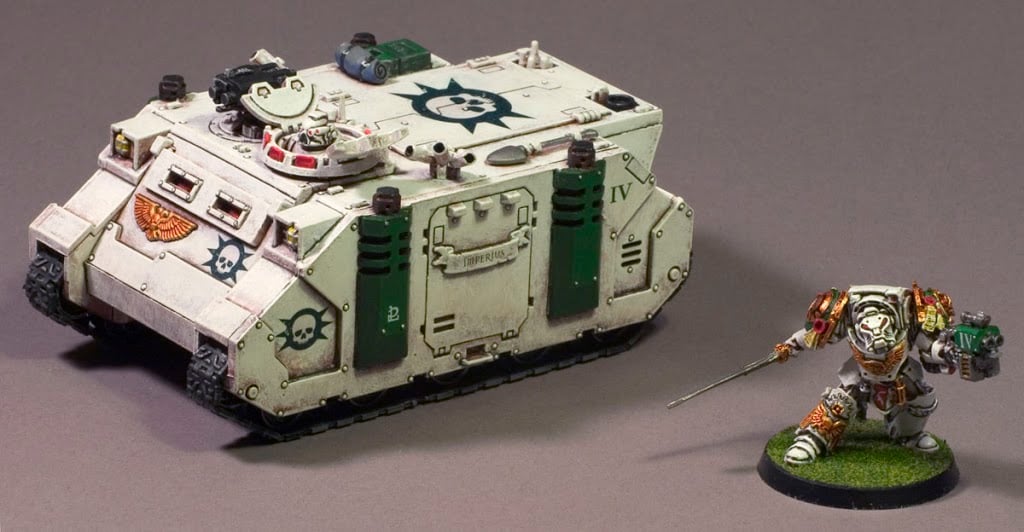
How To Apply Warhammer Space Marine Decals Tips Tangible Day
tangibleday.com
How To Remove Decals From Your Model Technique Scale Modelling Now
www.scalemodellingnow.com

How To Guide Apply Decals To Your Models Modelling Video Youtube
www.youtube.com

How To Apply Decals On A Scale Model Vms Decal Set Soften Tutorial Youtube How To Apply Model Tutorial
www.pinterest.co.kr

How To Apply Decals Kusakusa Gunpla
kusakusa.wordpress.com

Car Sticker Funny Little Animal Lizard Heartbeat Car Decoration Decal Ideas Apply To All Models Black White 15cm 8cm Car Stickers Aliexpress
www.aliexpress.com
How To Apply Decals To A Model Modelshade
www.modelshade.com
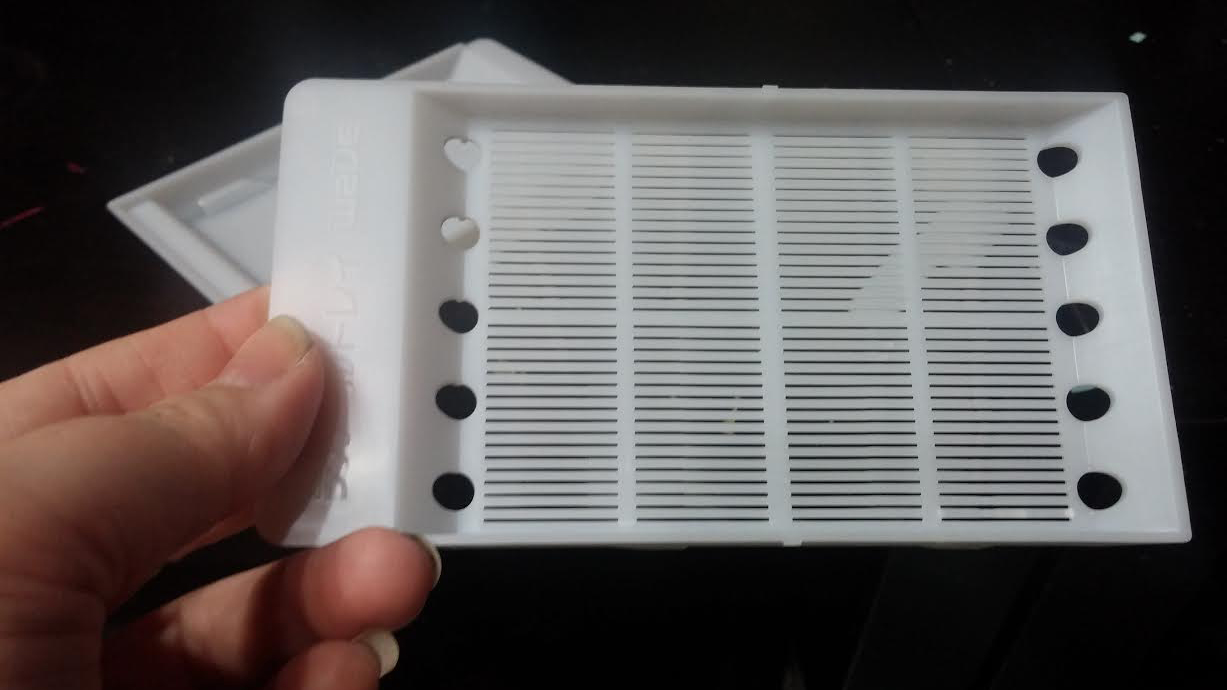
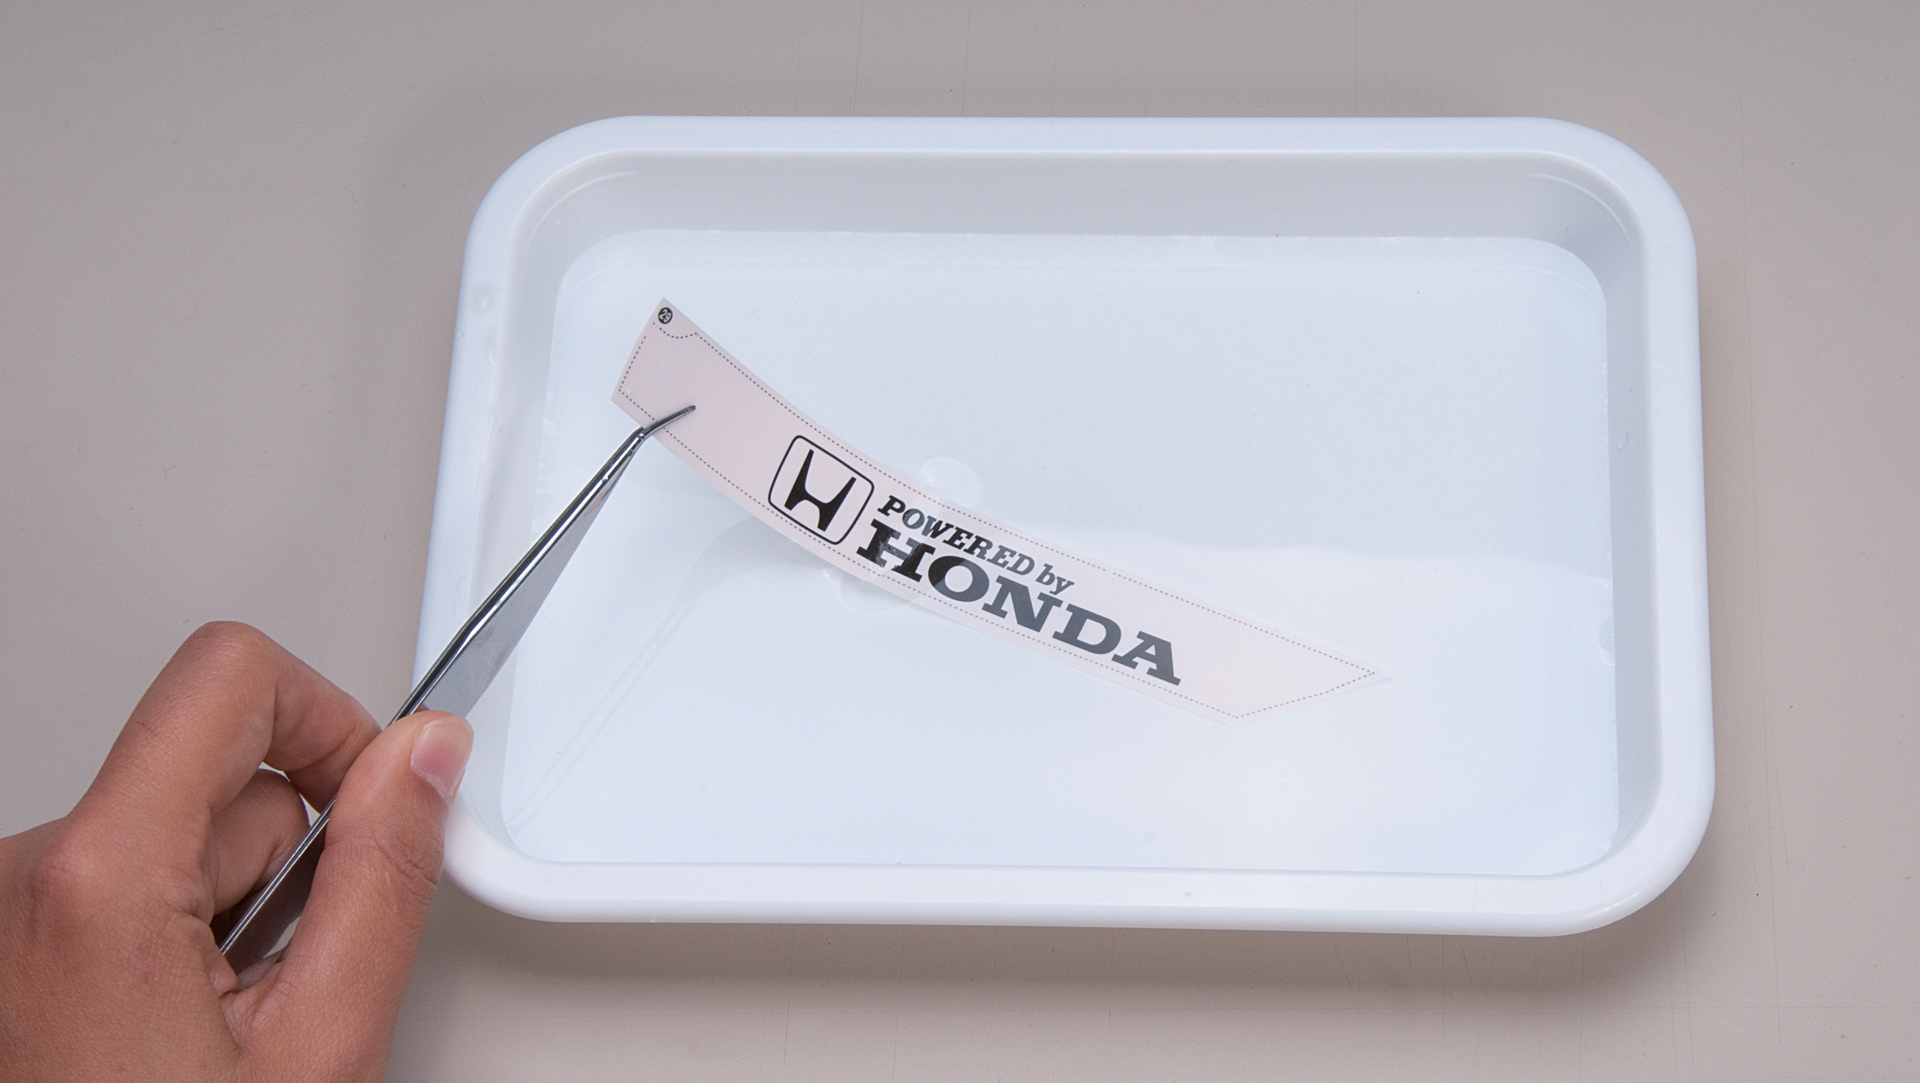
Applying Waterslide Decals With A Modeling Tray Gunpla 101
www.gunpla101.com

Simp Models A01 General Design Warning Decal 1 100 Waterslide Decals Ebay
www.ebay.com
Applying Decals Chainsawr
store.chainsawr.com
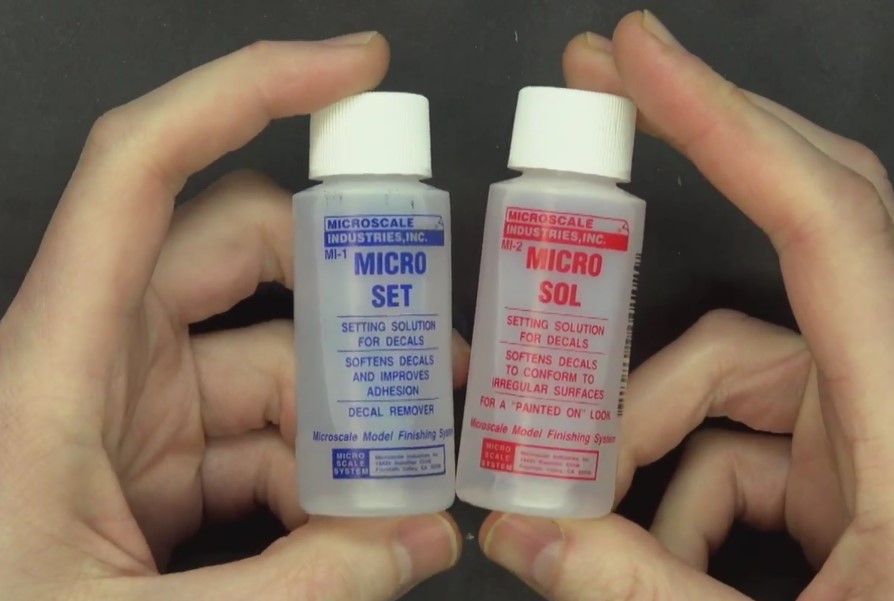
How To Apply Decals With Microset And Microsol The Mighty Brush
www.themightybrush.com

How To Apply Water Slide Decals To Gundam Model Kit Youtube
www.youtube.com

Decals Finescale Modeler Magazine
finescale.com
Applying Warhammer Decal Transfers Purge The Alien
purgethealien.com
Scale Model Tips How To Apply Decals Correctly Modelspace Blog
www.model-space.com
From The Warp How To Apply Waterslide Transfers Decals
fromthewarp.blogspot.com

Simp Models A04 General Design Warning Decal 1 100 Waterslide Decals Ebay
www.ebay.com

How To Apply Waterslide Decals Scale Model Guide
www.scalemodelguide.com

How To Apply Decals To A Model Youtube
www.youtube.com

How To Apply Carbon Decals Diecastsociety Comdiecastsociety Com
diecastsociety.com
How To Paint Your Scale Model And Apply Decals Finescale Modeler Magazine
finescale.com

Easy Steps For Applying Waterslide Decals To Your Scale Models
www.jonbius.com

Xybmgz3lrjubwm

Hgw Models 1 35 Us White Stars Stencils Water Slide Decals
www.bnamodelworld.com

Applying Decals
www.brookhursthobbies.com

How To Apply Waterslide Decals Scale Model Guide
www.scalemodelguide.com

Dave S Model Workshop Decals 101 How To Avoid Silvering And How To Get Decals To Settle Into Gaps And Over Rivets
www.davesmodelworkshop.com

How To Apply Waterslide Decals Scale Model Guide
www.scalemodelguide.com

How To Apply Decals Kusakusa Gunpla
kusakusa.wordpress.com

How To Apply Warhammer Space Marine Decals Tips Tangible Day
tangibleday.com
How To Apply Decals To A Model Youtube
www.youtube.com
How To Apply Decals Large Scale Planes
www.largescaleplanes.com

Fine Scale Modeling Archives Tangible Day
tangibleday.com

Becc Model Acessories Flags Decal And Graphics Lettering Flag Poles
www.maritime-models.co.uk
Decals Under Clear Coat Yes Or No Tips Tricks And Tutorials Model Cars Magazine Forum
www.modelcarsmag.com

How To Apply Decals To A Model Youtube
www.youtube.com

Https Encrypted Tbn0 Gstatic Com Images Q Tbn 3aand9gcrcbqmronkw8iwm68p2i5yusdomh Khjszu1a Usqp Cau
Passion Models 1 35 Wwii Us Army Budge Insignia Decal Set Water Slide
www.bnamodelworld.com

Applying Decals To A Plastic Model Airplane Building Scale Model Aircraft
www.buildingscalemodelaircraft.com
Dry Transfer Decals Vs Waterslide Decals Which Are Better
imagetransfers.com

How To Apply Warhammer Space Marine Decals Tips Tangible Day
tangibleday.com

Decals
www.scale-vehicle-model-makers.co.uk

Scale Model Tips How To Apply Decals Correctly Modelspace Blog
www.model-space.com

Aeromaster 1 48 P 51 23fg Ninetalis Scale Models
ninetalis.com
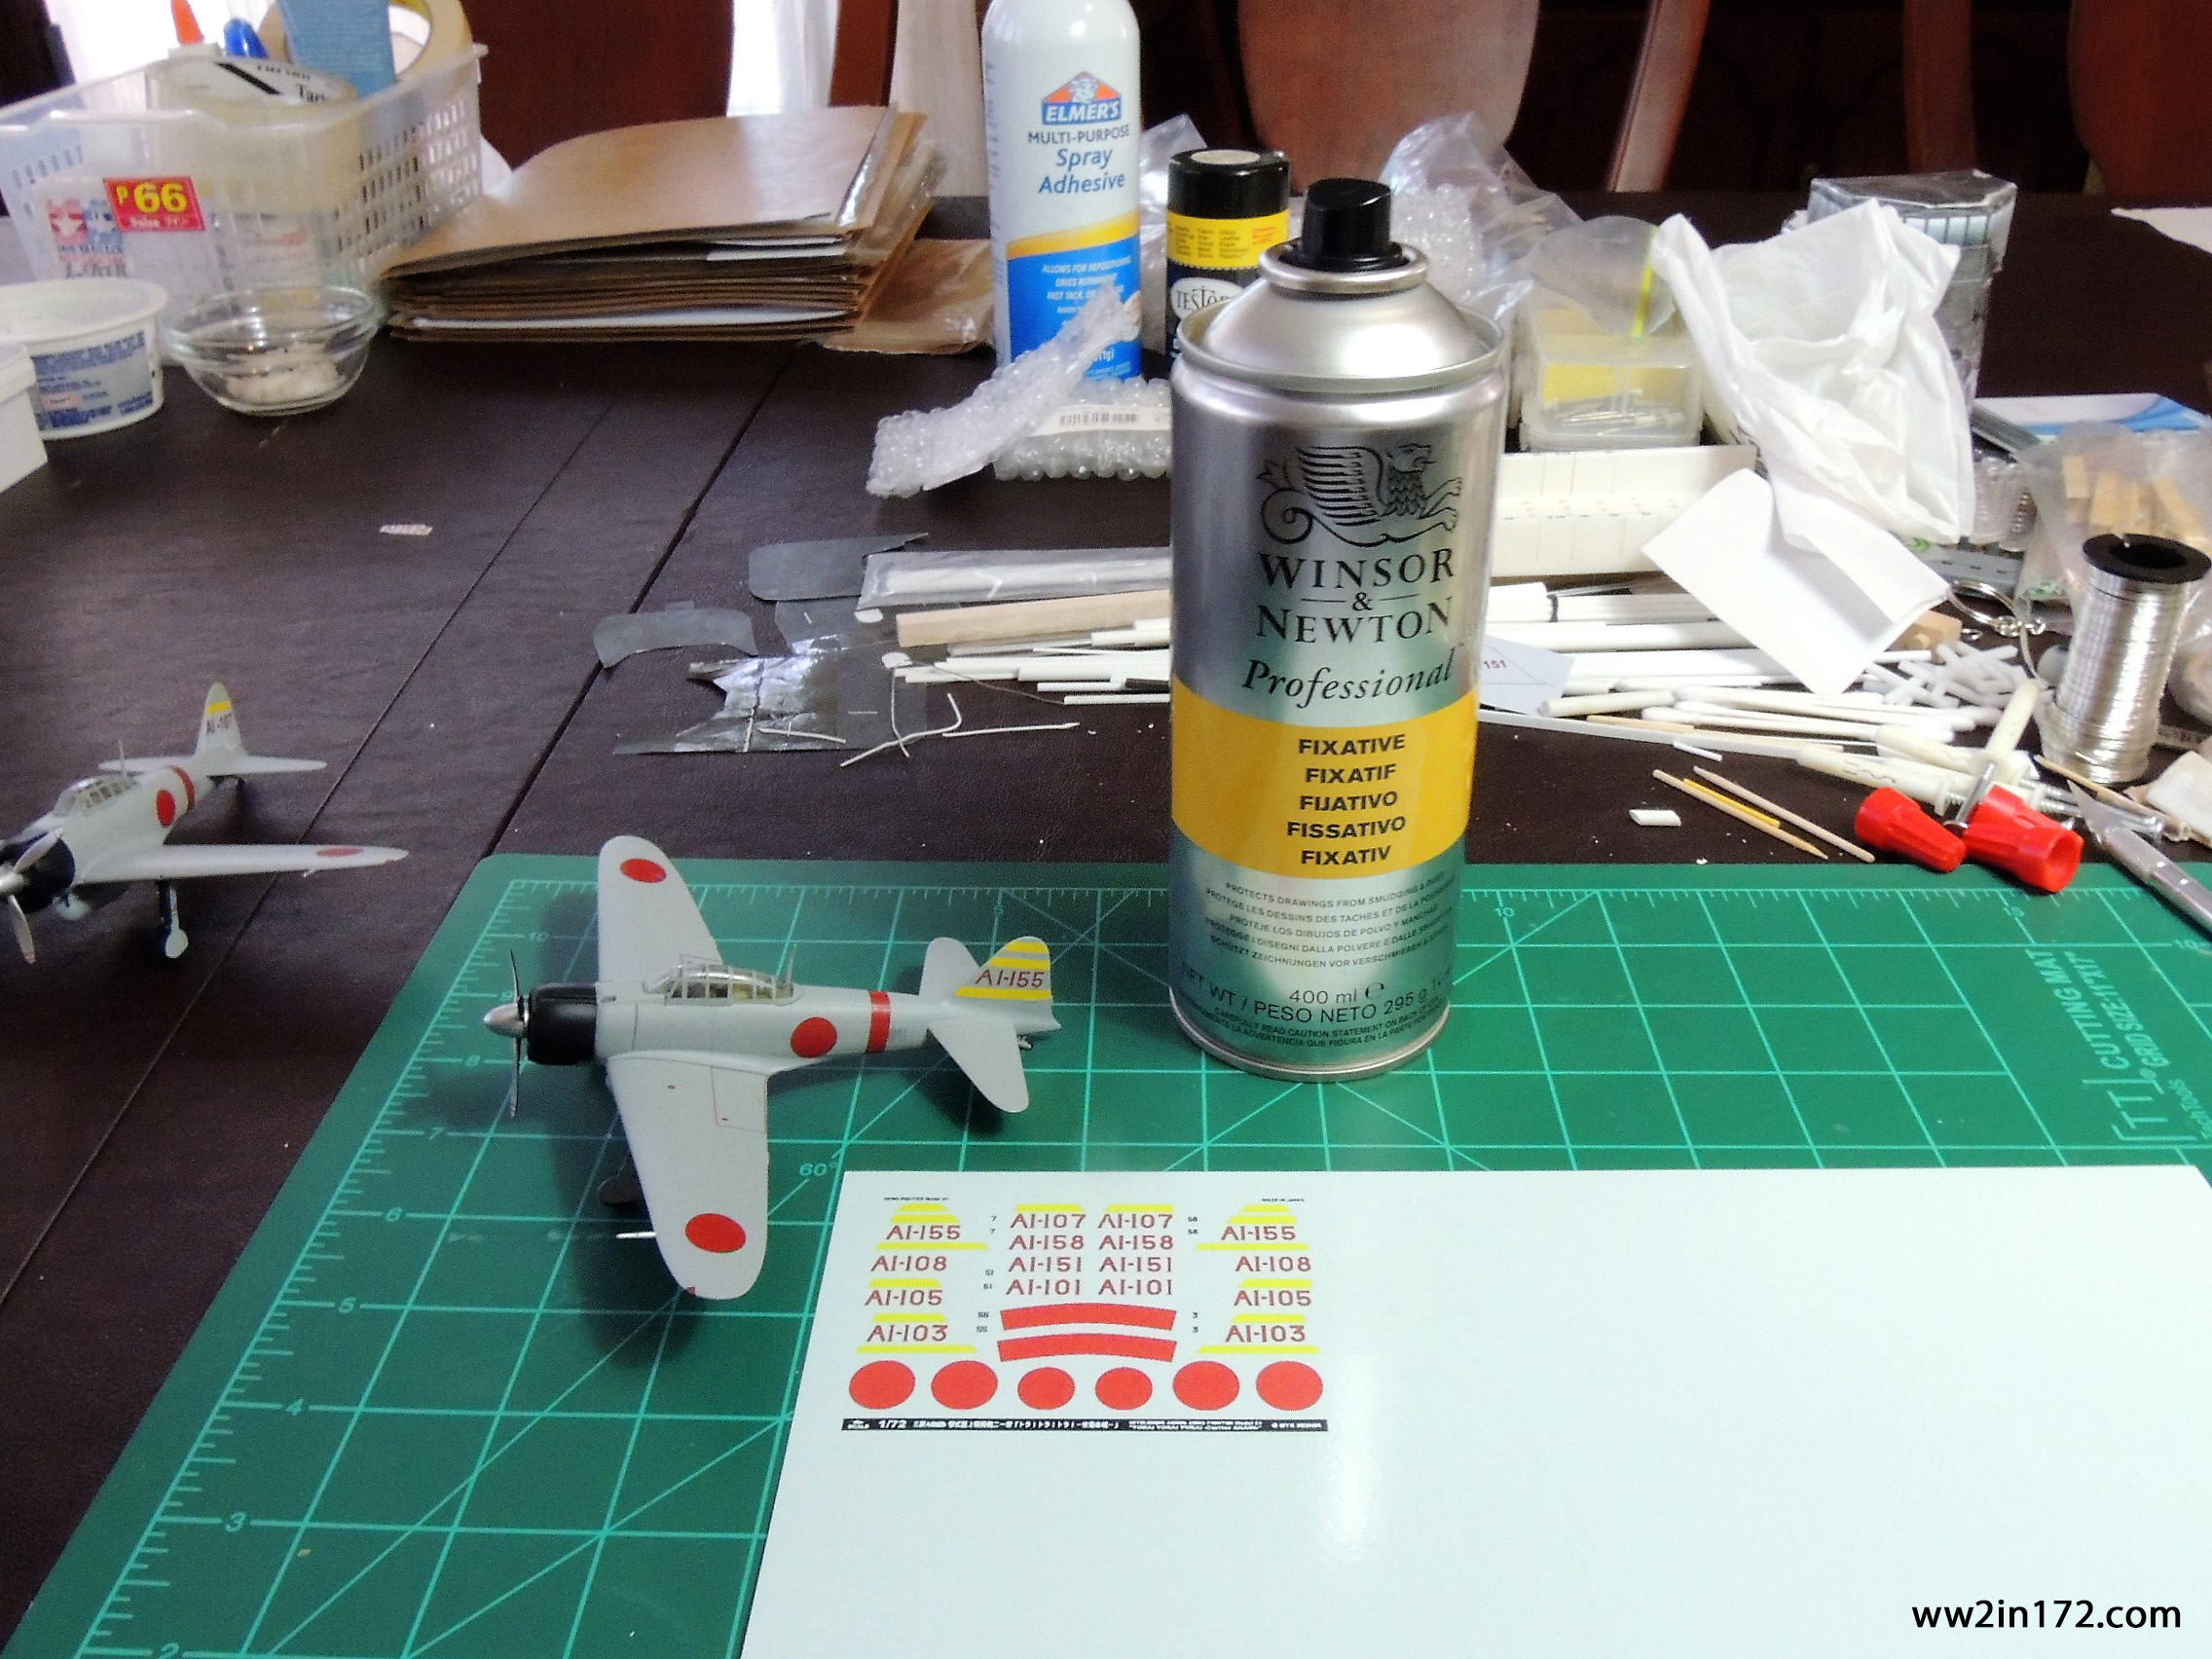
The A6m Zero In 1 72 Akagi S Zeros Prepare For Pearl Harbor Diorama Part 2 4 The Decaled Zeros Wwii In 1 72 Scale
ww2in172.com

How To Apply Decals To Scale Models Youtube Model Trains Model Airplanes Scale Models
www.pinterest.com
Save Those Old Or Yellowing Plastic Model Decals Old Model Kits Blog
www.oldmodelkits.com
How To Apply Carbon Decals Diecastsociety Comdiecastsociety Com
diecastsociety.com

Easy Steps For Applying Waterslide Decals To Your Scale Models
www.jonbius.com

How To Apply Waterslide Decals How To Apply Decals Decal Sheets
www.pinterest.com

Micro Armour How To Apply Decals To 6mm Models Brooklyn Wargaming
brooklynwargaming.com

How To Apply Decals To A Model Modelshade
www.modelshade.com

How To Apply Decals To A Plastic Model Airplane Youtube
www.youtube.com

Easy Steps For Applying Waterslide Decals To Your Scale Models
www.jonbius.com

How To Apply Decals On A Traxxas Model Traxxas
m.traxxas.com
From The Warp How To Apply Waterslide Transfers Decals
fromthewarp.blogspot.com
Don T Suck At Applying Transfers Decals Anymore Spikey Bits
spikeybits.com

Dry Transfer Decals 101 Gunpla 101
www.gunpla101.com

Applying Warhammer Decal Transfers Purge The Alien
purgethealien.com

3 Ways To Apply Waterslide Decals Wikihow
www.wikihow.com

How Best To Apply And Seal Decals Modelmakers
www.reddit.com
Https Encrypted Tbn0 Gstatic Com Images Q Tbn 3aand9gcrsqpkxklcwkydxgqlwr2aaevcqrefjmuuw1 Ilts9nbdev5hzj Usqp Cau
encrypted-tbn0.gstatic.com

How To Apply Warhammer Space Marine Decals Tips Tangible Day
tangibleday.com

Amazon Com Born This Way Lady Gaga Decal For Ipad Fits All Models Everything Else
www.amazon.com