
How To Build A Pegboard For Tools
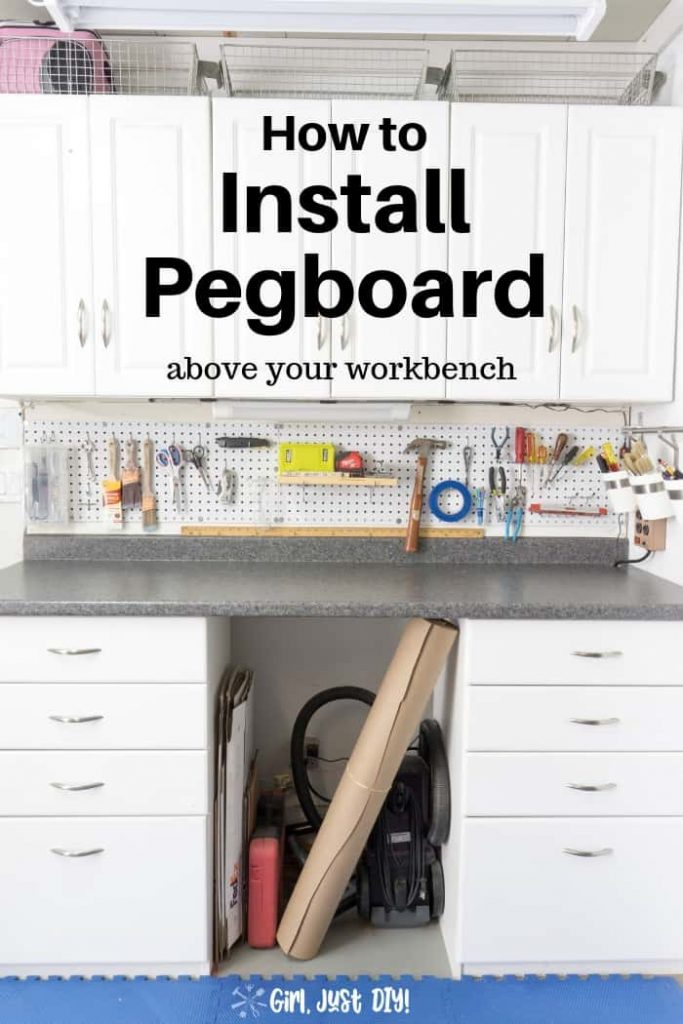
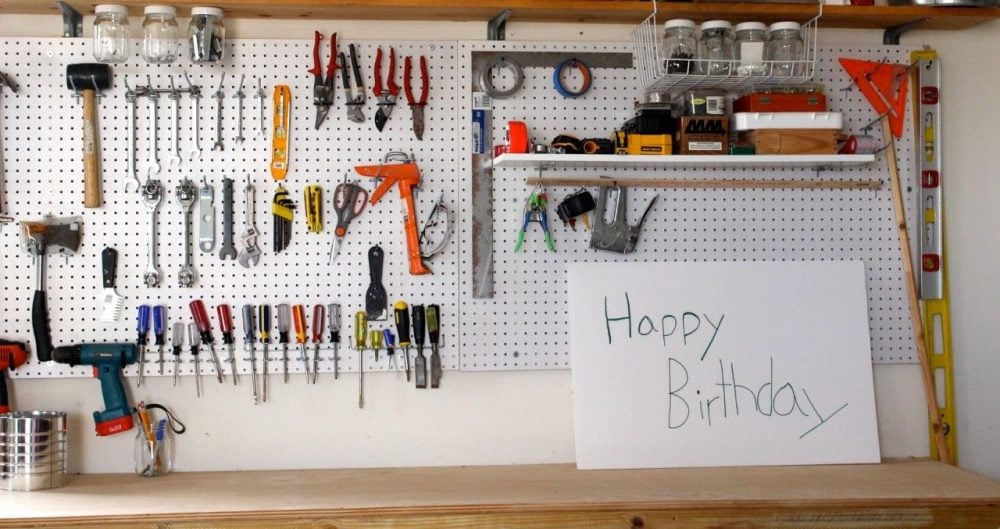
How To Install Pegboard Above Your Workbench Girl Just Diy
www.girljustdiy.com
Diy Garage Storage Outlook Home Inspections Llc
outlookhi.com

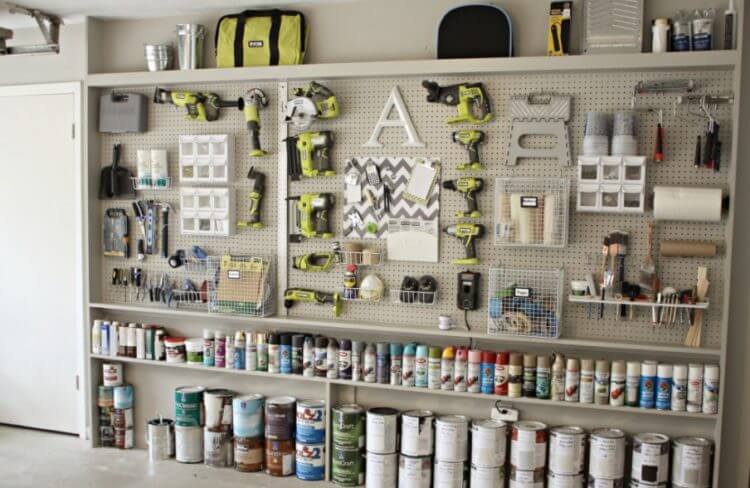
Organizing The Garage With Diy Pegboard Storage Wall
www.thecreativityexchange.com

How To Build A Diy Pegboard Wall For Your Workshop Love Renovations
www.loveandrenovations.com
How To Organize Tools On A Pegboard The Home Depot
www.homedepot.com
Https Encrypted Tbn0 Gstatic Com Images Q Tbn 3aand9gctxk 7enwsiufoblkdwo16h0vnmkwgazfoe O2v0i8 Usqp Cau
encrypted-tbn0.gstatic.com
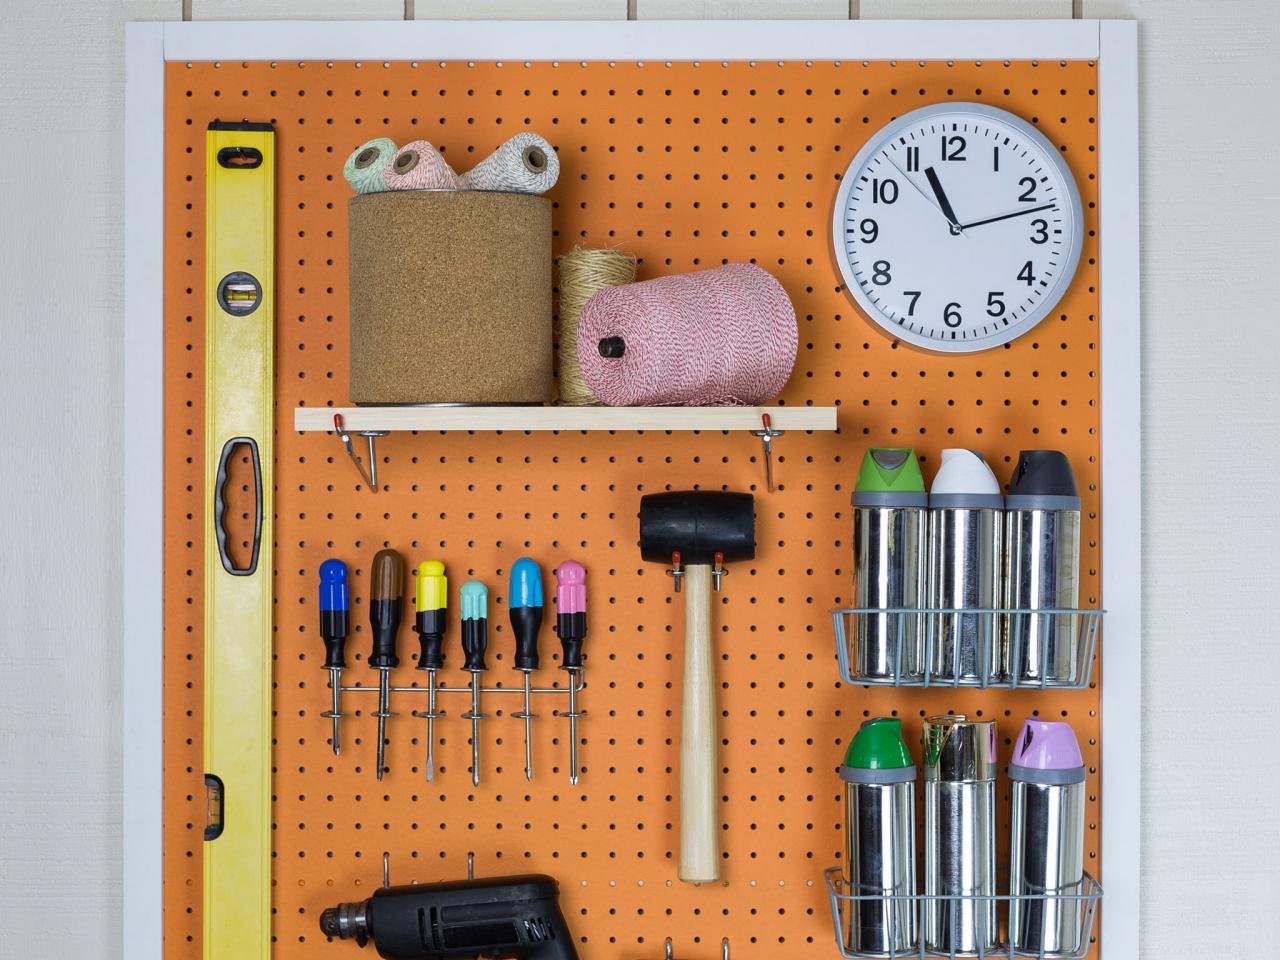
If you want an exact size buy the larger size of pegboard and ask the large home improvement store to cut it to size1 x research source most box stores will do this free of charge or for a nominal fee.

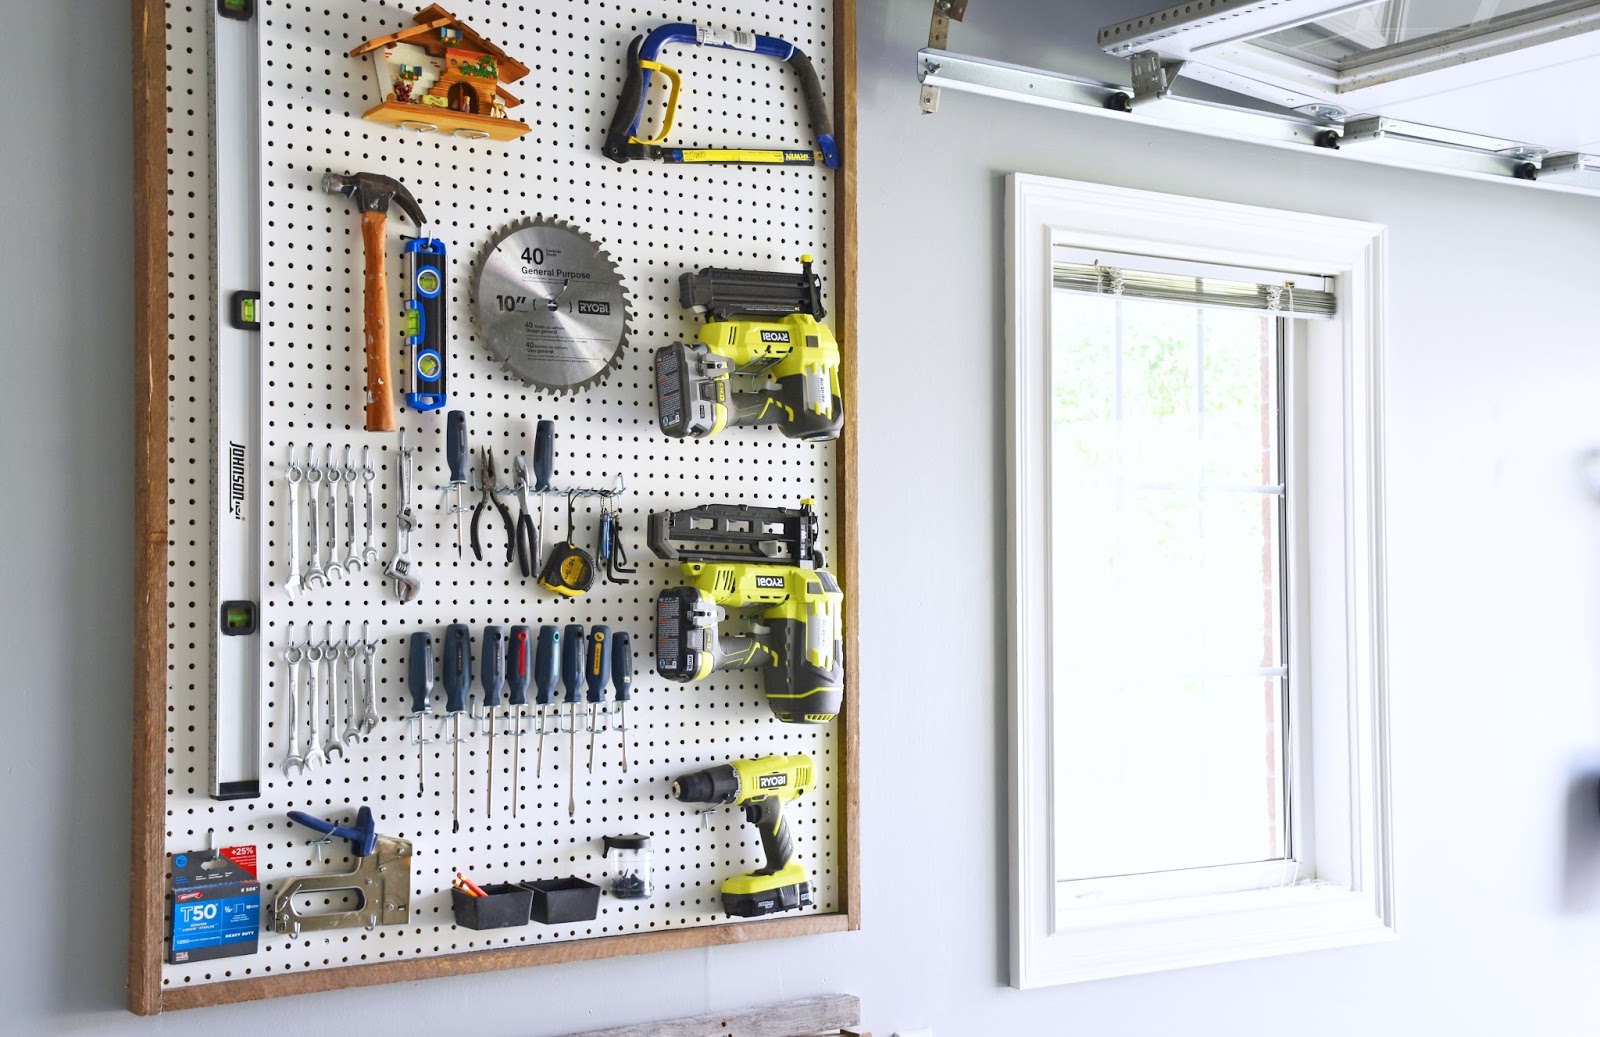
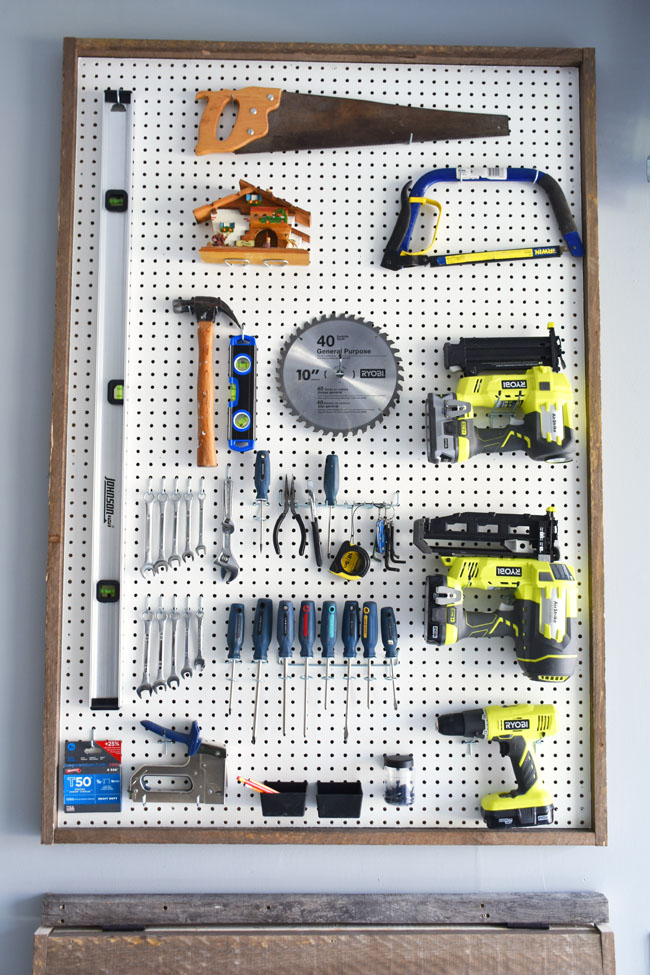
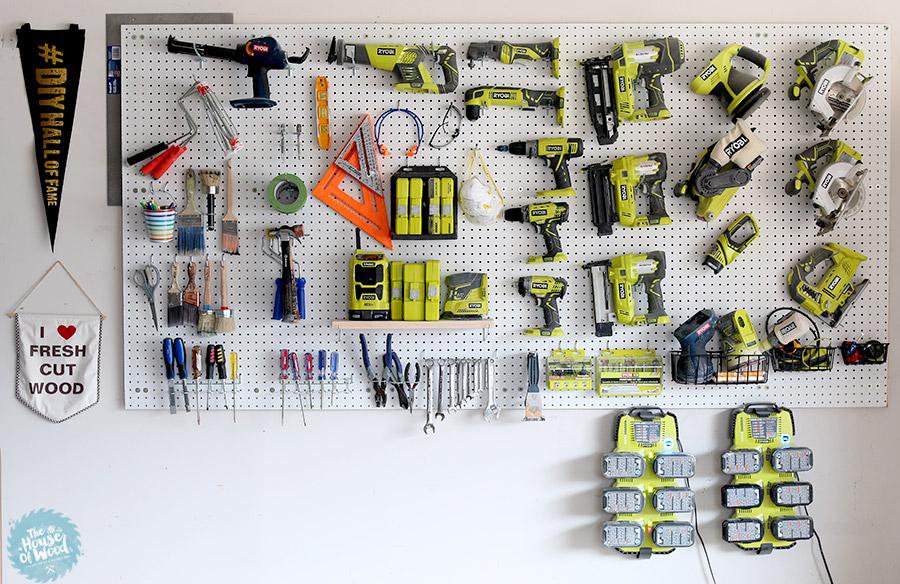
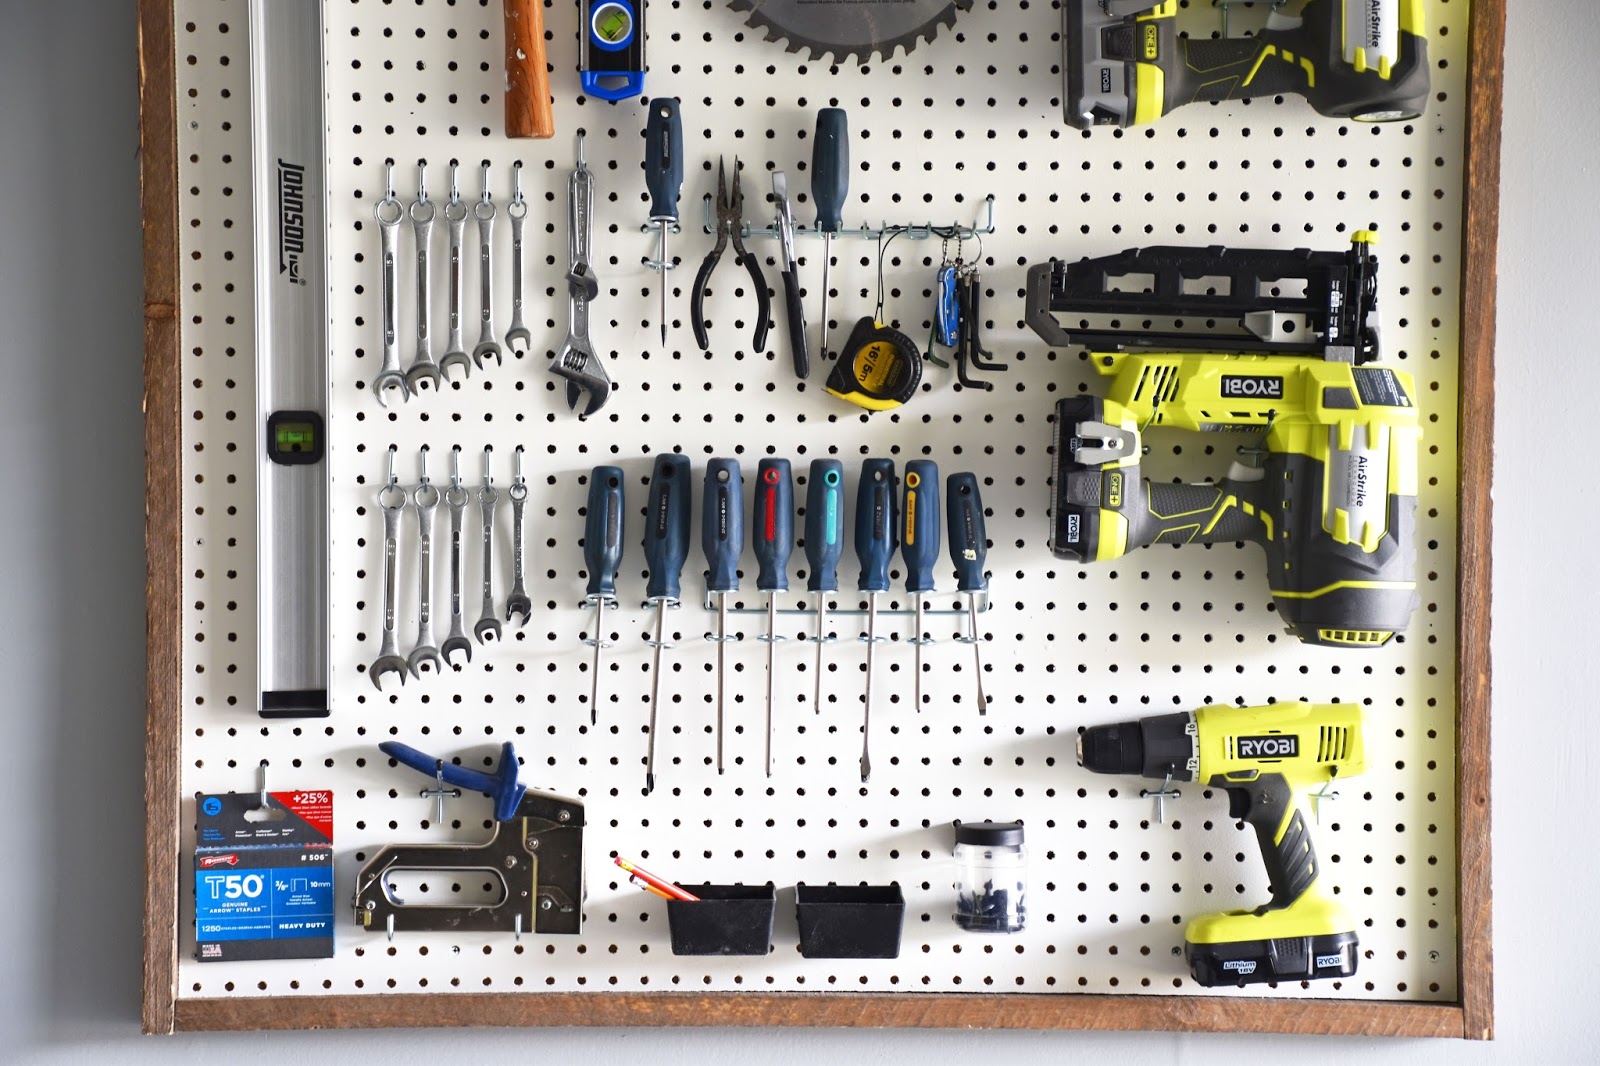
How to build a pegboard for tools. Then drill through timber into the brick using your hammer drill. Step 1 measure the area on your wall where you want to install the pegboard. Gift it with any of these six diy pegboard storage ideas that will organize all of your clutter in style.
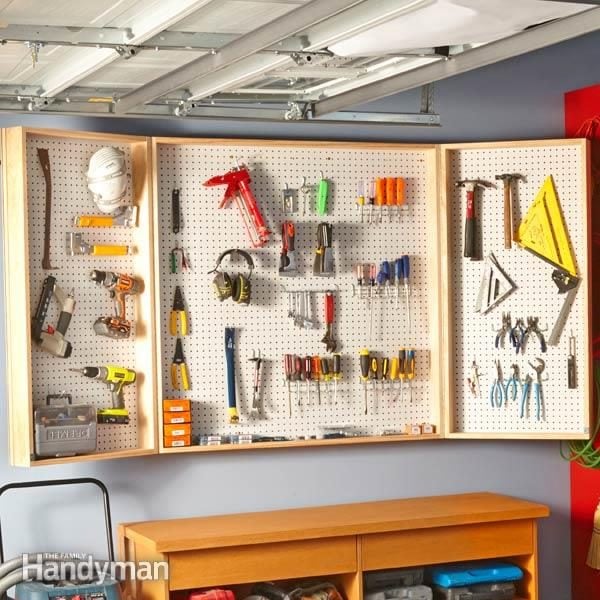
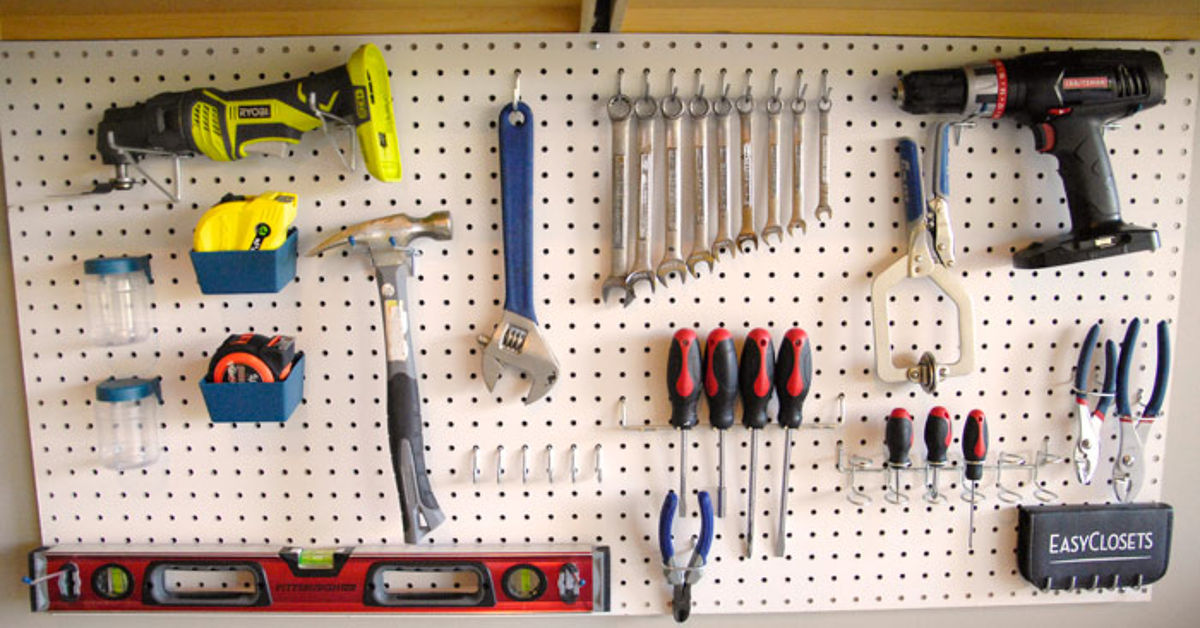
Pegboard is the storage classic that made even bob villa wax poetic. Pre drill three holes horizontally along the 1x 2 pieces drilling into a stud in the wall starting with the top board. Lay a half sheet of pegboard on top of the frame so all the rows of holes are inset at least 14 in.
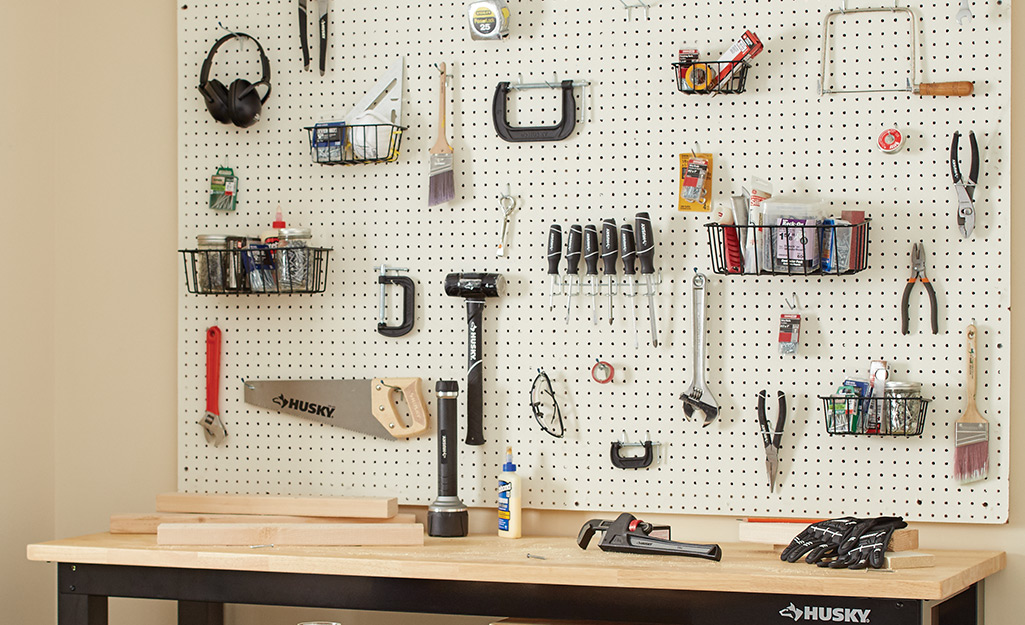
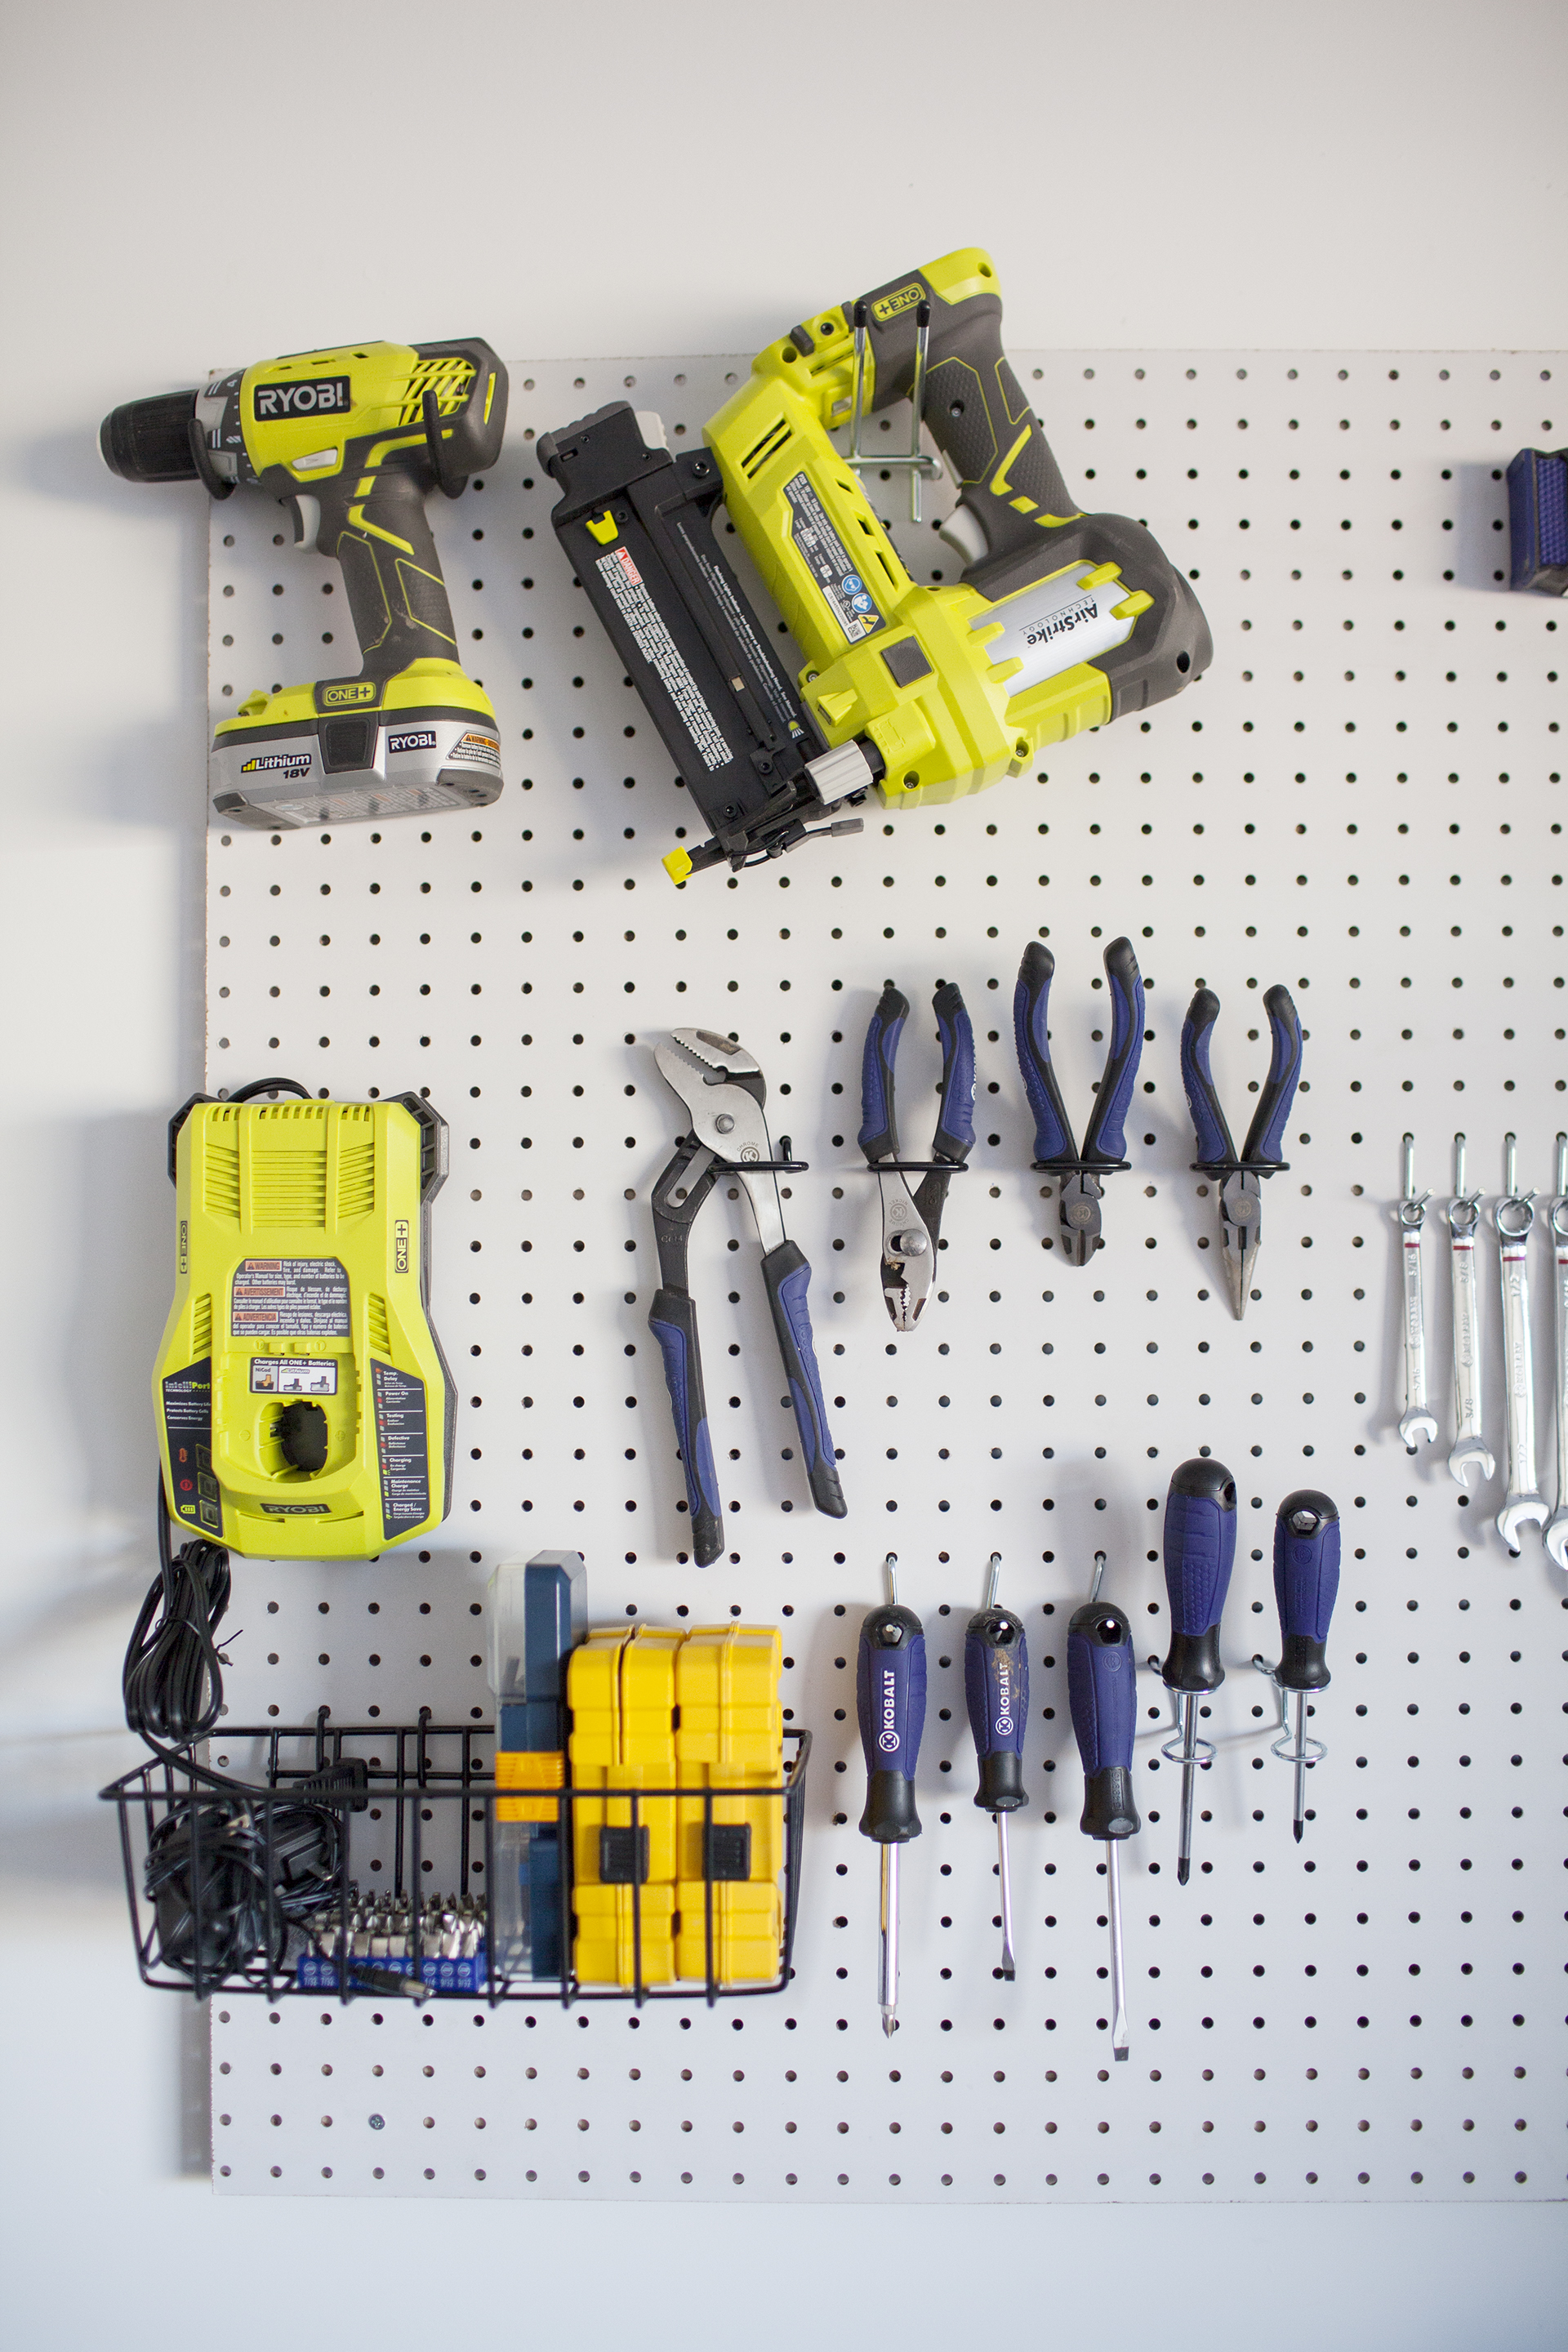
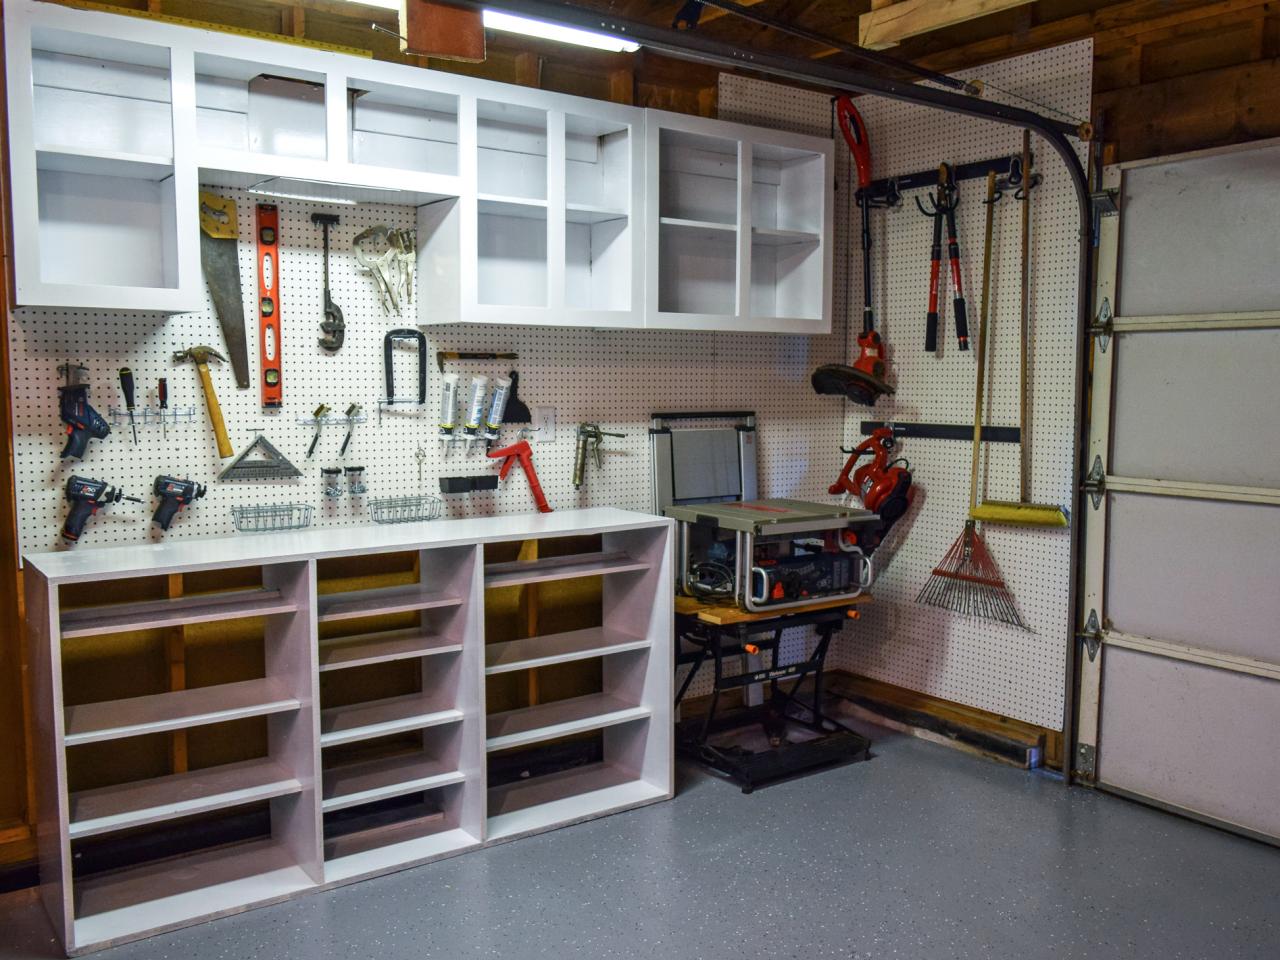
Pegboard hook kits are fast and efficient. Or use cable staples to attach plywood shelves to standard pegboard shelf brackets. You should know the length and width of the area before you go to the home improvement storestep 2 buy a piece of pegboard.
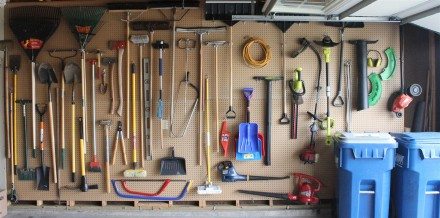
From the edge before fastening it down. Ive used pegboard to organize my garage for 20 years. So make your garage smile.
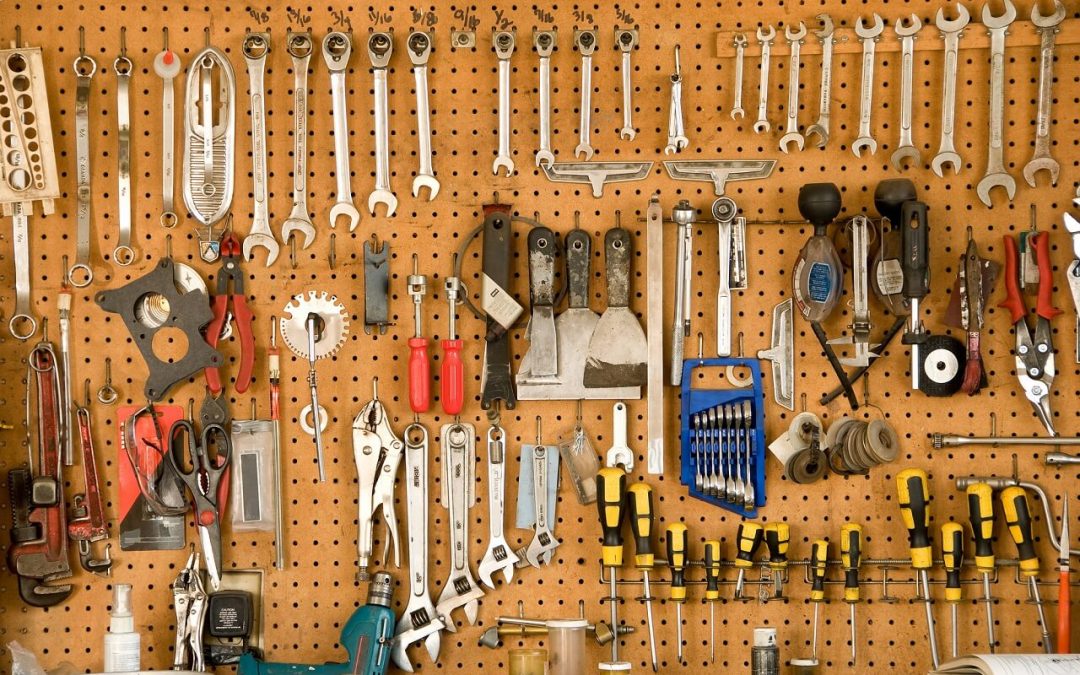
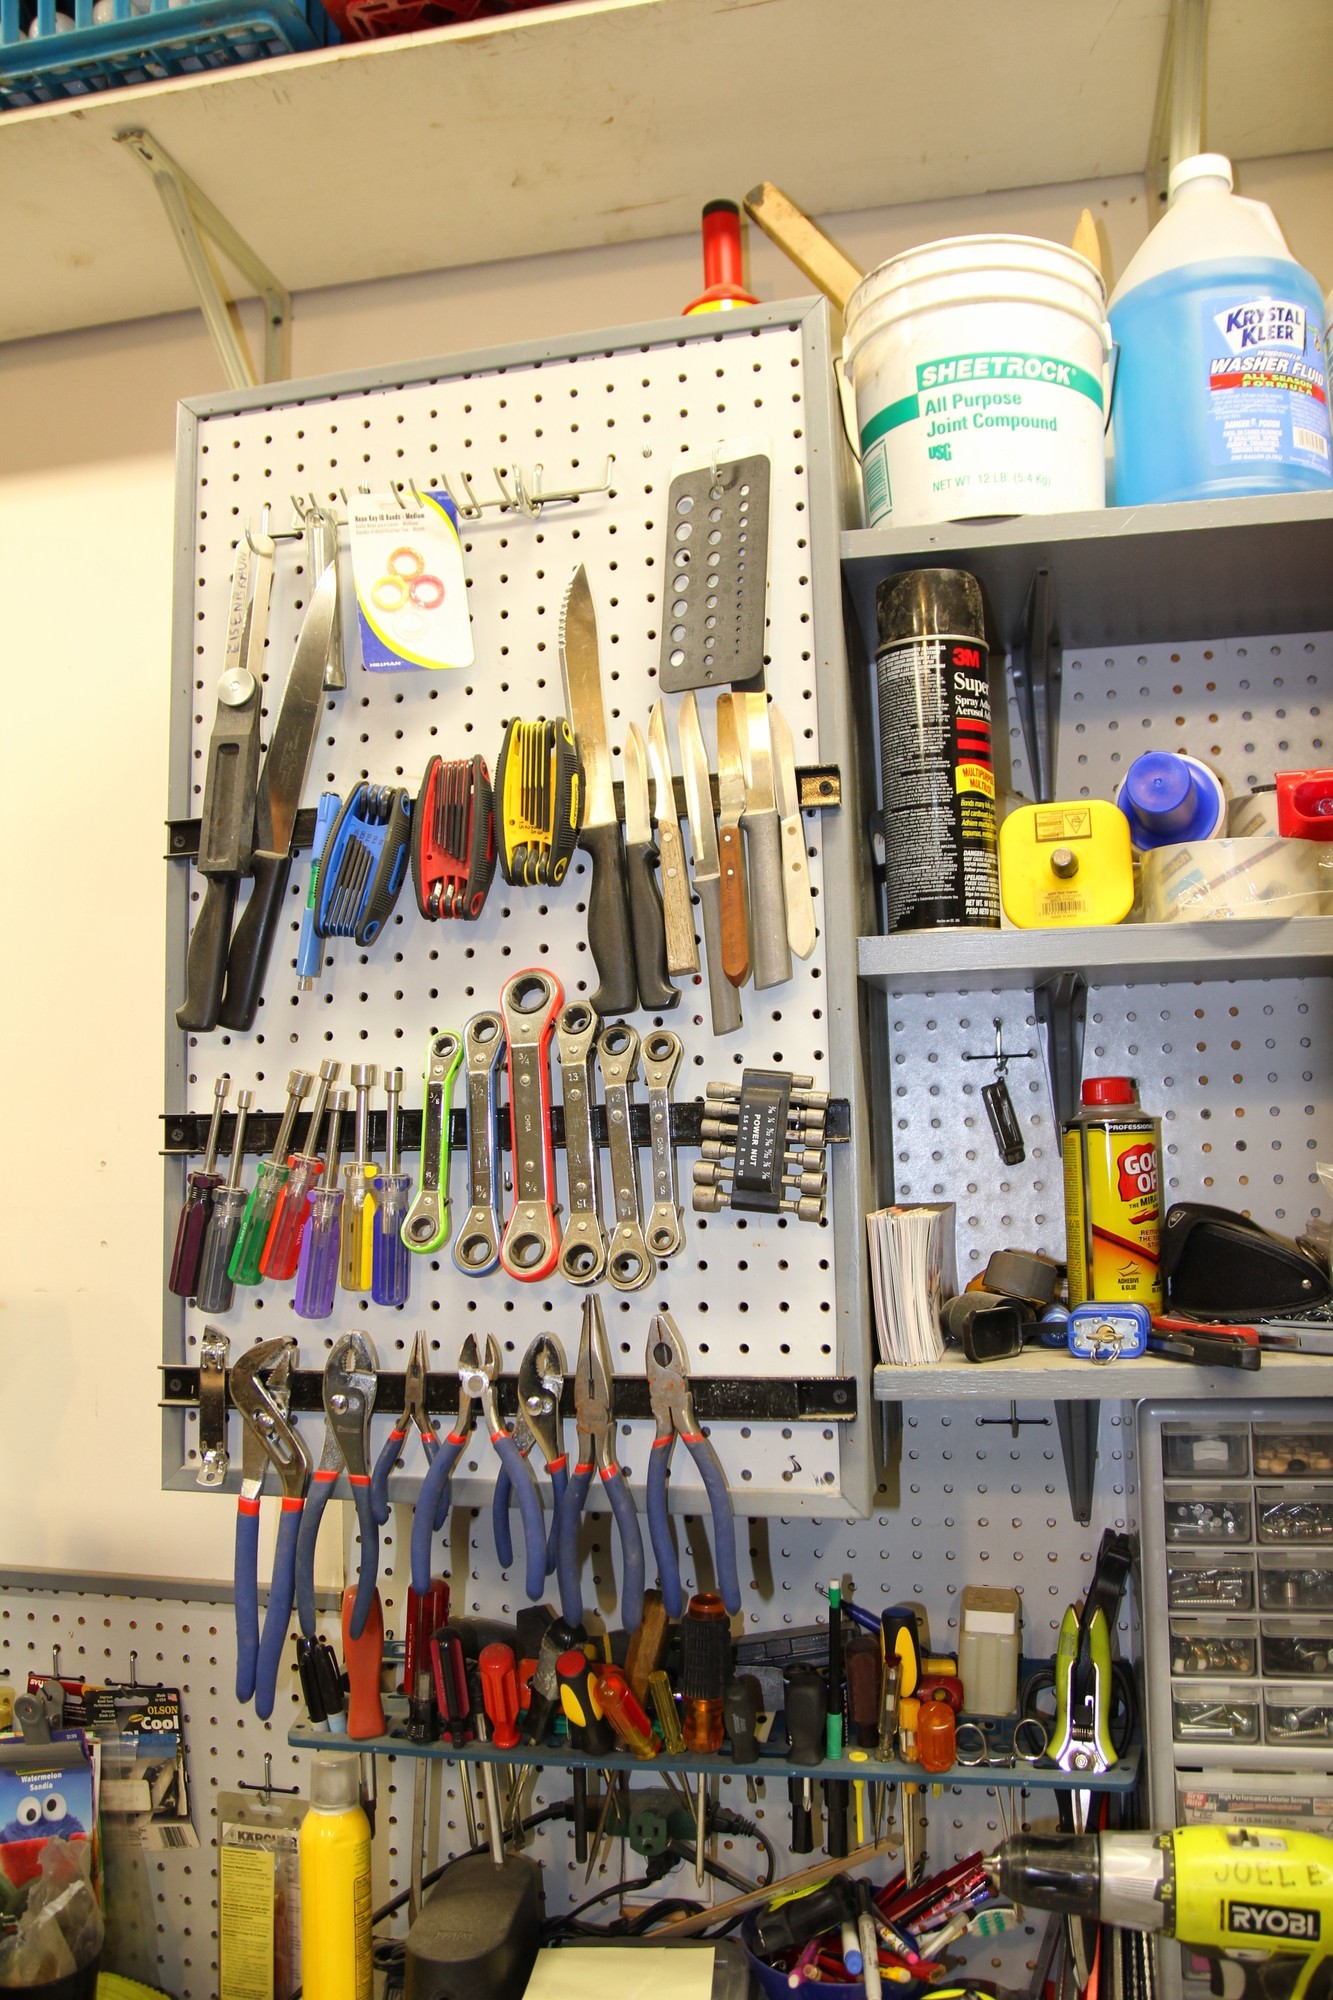
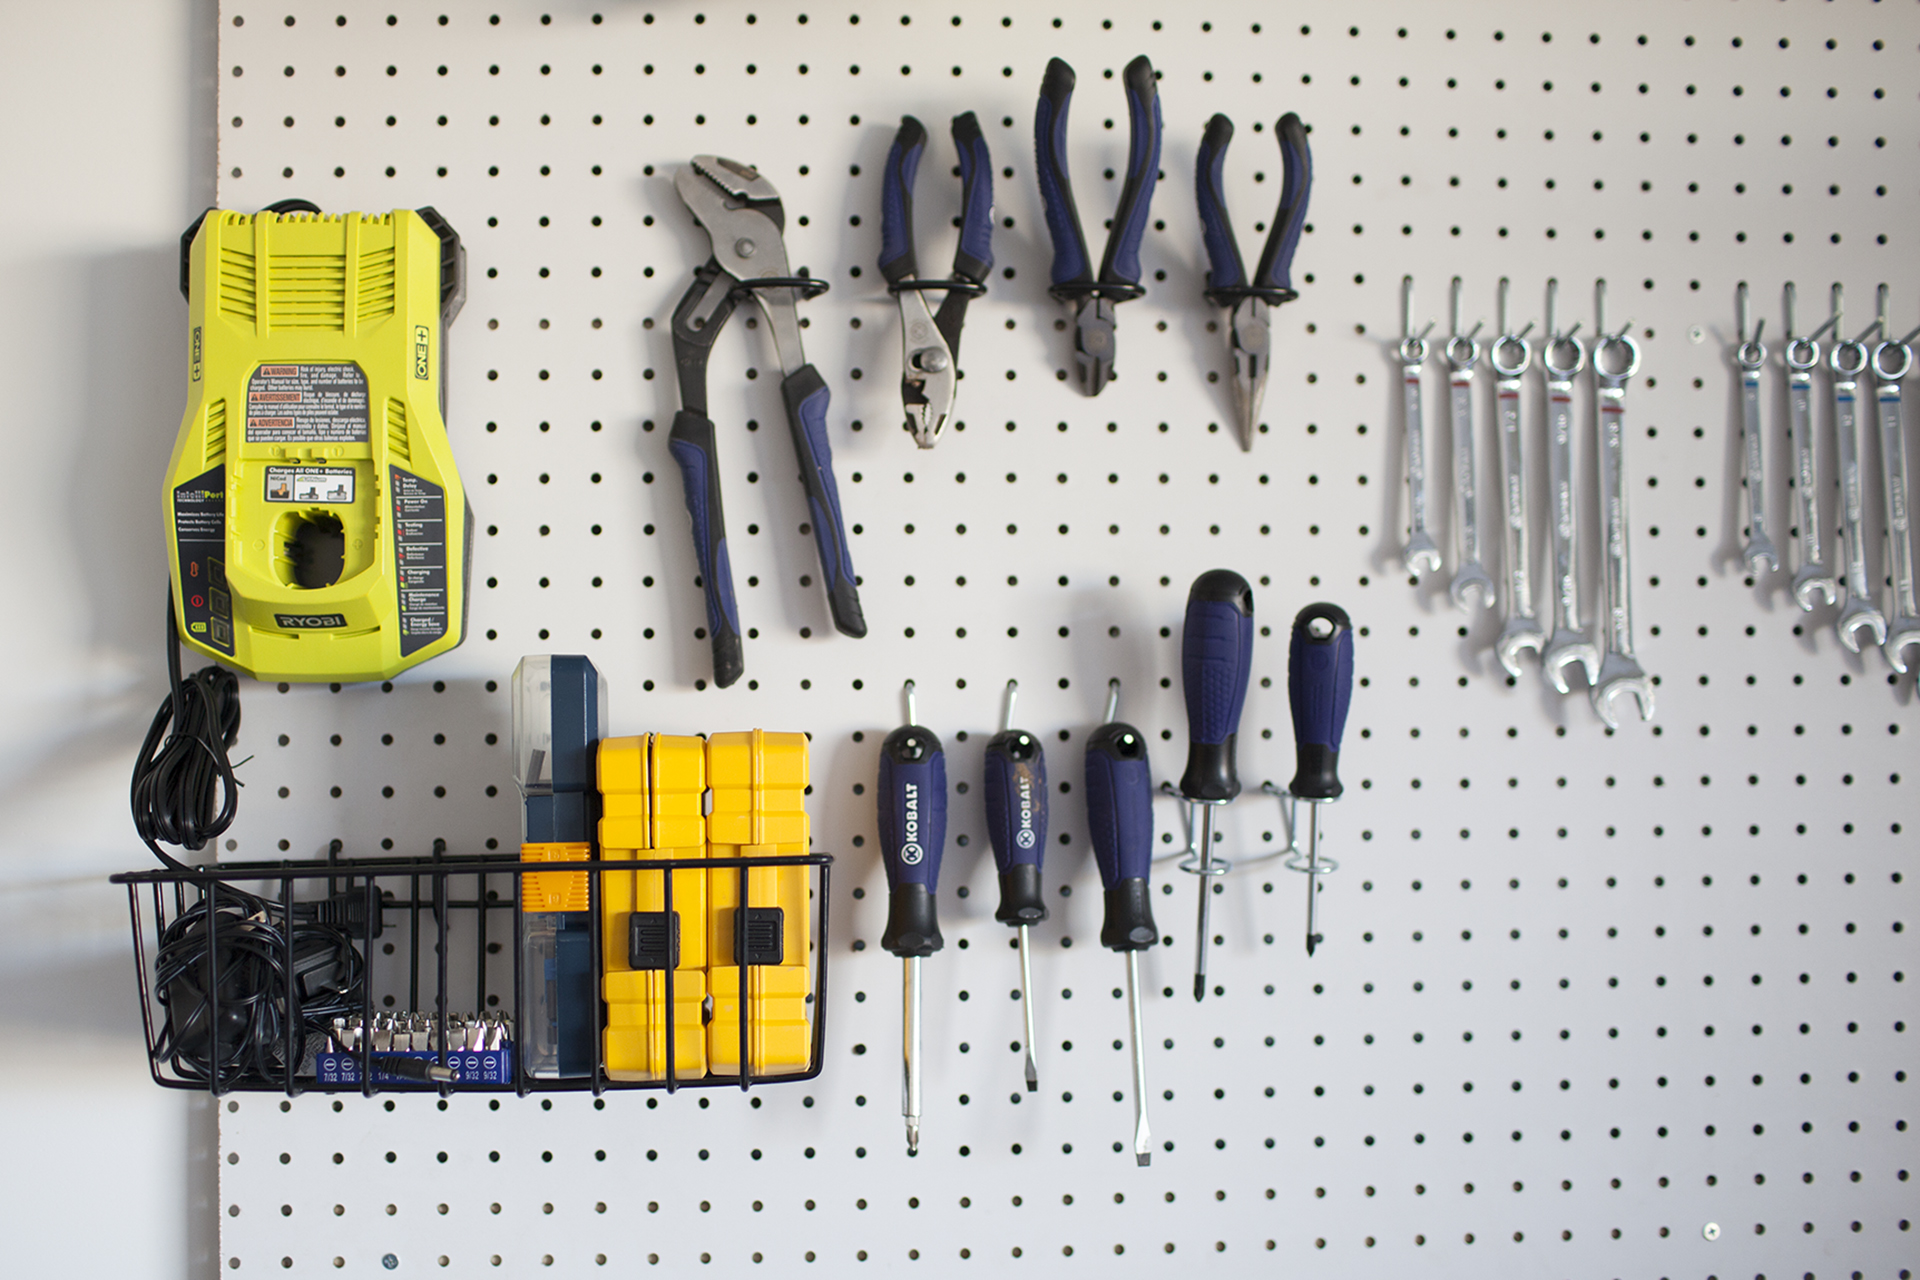
You can also create diy pegboard hooks with stiff wire. Arrange your tools as you want them to hang on your pegboard then put in the pegs as appropriate. Pegboard is usually sold in two by four four by four and four by eight foot pieces.
Then continue with the next two screws to secure the board right side first then middle. Begin placing your tools working section by section. The old standby pegboard.
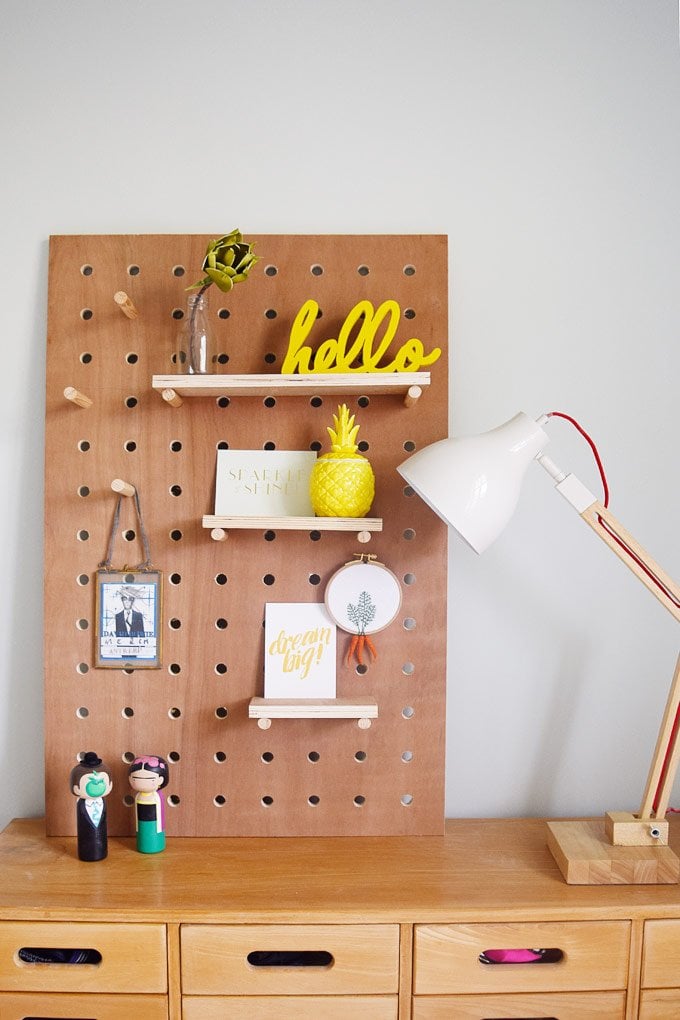
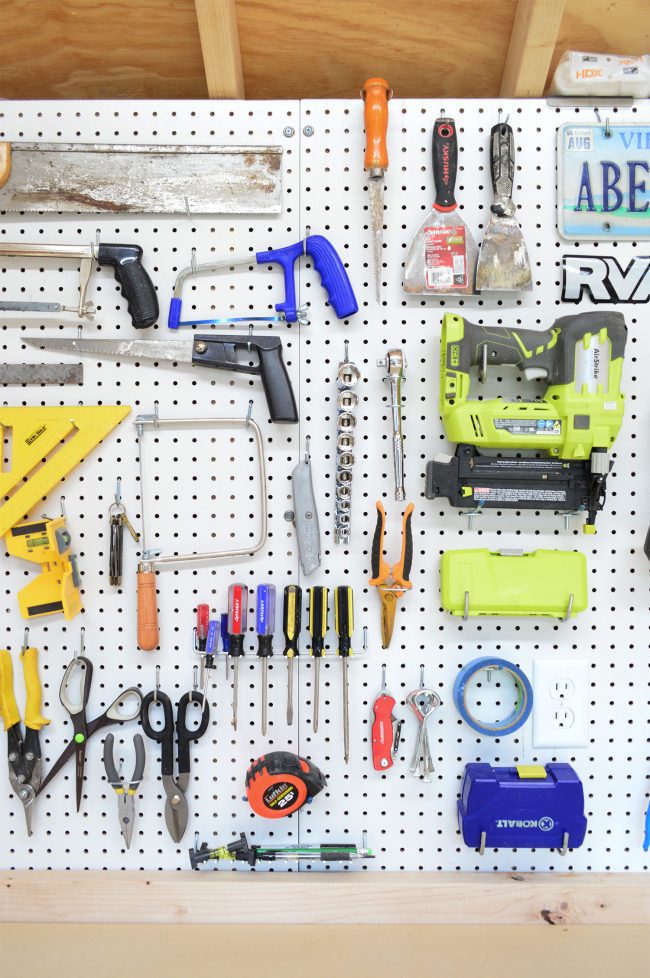
Normal drywall or wood screws will work however the large washer head of lathe screws will help prevent tear through when mounting heavy items. Holes in the backs of homemade shelves then use those holes to slide the shelves over l hooks. Make sure you drill into the centre of the brick and not the mortar.
Tighten the screws snug but dont over drive and break the pegboard. Make sure your piece is level after drilling the first hole and securing with a screw. Use your spirit level to make sure everything is lined up.
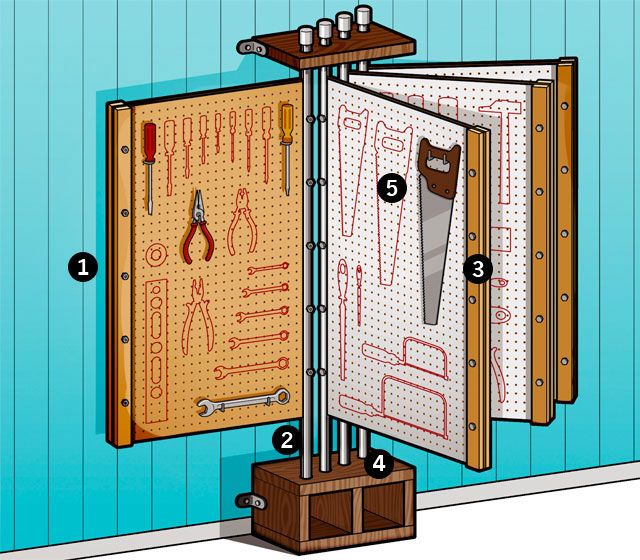
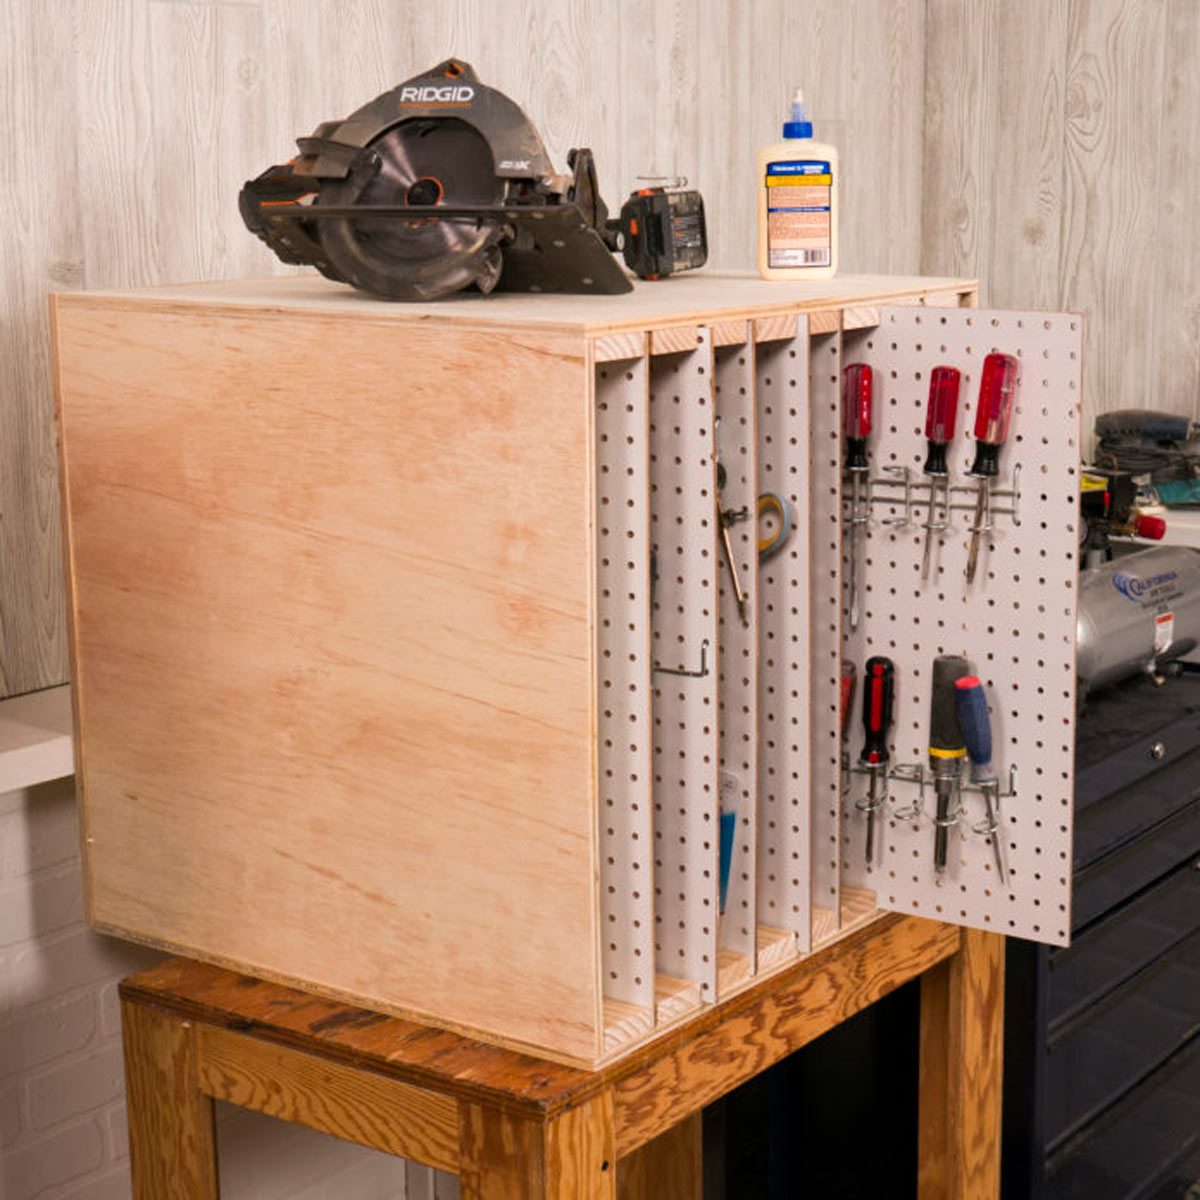
Adjust your diagram as needed if you find that a certain portion of your pegboard requires more. To get a more attractive solid pegboard edge on the base frame and doors square up the frame and hold it in place with a couple of temporary cross braces and brads. Put a thick line of hot glue around the outer edge of the back of your pegboard right at the join between the pegboard and the frame itself.
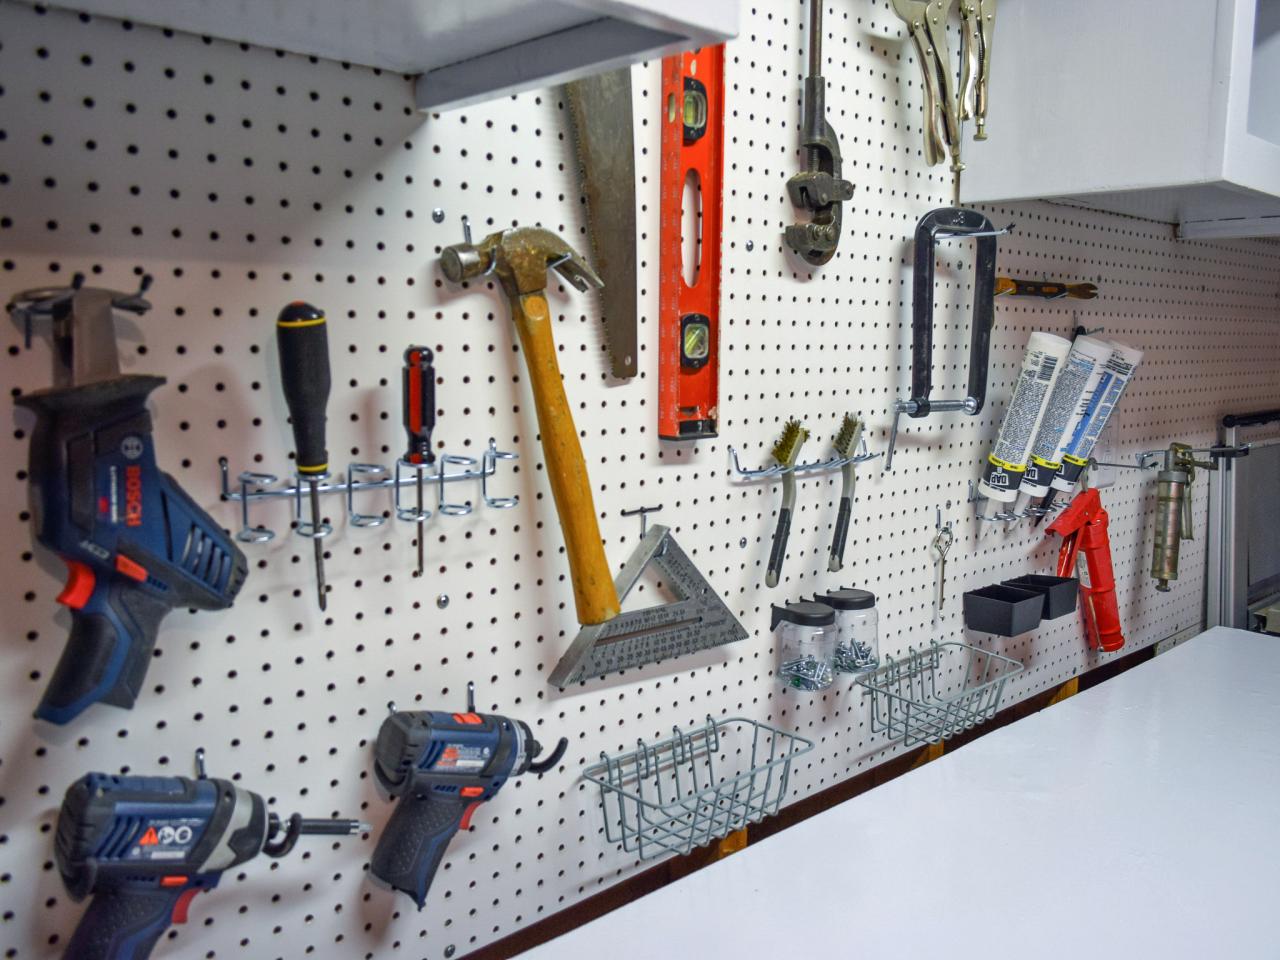
It has a place in any garage especially since it can be easily modified to accommodate various tools and spaces. Glue all four sides of the pegboard to the frame. National hardware peg hook asso.
Tap a piece of spaghetti through the hole. Mount the pegboard to the wall studs or furring strips using lathe screws image 1. Pegboard is easy to use and allows you to quickly organize your tools.

The Basics Of Tool Organization Systems Part 1 Pegboard Garage Tools Garage Tool Organization Pegboard Organization Garage
www.pinterest.com

How To Build A Simple Diy Pegboard Shelf Man Made Diy Crafts For Men
www.manmadediy.com
Fwlnypvojd1tpm
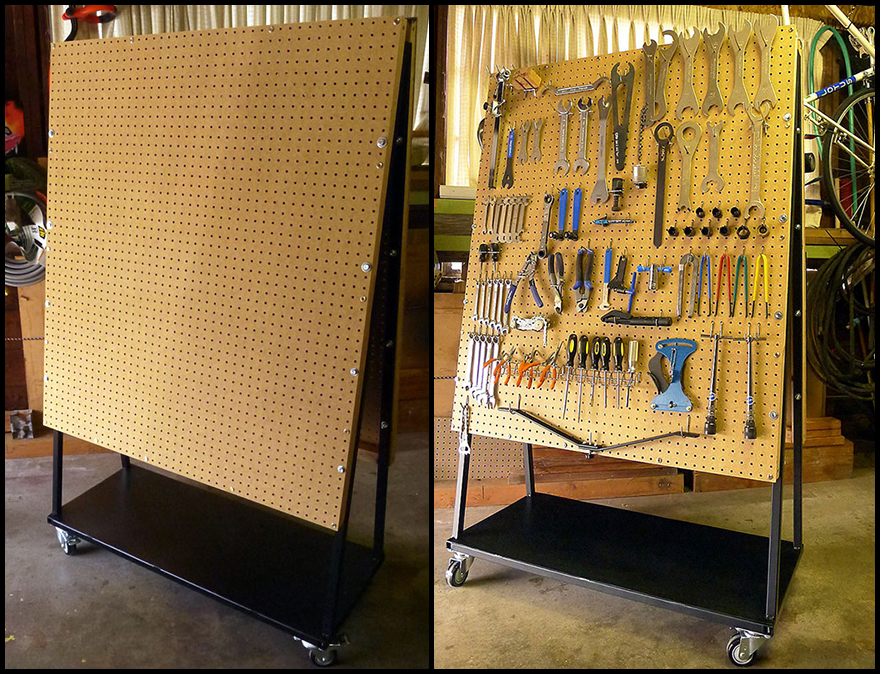
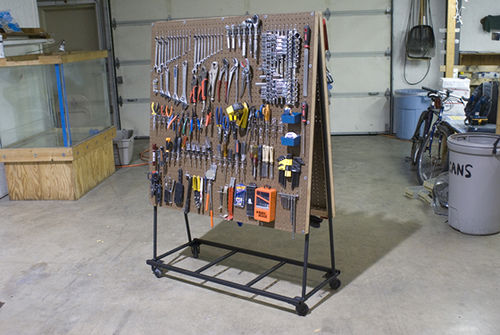
Diy Rolling Pegboard Tool Storage Core77
www.core77.com
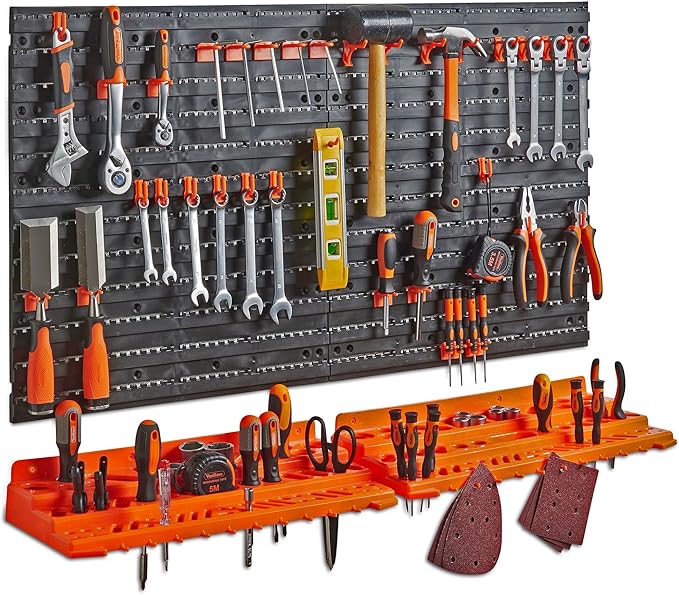
Vonhaus 50 Piece Wall Mounted Plastic Pegboard And Shelf Tool Organizer Diy Garage Storage System With Rack And 50 Assorted Hooks Tool Parts And Craft Organizer Amazon Ca Tools Home Improvement
www.amazon.ca
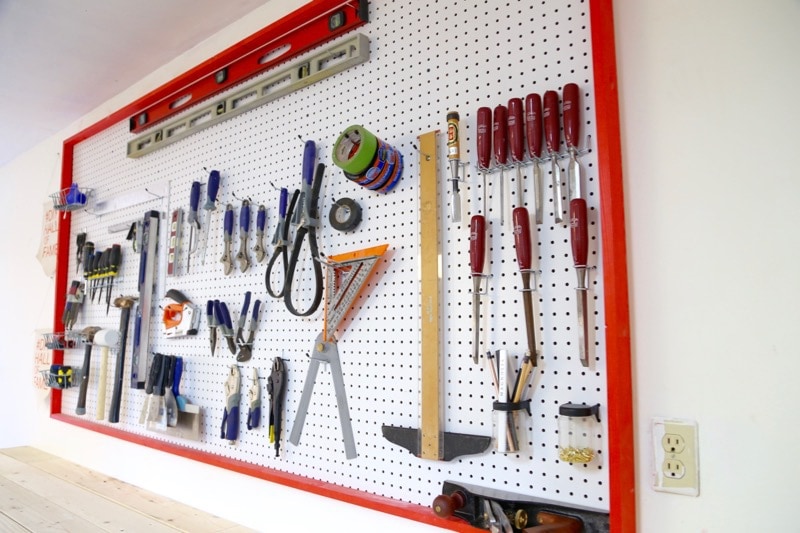
How To Build A Diy Pegboard Wall For Your Workshop Love Renovations
www.loveandrenovations.com
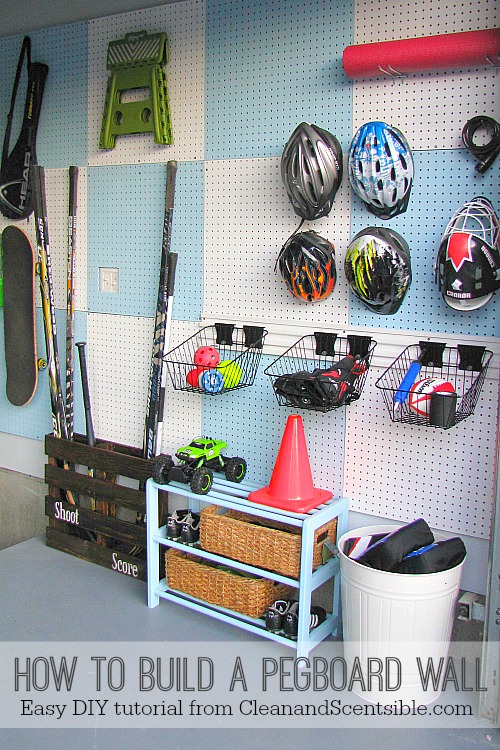
How To Build A Pegboard Wall Clean And Scentsible
www.cleanandscentsible.com
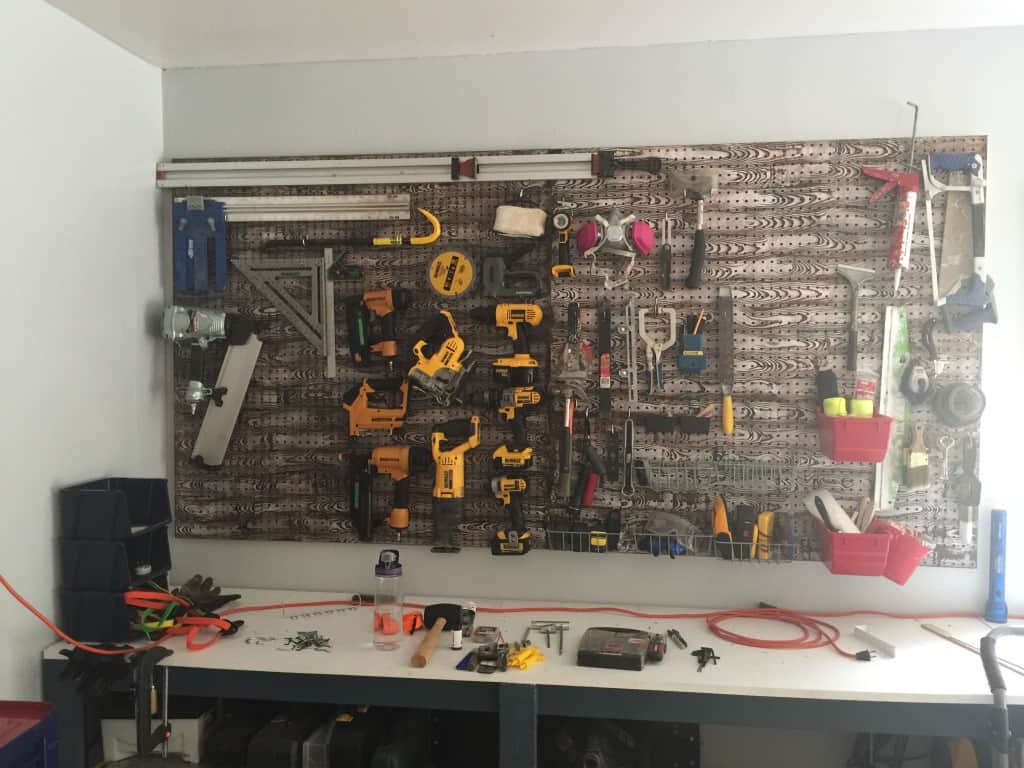
Woman In Real Life Garage Organization Diy Pegboard Tool Organizer Folding Workbench
www.womaninreallife.com
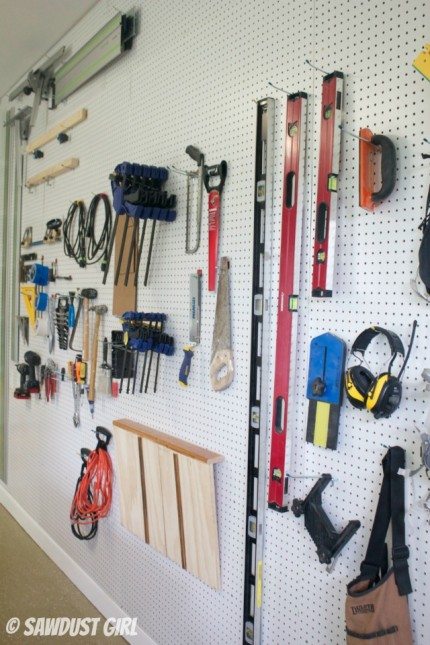
How To Create A Pegboard Organization Wall Sawdust Girl
sawdustgirl.com

Redditor S Dad S Tool Organization Is Sort Of Beautiful Garage Organization Tips Garage Workshop Organization Garage Organisation
www.pinterest.com
How To Hang Pegboard In A Garage The Easy Way
www.semiglossdesign.com
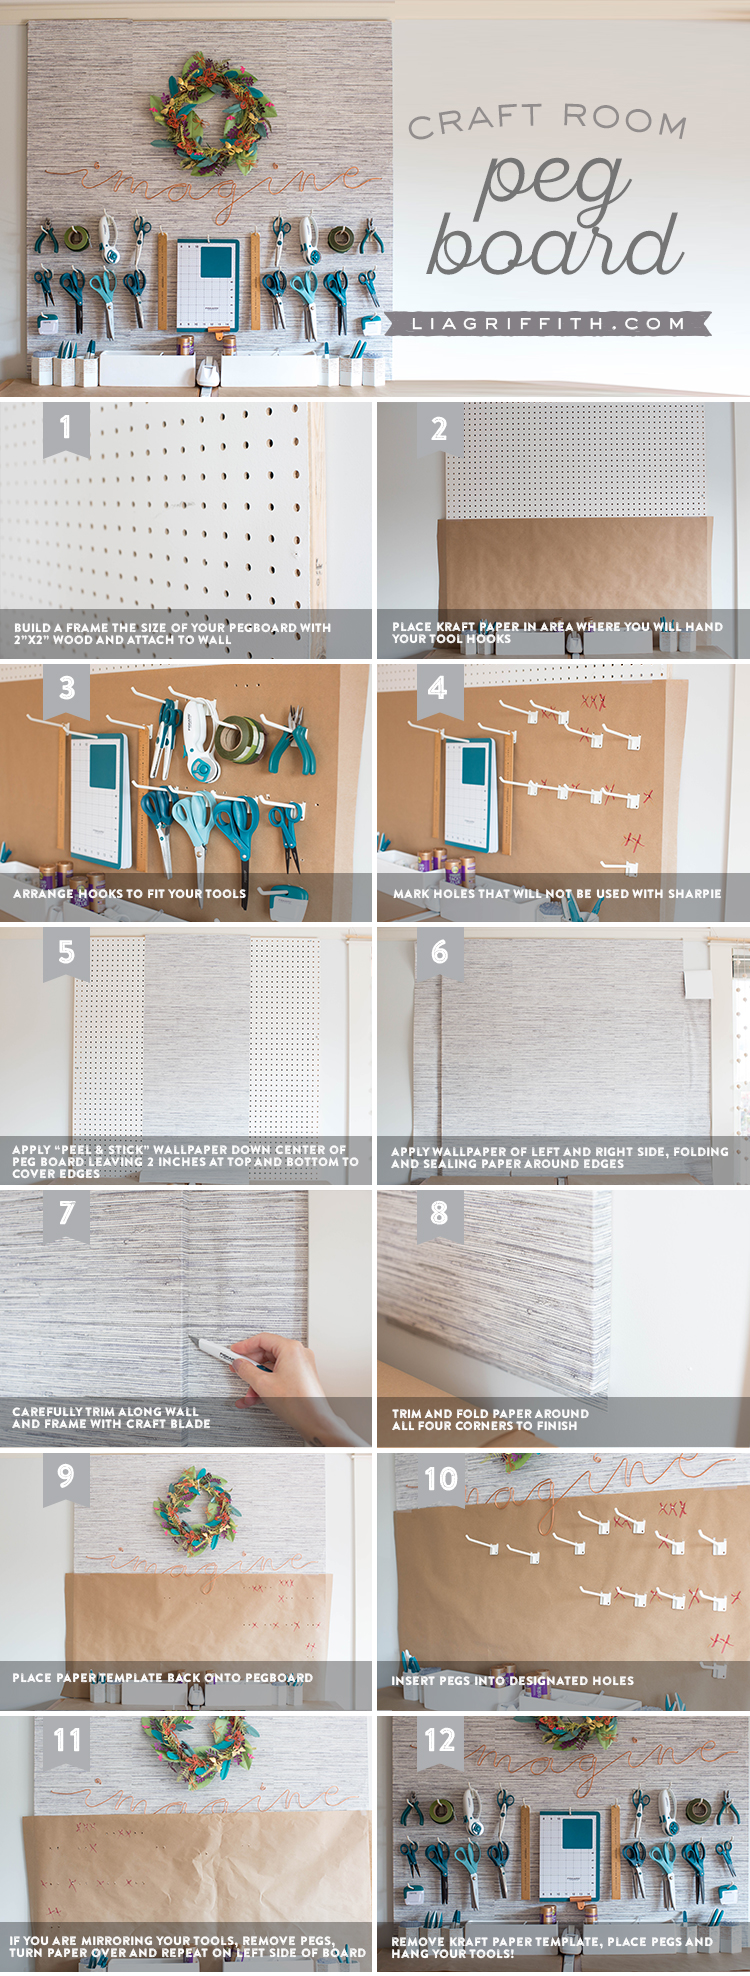
Organize Your Craft Tools With This Diy Pegboard Lia Griffith
liagriffith.com
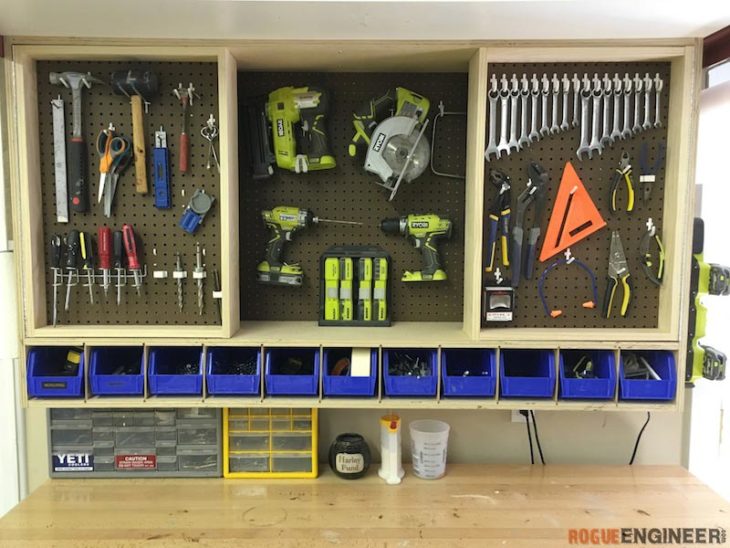
Tool Storage Wall Cabinet Rogue Engineer
rogueengineer.com
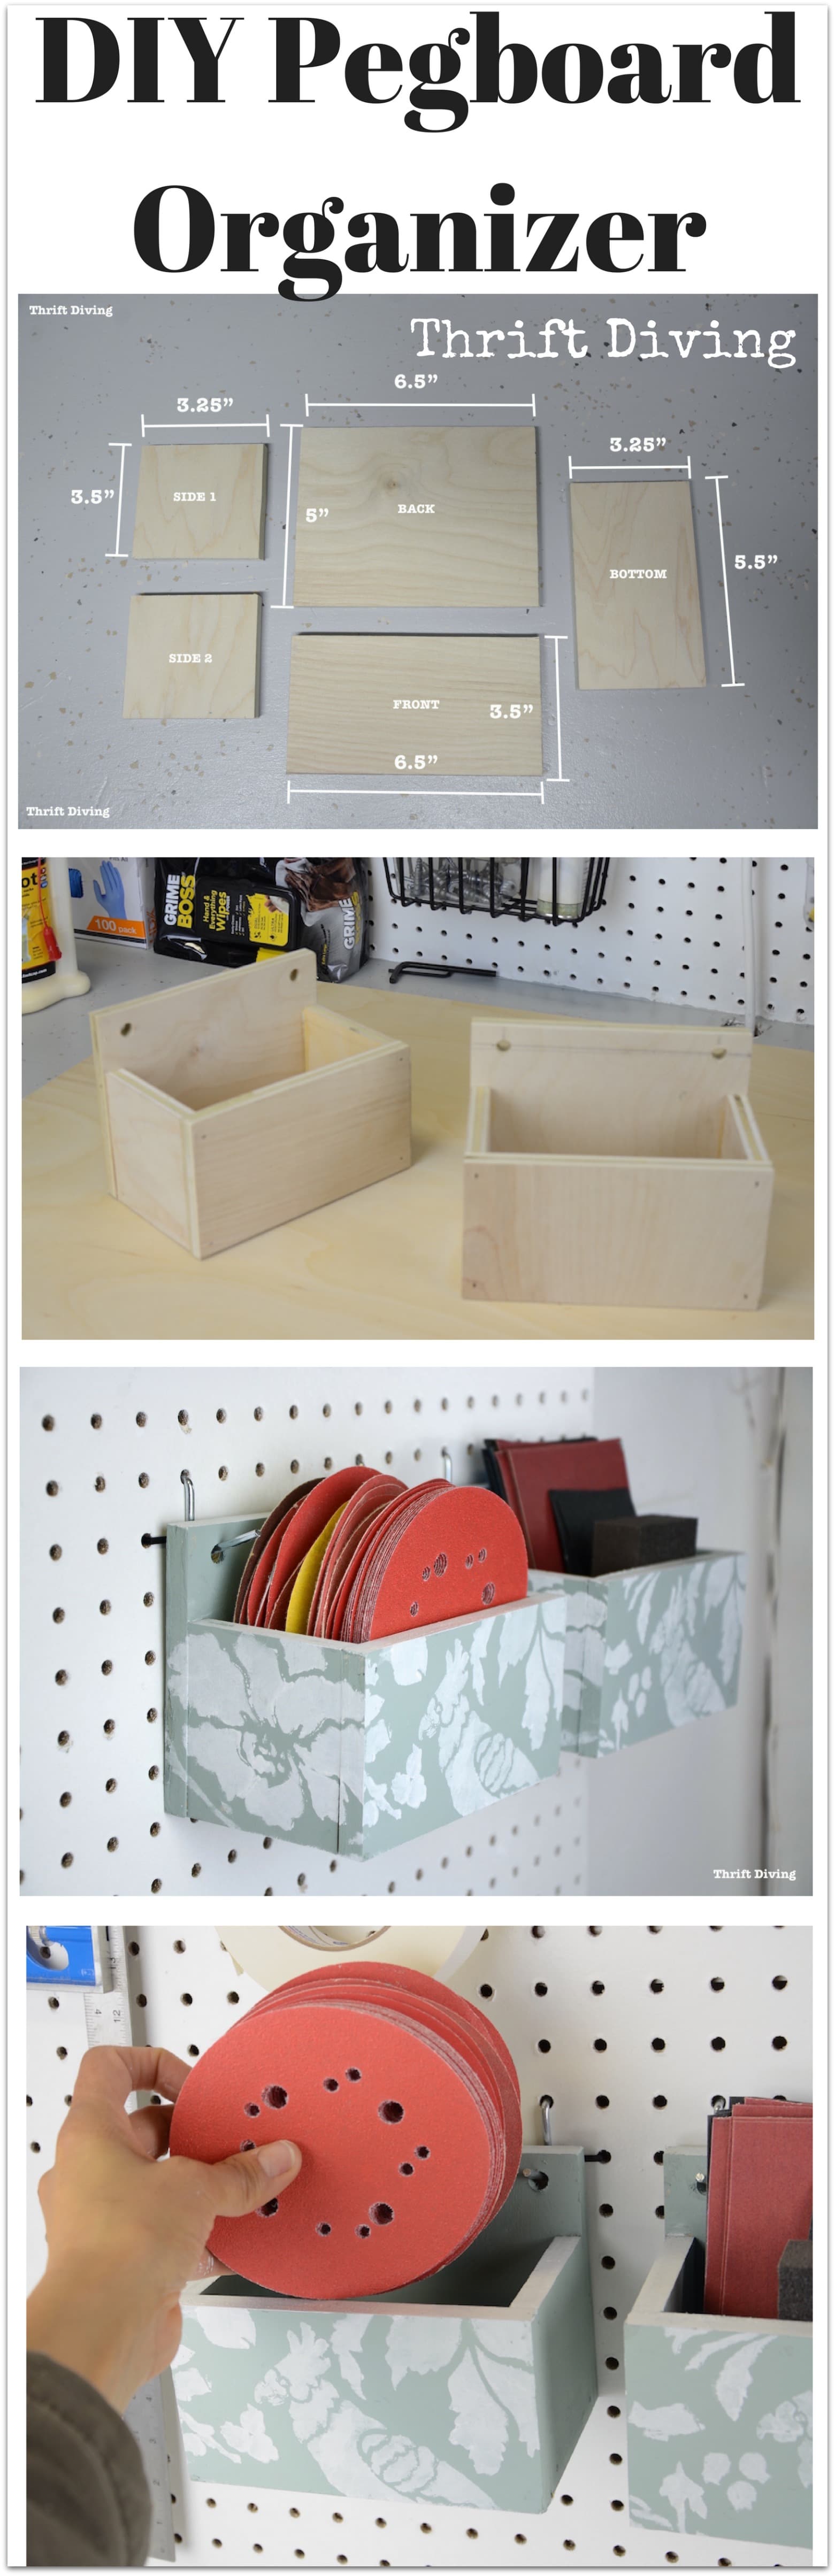
How To Make A Diy Pegboard Organizer For Your Garage Or Craft Room
thriftdiving.com

Diy Pegboard Storage Wall
www.lowes.com
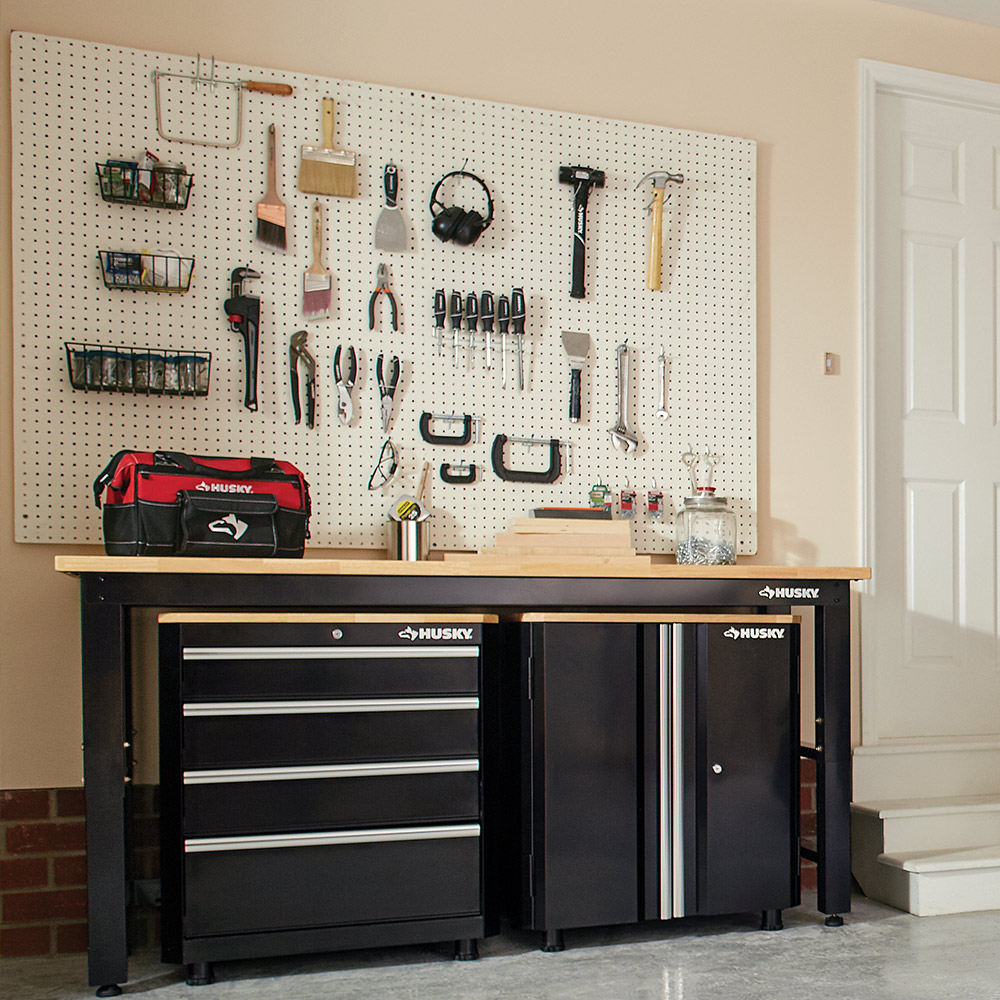
How To Organize Tools On A Pegboard The Home Depot
www.homedepot.com
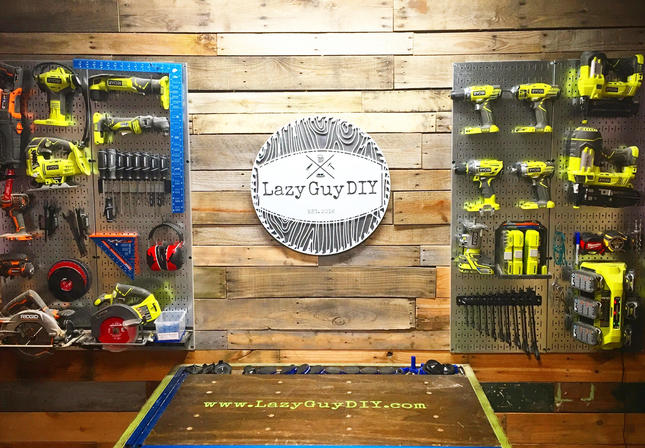
Metal Pegboards The Workshop Upgrade You Need Lazy Guy Diy
lazyguydiy.com

Rolling Tool Cart With Pegboard Storage My Repurposed Life Rescue Re Imagine Repeat
www.myrepurposedlife.com

6 Clutch Diy Pegboard Ideas That Ll Make Your Garage Smile
makespace.com
Search Q Workbench Pegboard Ideas Tbm Isch

Hang Pegboard The Easy Way And Frame It Too Sawdust Sisters
sawdustsisters.com

A Brand New Workspace Setup And Ready To Go With Wall Control Metal Pegboard Upgrade Your Garage With Wall Contr Peg Board Pegboard Garage Pegboard Craft Room
www.pinterest.com
Woman In Real Life Garage Organization Diy Pegboard Tool Organizer Folding Workbench
www.womaninreallife.com

Remodelaholic Build An Organized Pegboard Tool Cabinet And Simple Workbench
www.remodelaholic.com
18 Practical Yet Stylish Diy Pegboard Ideas For The Home Hometalk
www.hometalk.com

One Stop Workshop Diy Mobile Workbench Pegboard Organization
rainonatinroof.com

Tools On Pegboard Garage Organization Garage Tools Garage Storage Organization
www.pinterest.com

Garage Pegboard Wall Ugly Duckling House
www.uglyducklinghouse.com

Pegboard How I Do It Youtube
www.youtube.com
Quick Tip Homemade Pegboard Screwdriver Holder Tool Rank Com
www.tool-rank.com
Diy Tool Rack Hang Your Tools With The Tool O Dex
www.popularmechanics.com
4 Shed Storage Ideas For Tons Of Added Function
www.younghouselove.com

How To Install And Organize Diy Pegboard Wall Thediyplan
thediyplan.com
Garage Organization It S Tough To Beat Pegboard Star Tribune
www.startribune.com

The Basics Of Tool Organization Systems Part 1 Pegboard Core77
www.core77.com
Organize Anything With Pegboards 14 Ideas And Tips Family Handyman
www.familyhandyman.com
Https Encrypted Tbn0 Gstatic Com Images Q Tbn 3aand9gcrlkzvuqyqjysqxnlg8f594canrc5z1myjvp 3zbtx4ehyxrdk3 Usqp Cau
encrypted-tbn0.gstatic.com

Wood Profits Get Creative With Pegboard Storage Discover How You Can Start A Woodworking Busines Pegboard Storage Garage Storage Organization Pegboard Garage
www.pinterest.com

Build A Peg Board Tool Cart By Brad Justinen 16 Steps With Pictures Instructables
www.instructables.com

How To Build A Pegboard Tool Holder Bunnings Warehouse
www.bunnings.com.au
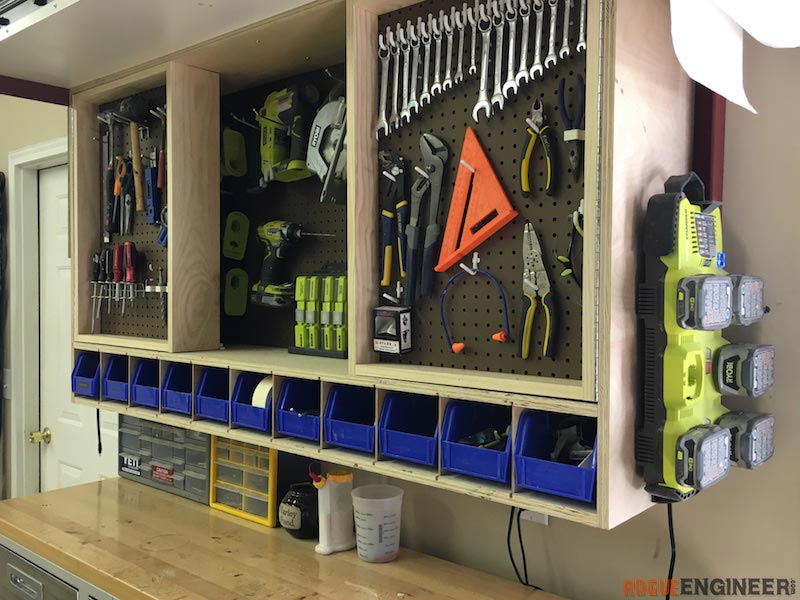
Tool Storage Wall Cabinet Rogue Engineer
rogueengineer.com

How To Install A Pegboard How Tos Diy
www.diynetwork.com
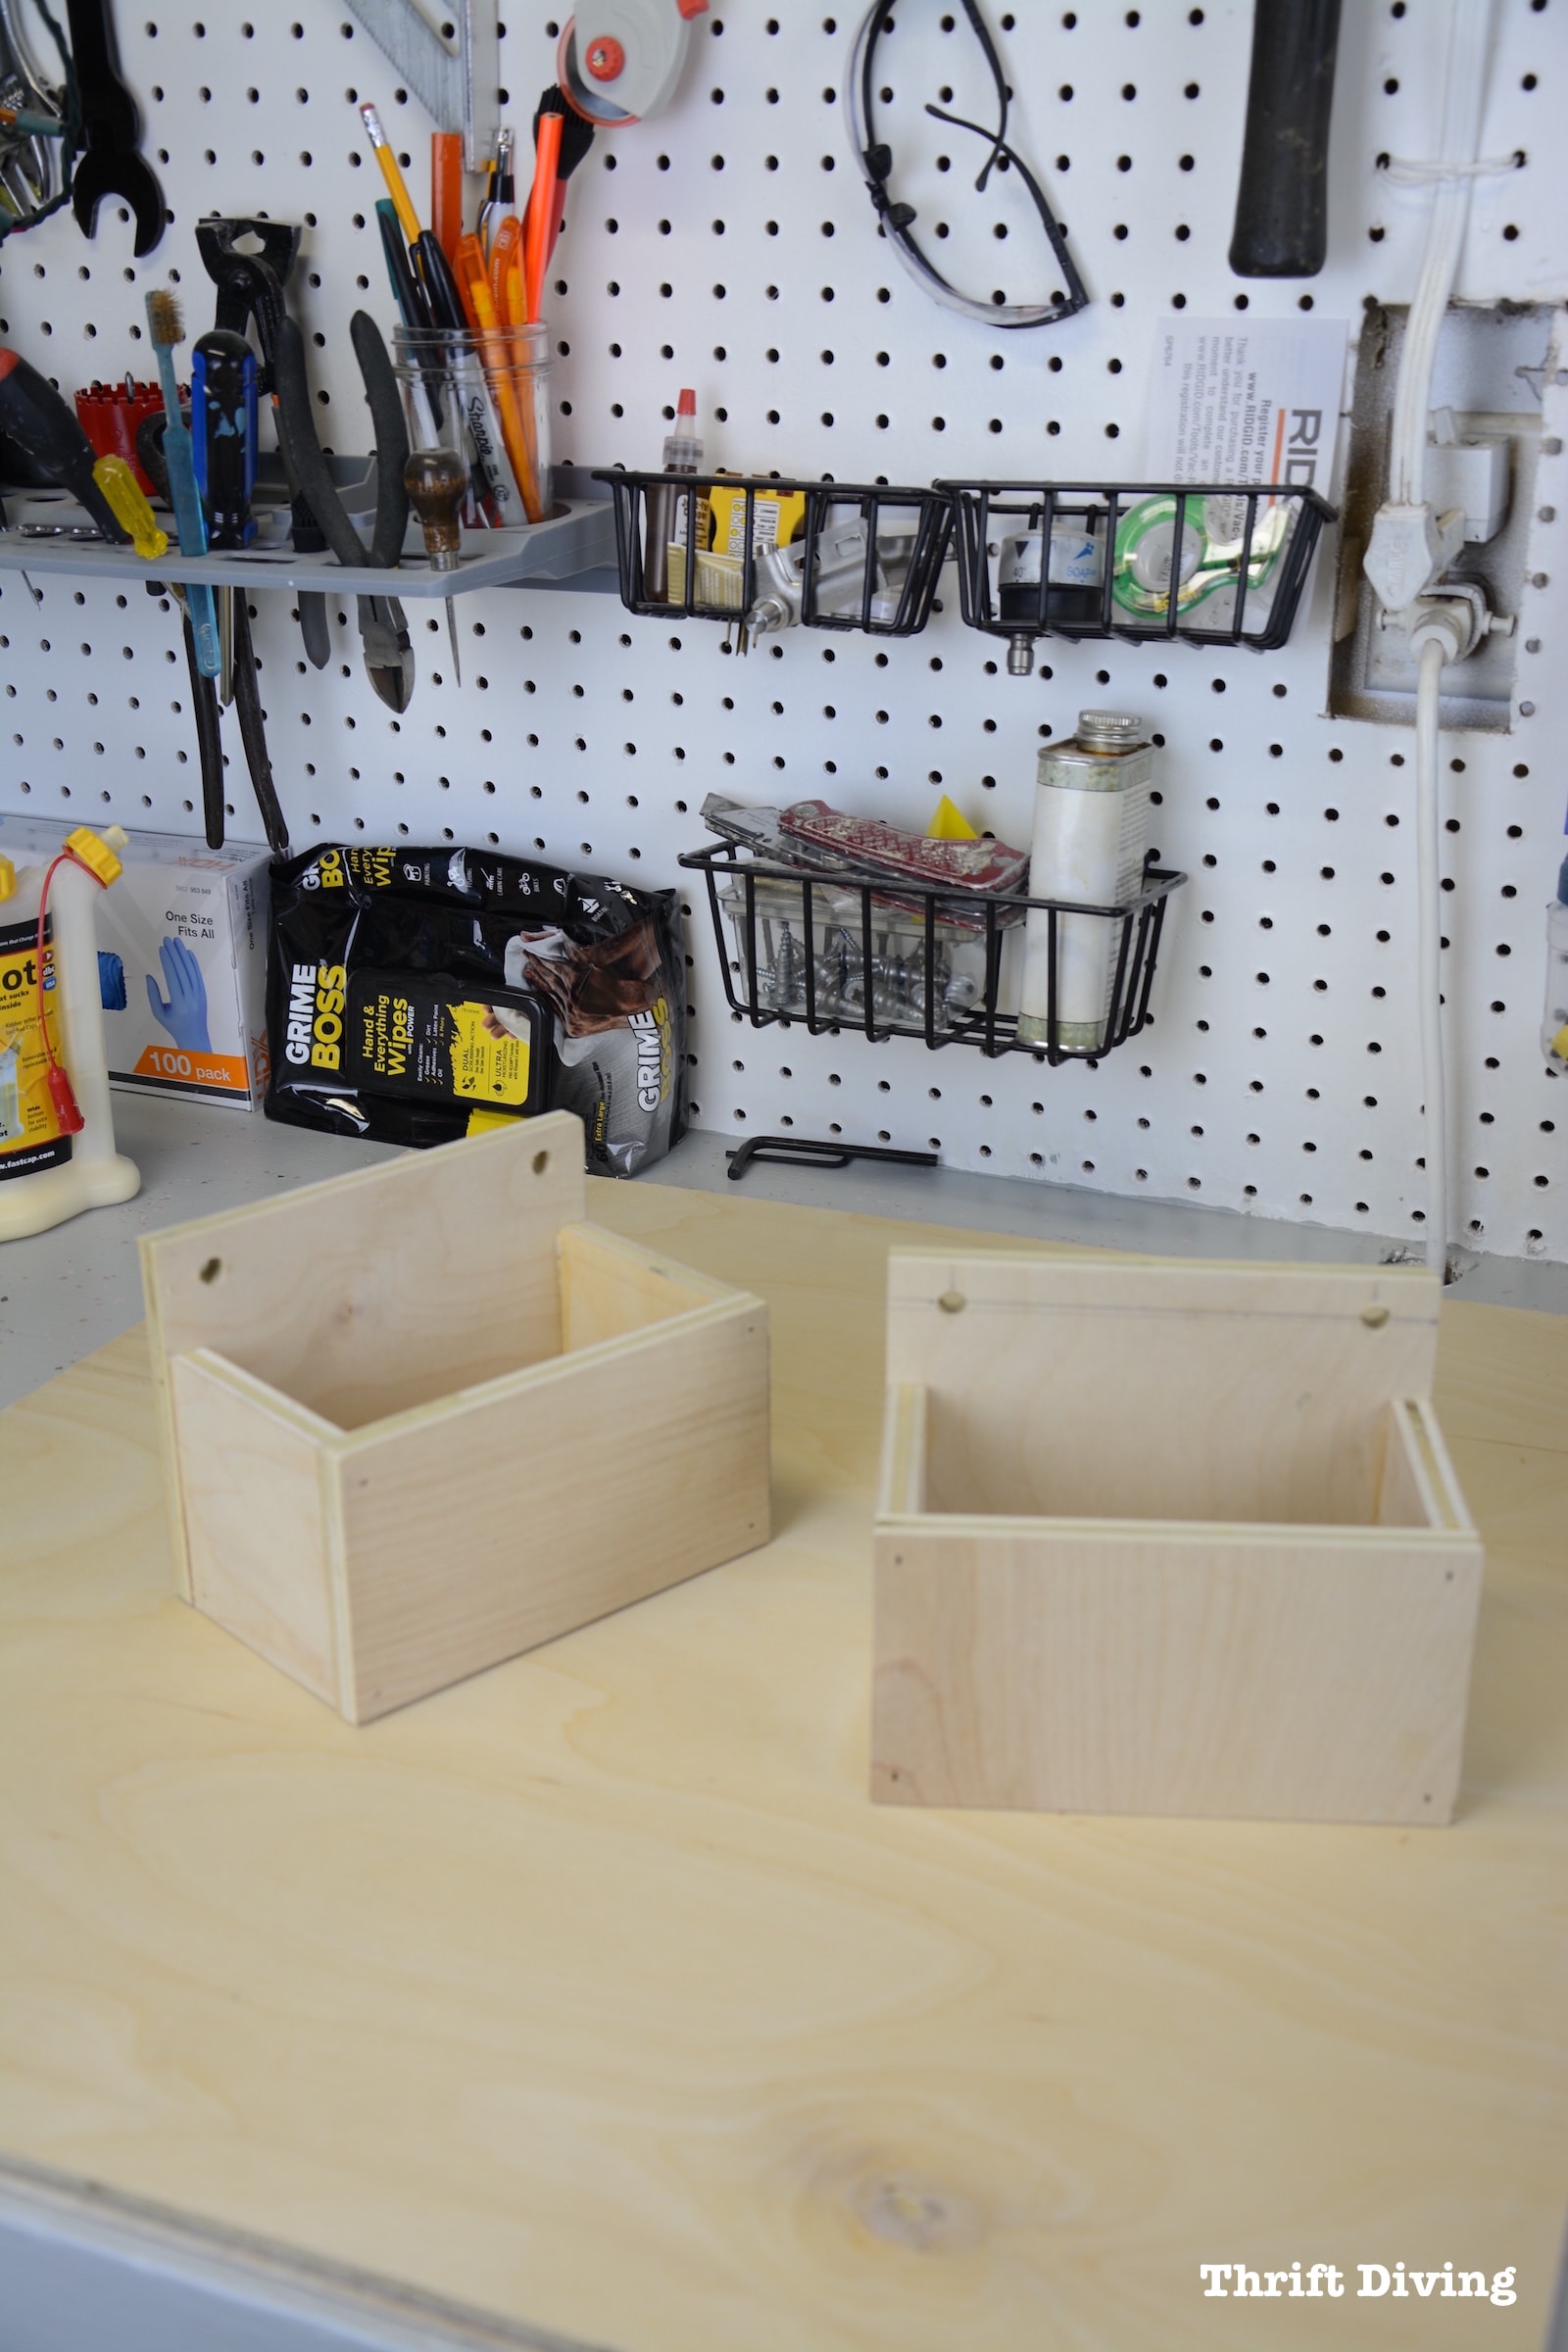
How To Make A Diy Pegboard Organizer For Your Garage Or Craft Room
thriftdiving.com
How To Build A Wall Cabinet Diy
www.familyhandyman.com

Wall Control Metal Pegboard For Garage Tool Storage And Organization Not Only Works Garage Wall Organizer Garage Tool Organization Garage Storage Organization
www.pinterest.com

How To Build A Hand Tool Wall For Easy Access To Your Tools
www.popularmechanics.com

Make Your Own Diy Pegboard The Crafty Gentlman
www.thecraftygentleman.net

Organizing The Garage With Diy Pegboard Storage Wall
www.thecreativityexchange.com

How To Build A Diy Mobile Tool Cart With Pegboard Thediyplan
thediyplan.com

How To Build A Custom Tool Wall Man Made Diy Crafts For Men
www.manmadediy.com

The Project Lady Pegboard Tool Storage Cabinet Project
theprojectlady.com
Organizing The Garage With Diy Pegboard Storage Wall
www.thecreativityexchange.com

An Easy Ish Diy Oversize Plywood Pegboard With Shelves The Organized Home
www.organized-home.com

Peg Board Storage Woodworking Plans And Information At Woodworkersworkshop
www.woodworkersworkshop.com
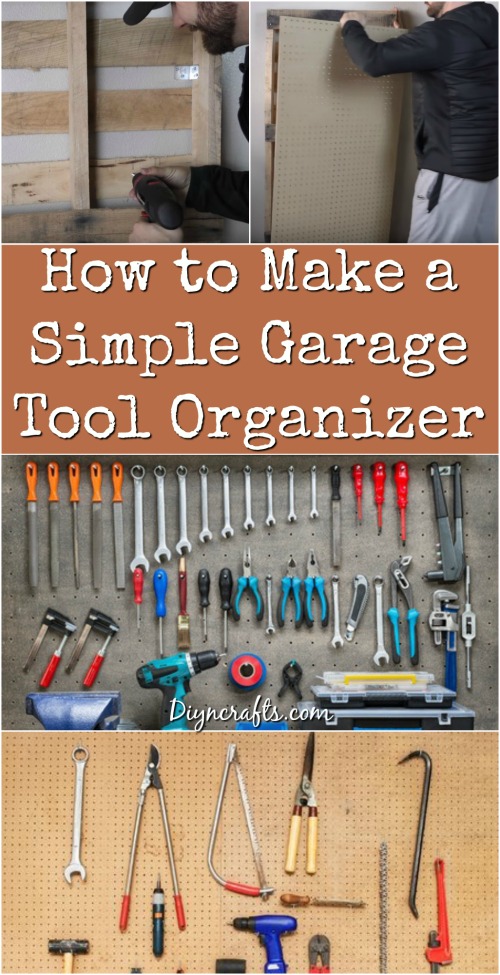
How To Make A Simple Garage Tool Organizer Diy Crafts
www.diyncrafts.com

6 Clutch Diy Pegboard Ideas That Ll Make Your Garage Smile
makespace.com
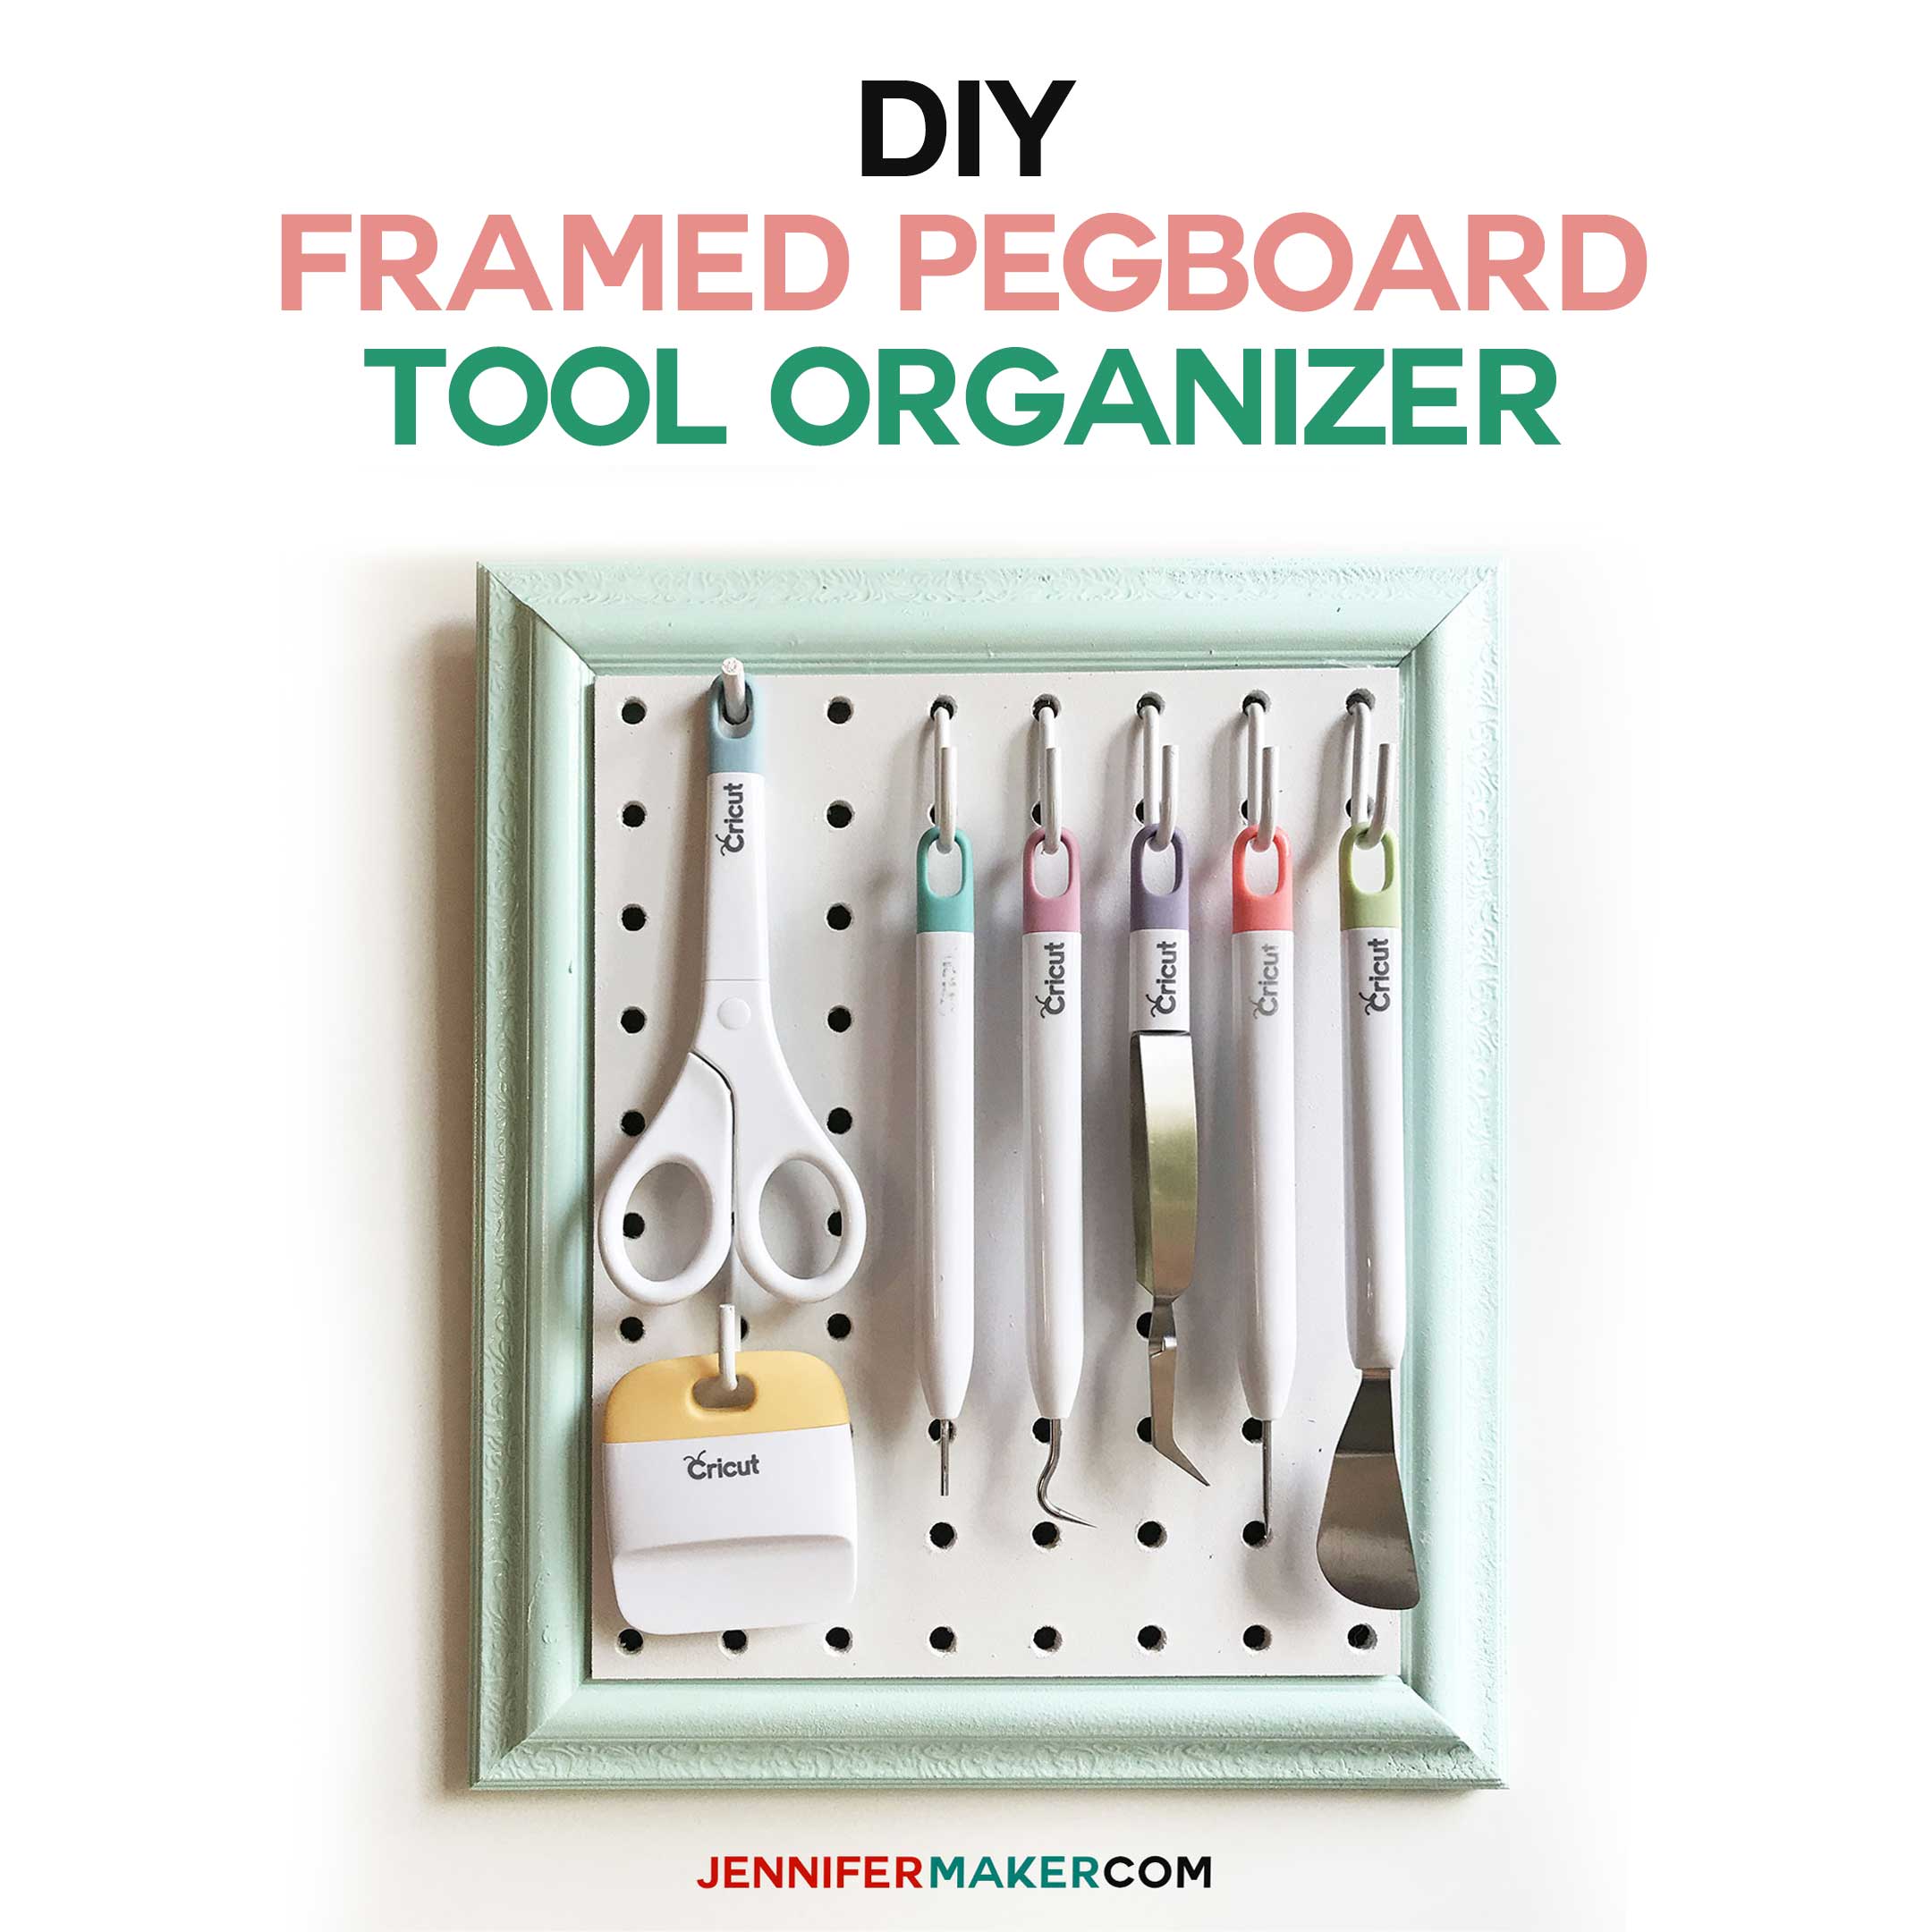
Diy Framed Pegboard Craft Organizer For Tools Jennifer Maker
jennifermaker.com

Tutorial For Organizing The Garage With A Pegboard Storage Wall
www.thecreativityexchange.com
Make A Garage Organizer Pegboard Hgtv
www.hgtv.com
Hidden Pegboard Tool Storage Ryobi Nation Projects
www.ryobitools.com
How To Organize Tools With A Garage Pegboard Life Storage Blog
www.lifestorage.com

How To Create A Pegboard Organization Wall Sawdust Girl
sawdustgirl.com
Build It Blog It Organization Challenge The House Of Wood
jenwoodhouse.com

Good Things How To Make A Pegboard Tool Organizer Martha Stewart Youtube
www.youtube.com

How To Build A Pegboard Tool Holder Bunnings Warehouse
www.bunnings.com.au

Pin On This Old House
www.pinterest.com
How To Install A Pegboard Tool Organizer Video Tutorial Hometalk
www.hometalk.com

How To Make A Custom Tool Organization Board Youtube
www.youtube.com

How To Organize Tools With A Garage Pegboard Life Storage Blog
www.lifestorage.com

Pin On Shop
www.pinterest.com
How To Organize Tools With A Garage Pegboard Life Storage Blog
www.lifestorage.com

How To Build A Pegboard Storage Cabinet How Tos Diy
www.diynetwork.com

How To Create A Pegboard Organization Wall Sawdust Girl Garage Organization Peg Board Pegboard Organization
www.pinterest.com

How To Build A Diy Pegboard For A Craft Room Lamberts Lately
lambertslately.com
Woman In Real Life Garage Organization Diy Pegboard Tool Organizer Folding Workbench
www.womaninreallife.com

How To Rolling Peg Board Tool Cart Make
makezine.com
How To Install A Pegboard How Tos Diy
www.diynetwork.com

Organizing The Garage With Diy Pegboard Storage Wall
www.thecreativityexchange.com
Https Encrypted Tbn0 Gstatic Com Images Q Tbn 3aand9gctlwx7o Ddfockza9ik F2kasztaaaudv8jut1ij4kxx R7lxth Usqp Cau
encrypted-tbn0.gstatic.com
Quick Tip Homemade Pegboard Screwdriver Holder Tool Rank Com
www.tool-rank.com

Diy Garage Shelf Pegboard And Tool Organization On A Budget Youtube
www.youtube.com

Remodelaholic Build An Organized Pegboard Tool Cabinet And Simple Workbench
www.remodelaholic.com
How To Install A Pegboard How Tos Diy
www.diynetwork.com
A Tool Pegboard For The Garage Easy Organization Diy Momcrieff
momcrieff.com
A New Spin On The Wallpeg Toolboard Pegboard Tool Cart Wallpeg Store
wallpegstore.com
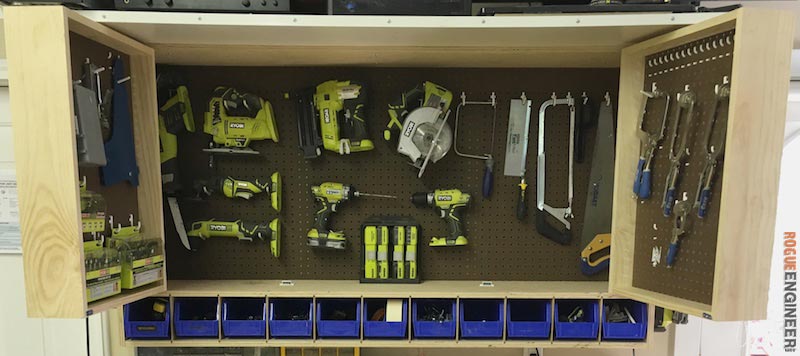
Tool Storage Wall Cabinet Rogue Engineer
rogueengineer.com

How To Organize Tools With A Garage Pegboard Life Storage Blog
www.lifestorage.com

Make Your Own Portable Tool Storage Organization Caddy Mom 4 Real
www.mom4real.com
53 Tools For Diy Pegboard
ecsel2010.com

Hanging A Pegboard In Your Garage
www.blackanddecker.com
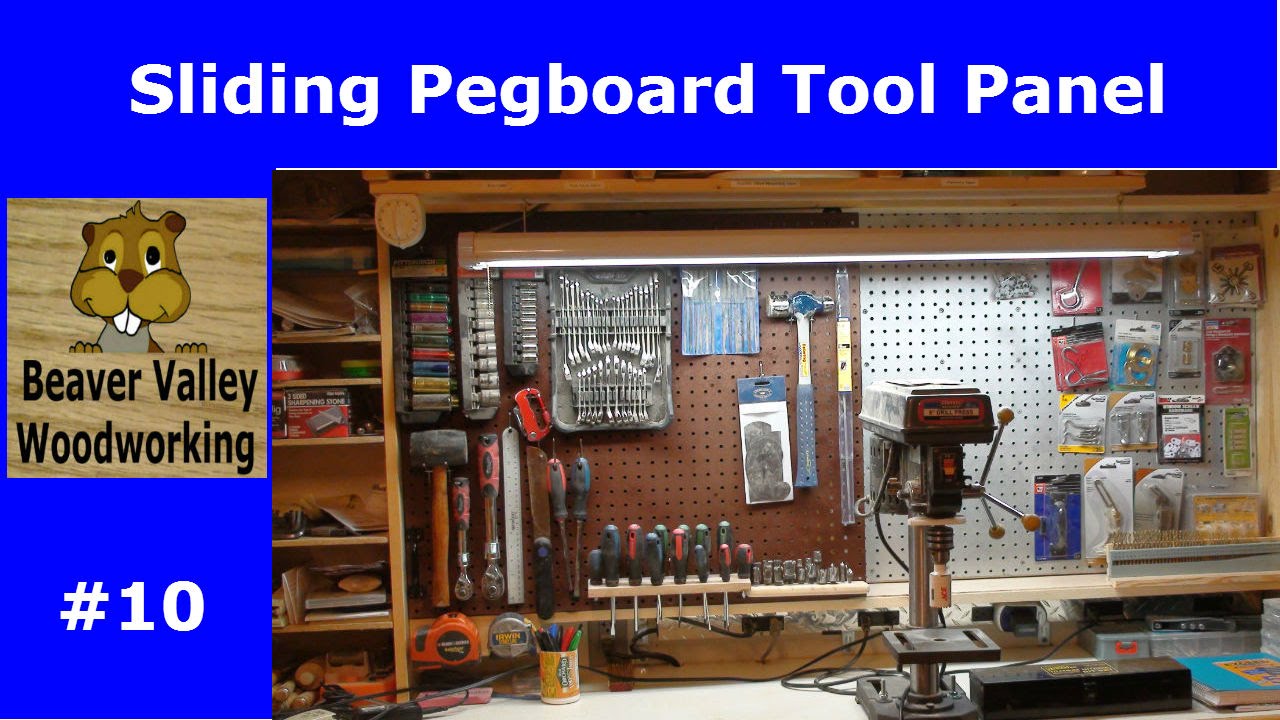
Sliding Pegboard Tool Panel 10 Youtube
www.youtube.com
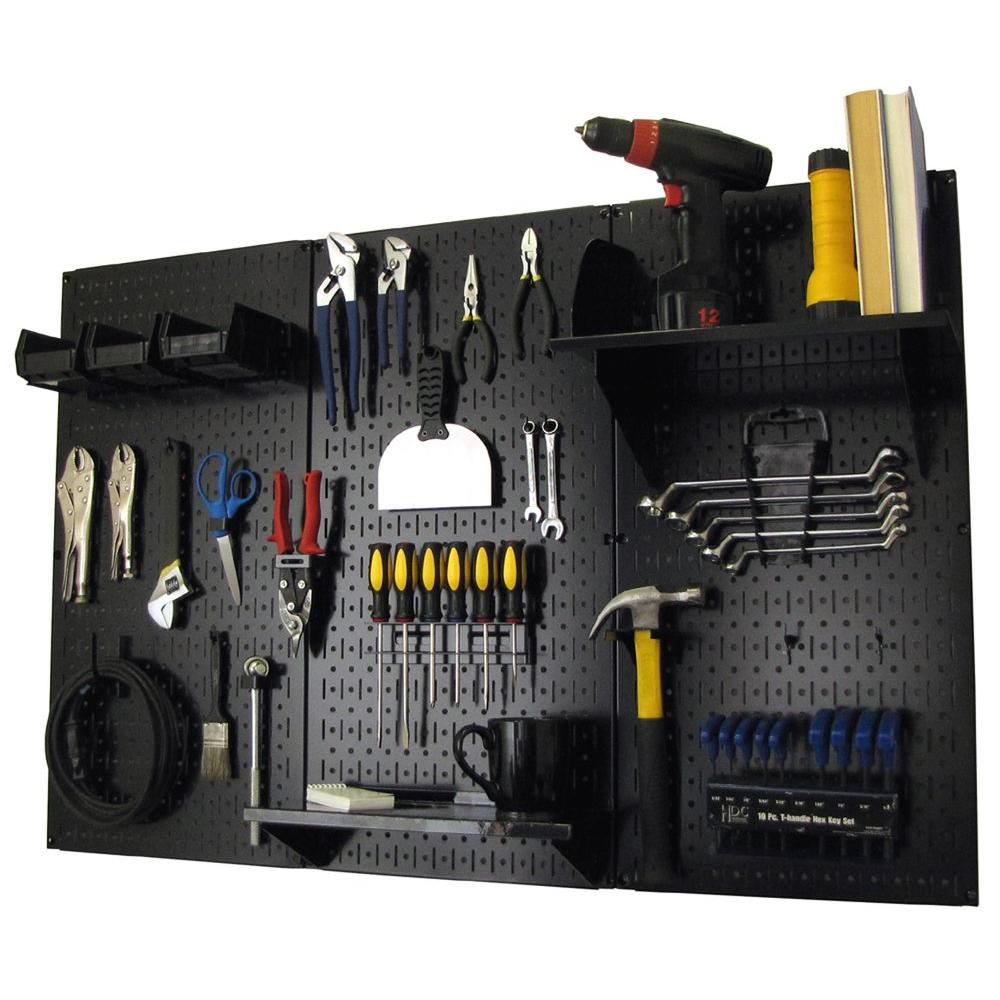
Wall Control 32 In X 48 In Metal Pegboard Standard Tool Storage Kit With Black Pegboard And Black Peg Accessories 30wrk400bb The Home Depot
www.homedepot.com

6 Clutch Diy Pegboard Ideas That Ll Make Your Garage Smile
makespace.com

How To Build A Pegboard Storage Cabinet How Tos Diy
www.diynetwork.com

How To Install Pegboard Walls For More Storage And Organization
www.prettyhandygirl.com

Build A Pegboard Flipbook To Maximize Tool Storage Wonder Spawn
wonderspawn.com
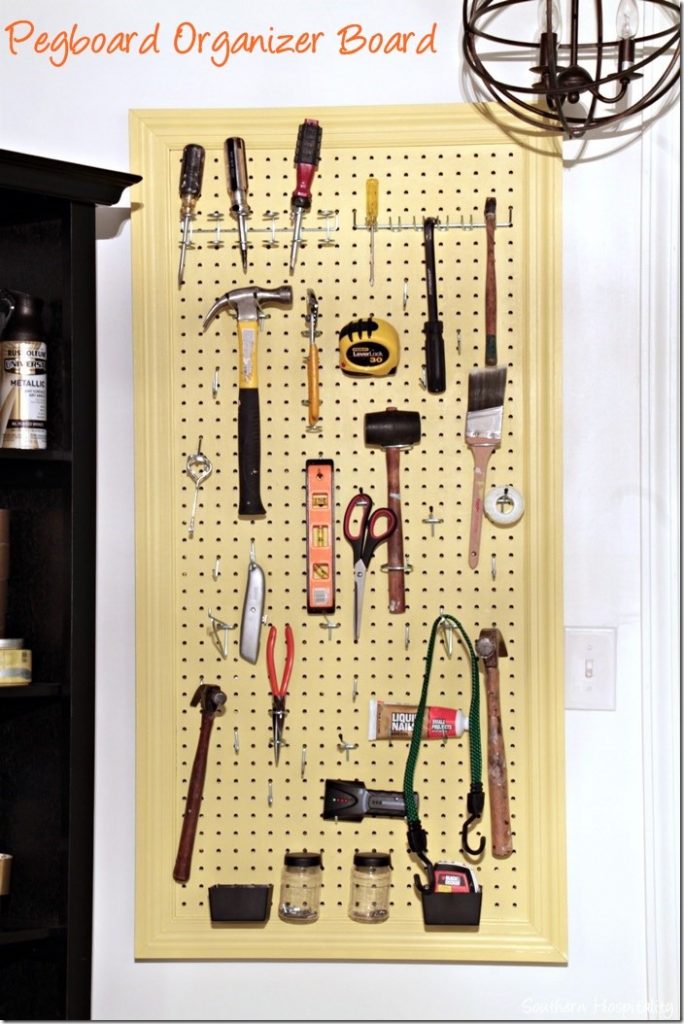
How To Make An Organized Pegboard Southern Hospitality
southernhospitalityblog.com

Pegboard Tool Cabinet Woodworking Project Woodsmith Plans
www.woodsmithplans.com